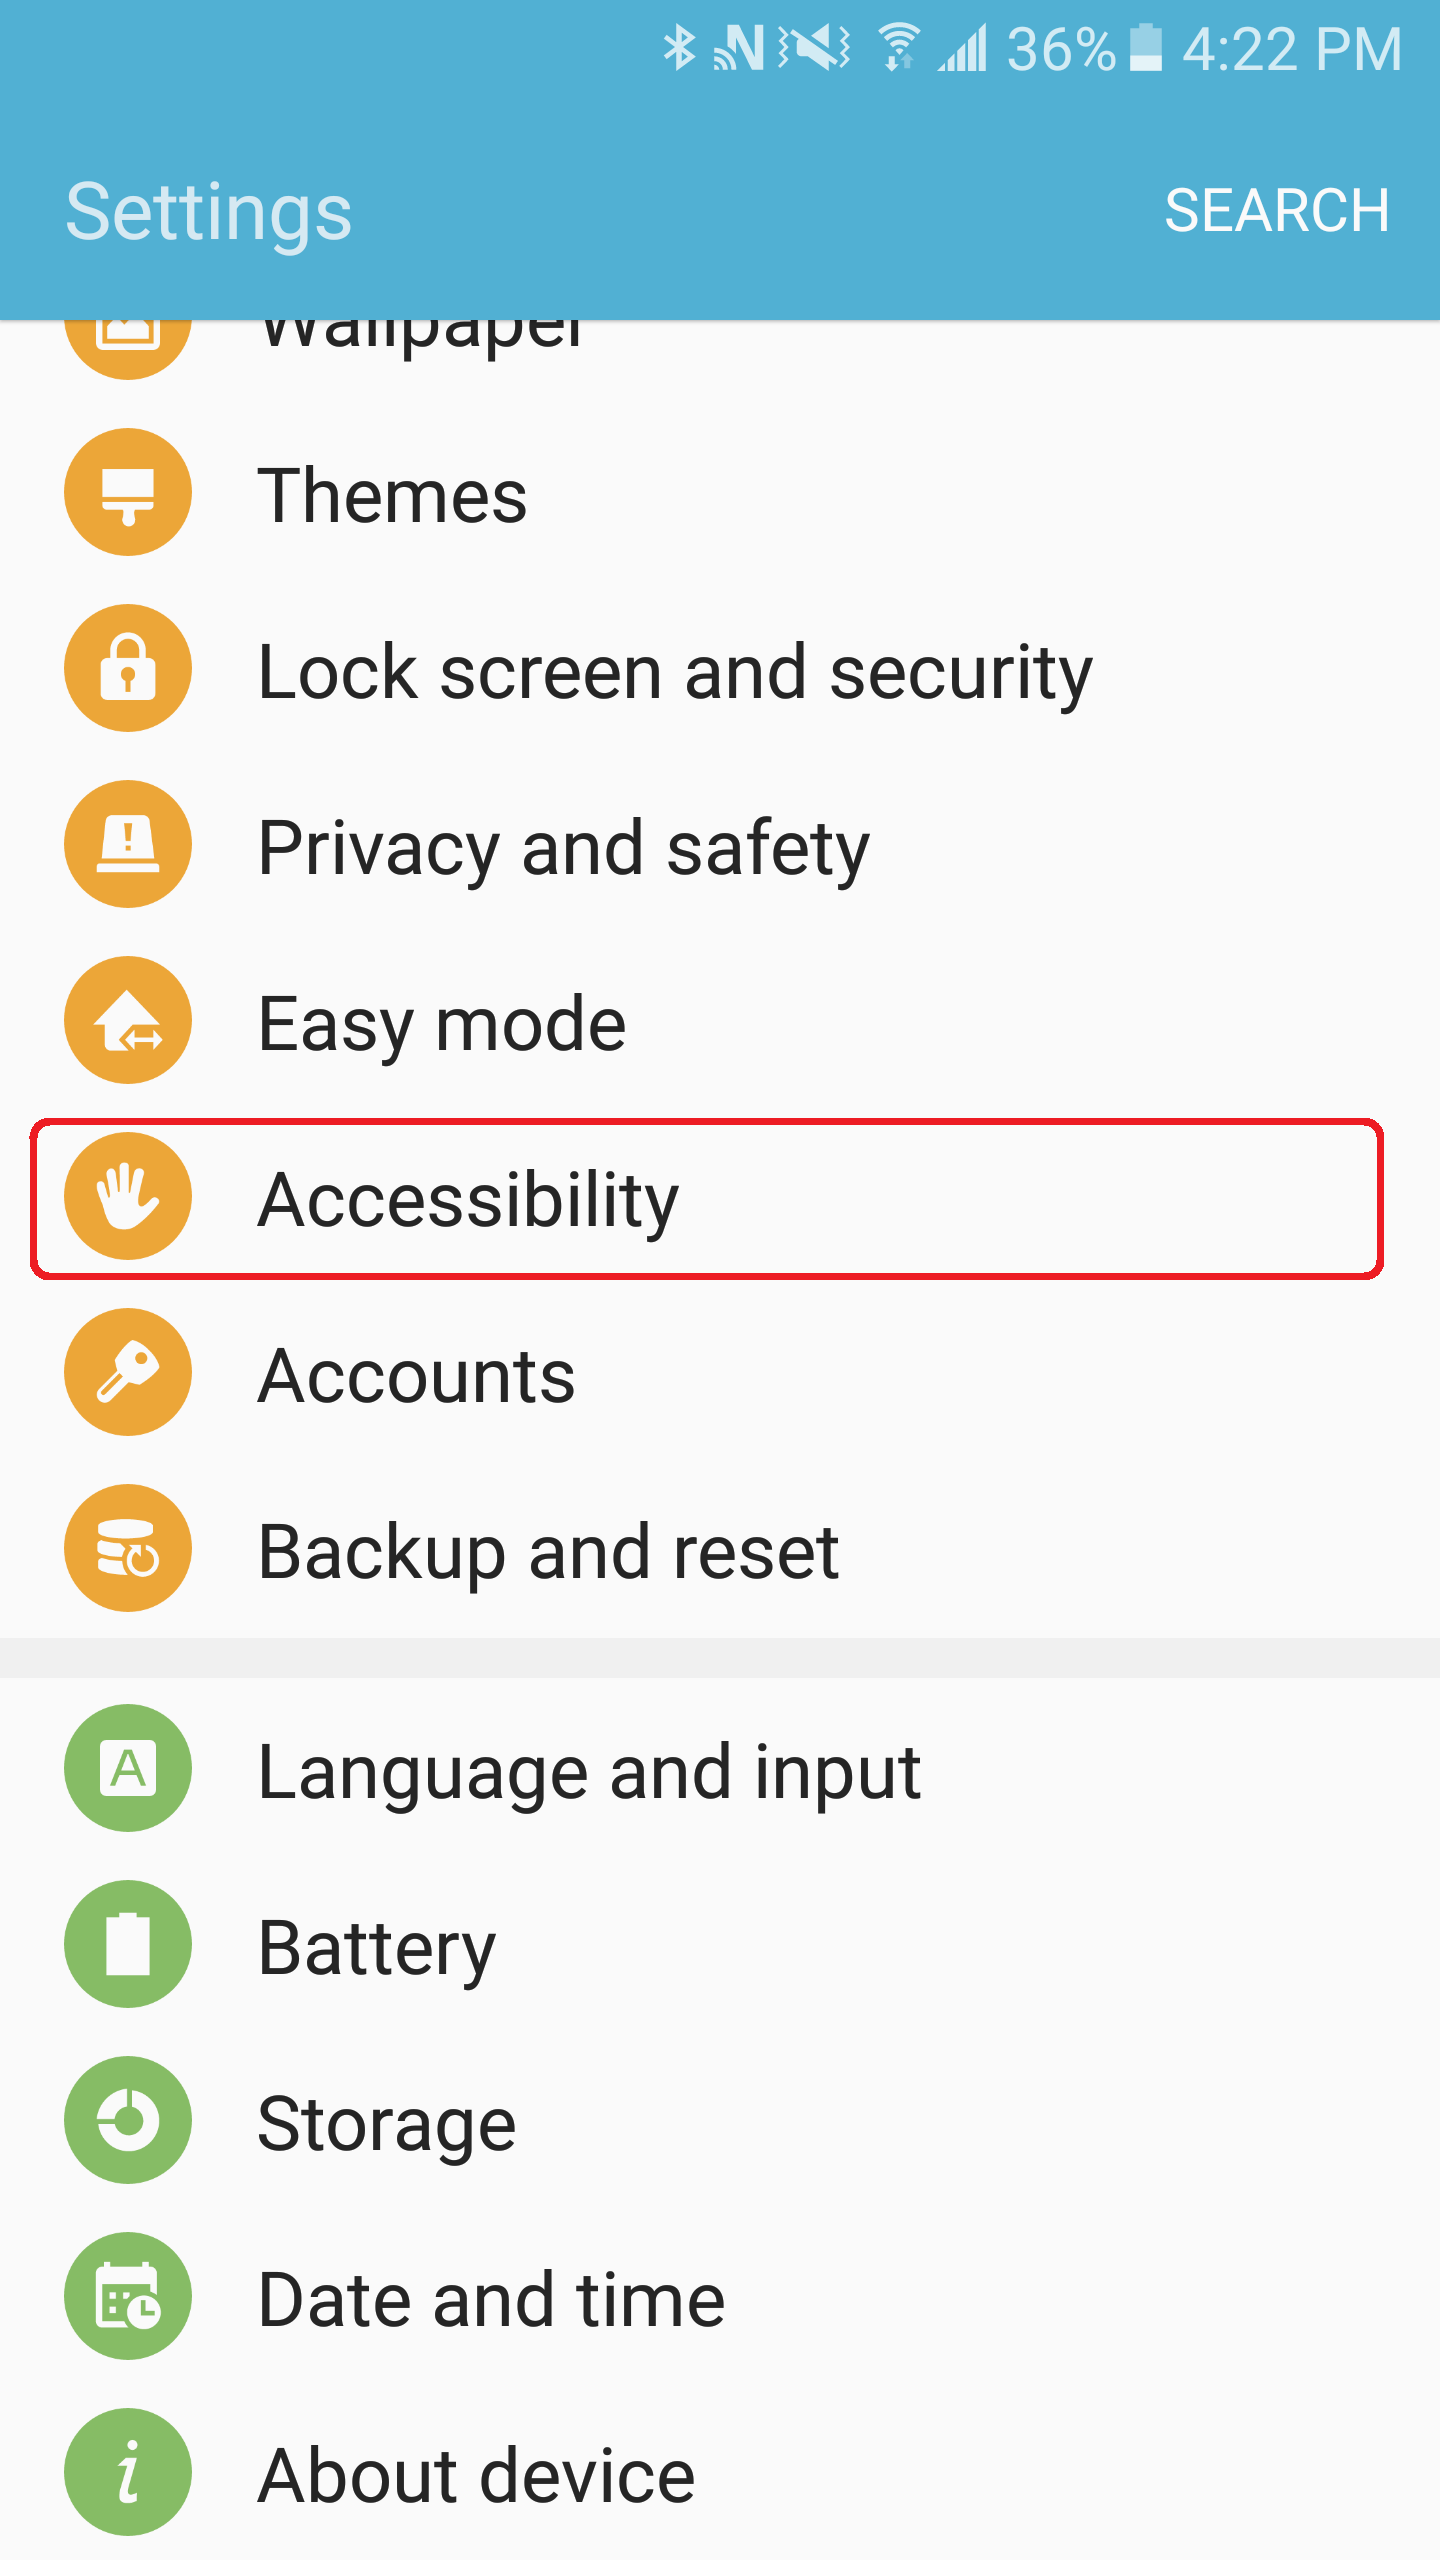
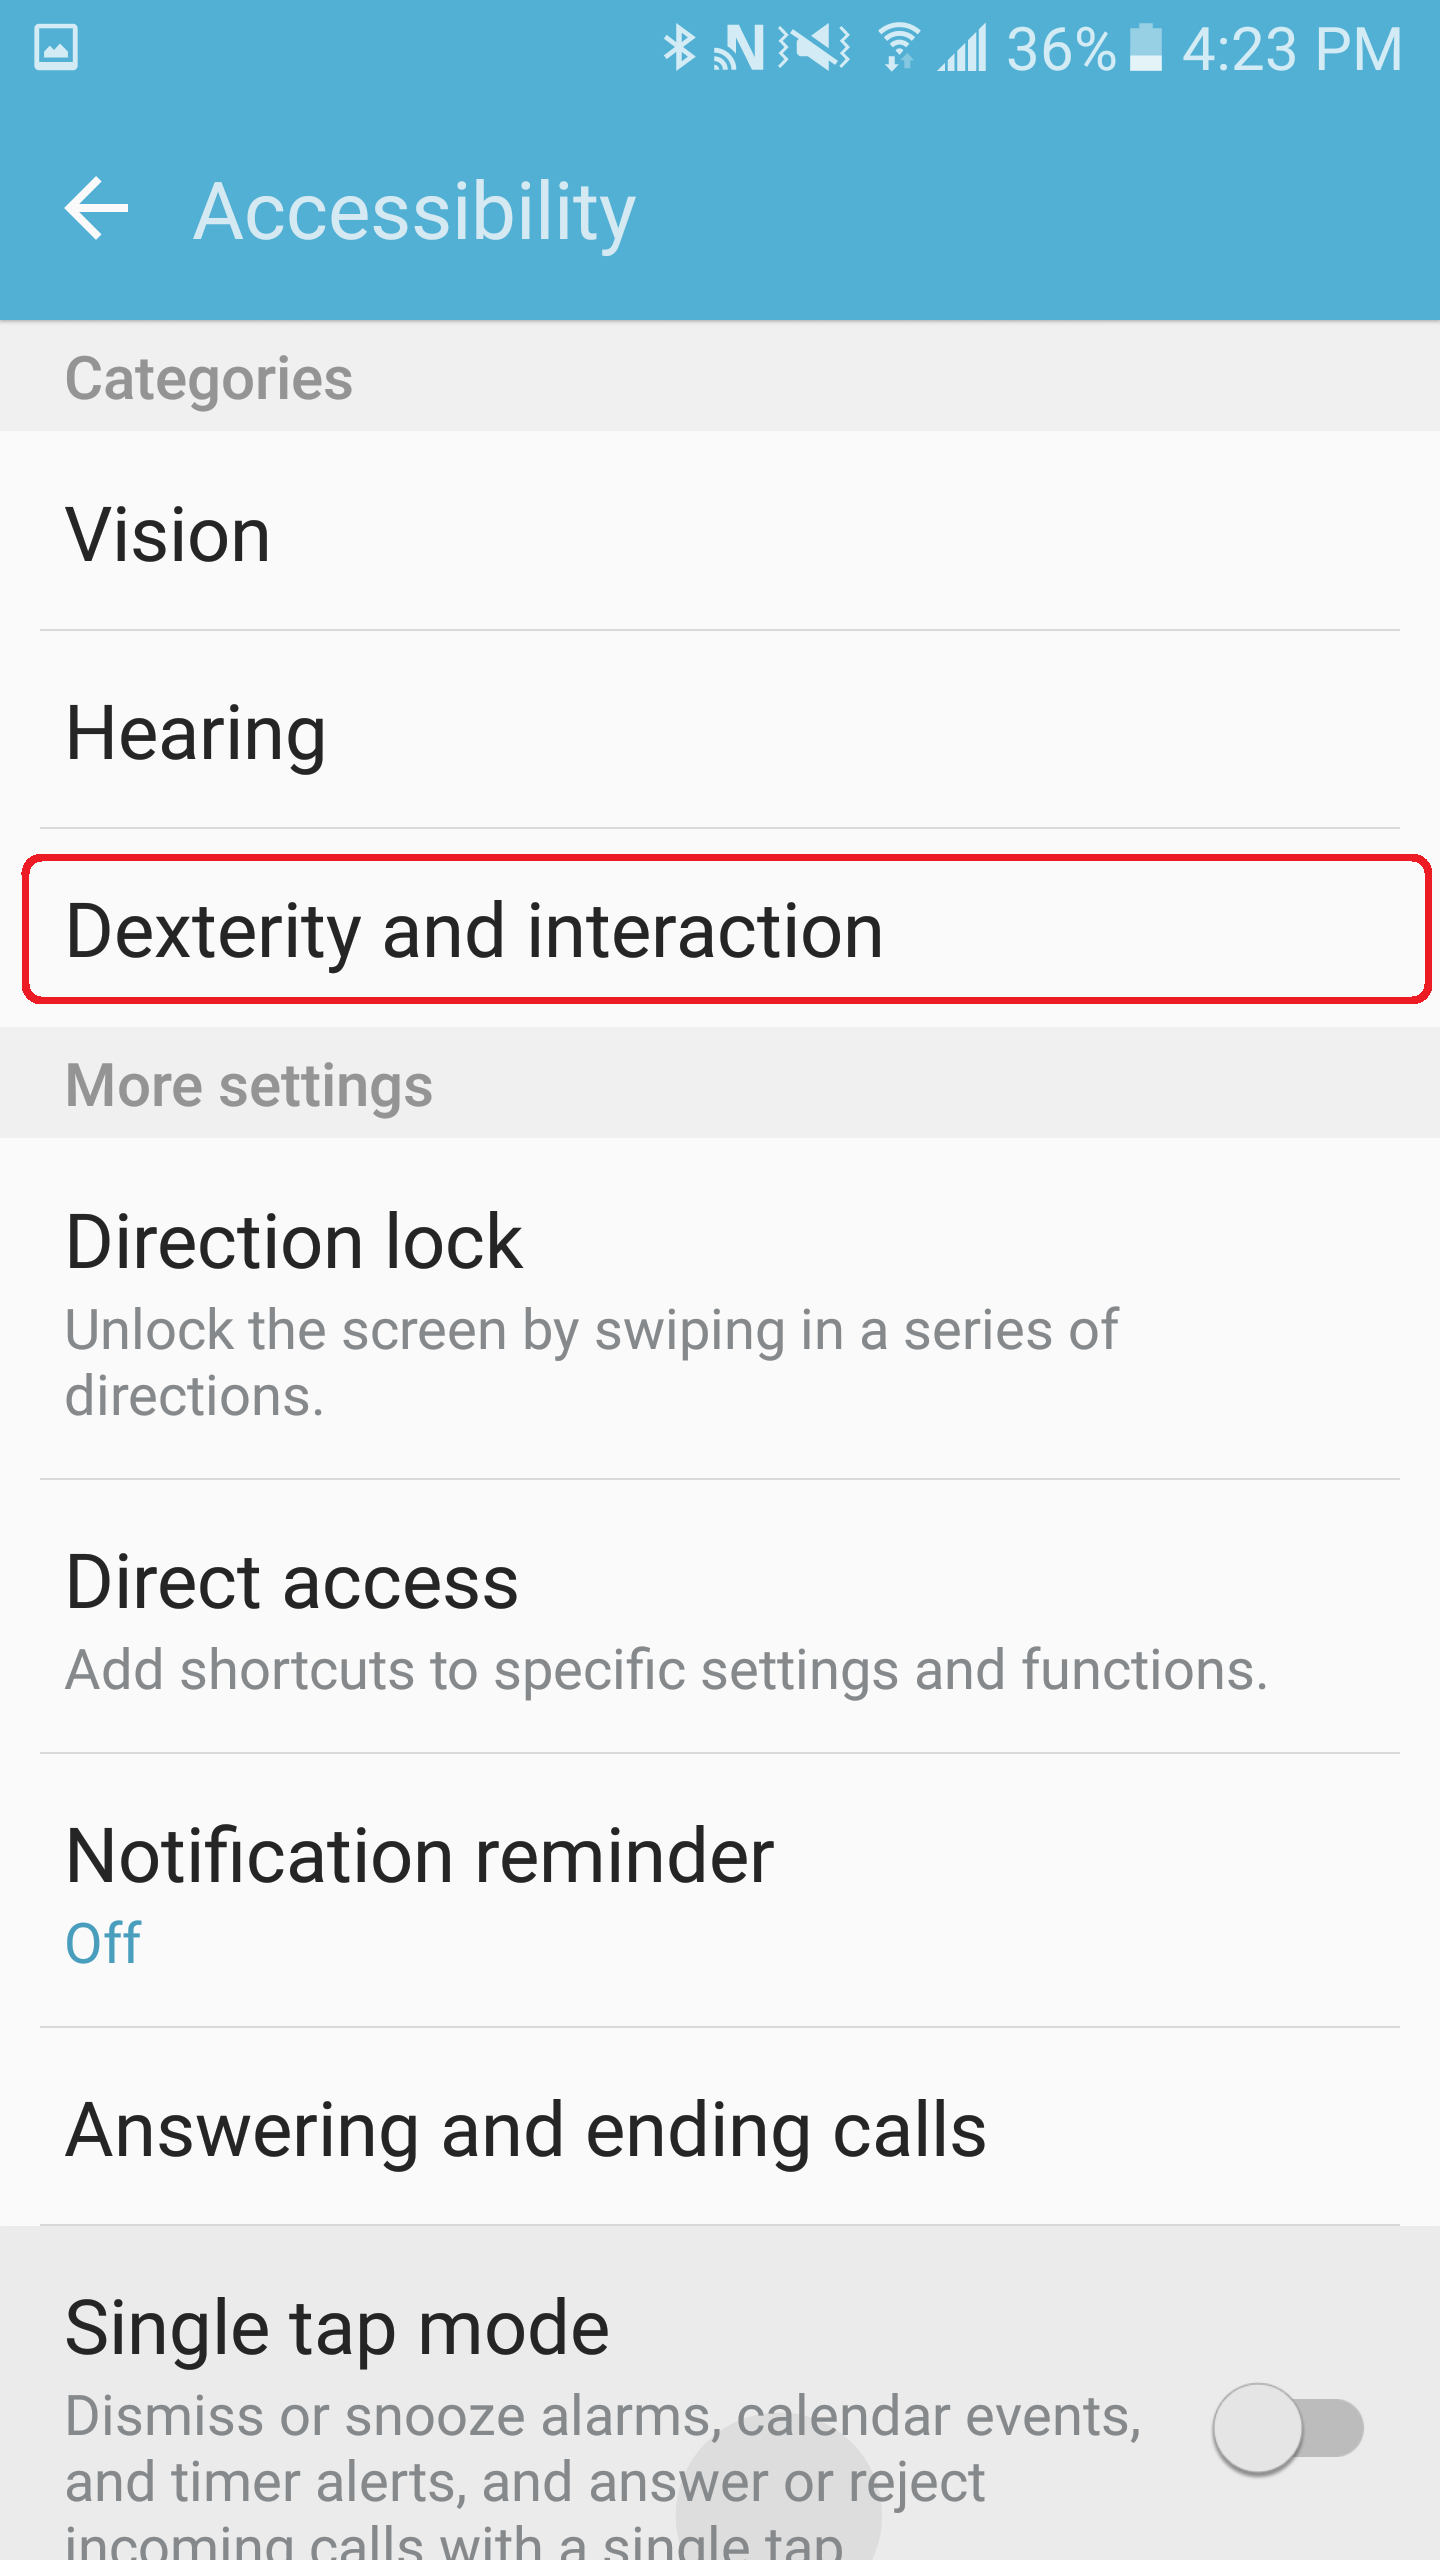
tecla-e is also compatible with Samsung devices that have the Universal Switch accessibility feature. Check if your devices is compatible by going to Settings> Accessibility> Dexterity and Interaction and see if the Universal Switch feature is available.
With the tecla-e ready for connection and the switches connected to it, follow the steps below to set up your Android device with Universal Switch.
. Pair your tecla-e: Go to Settings > Bluetooth.
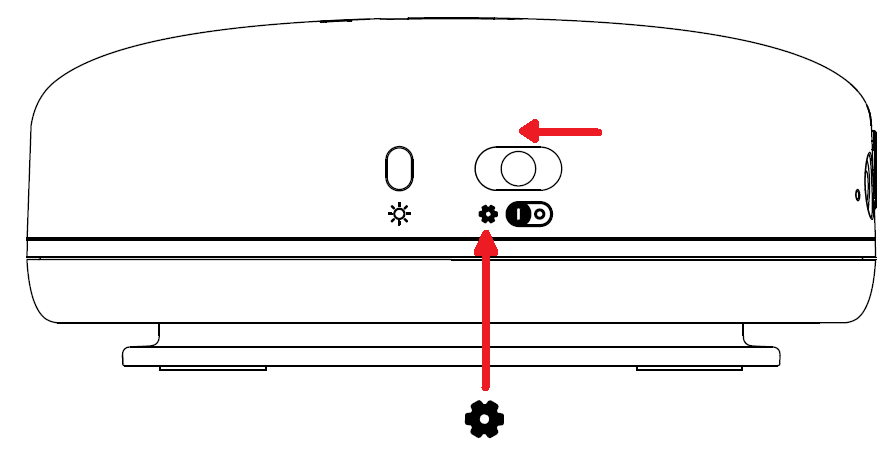
2. Turn on your tecla-e by sliding the 3-way Power switch to the middle position. To put your tecla-e in pairing mode, slide & hold the blue power switch to the gear position for 3 seconds, at which point the tecla-e will make a pairing sound.
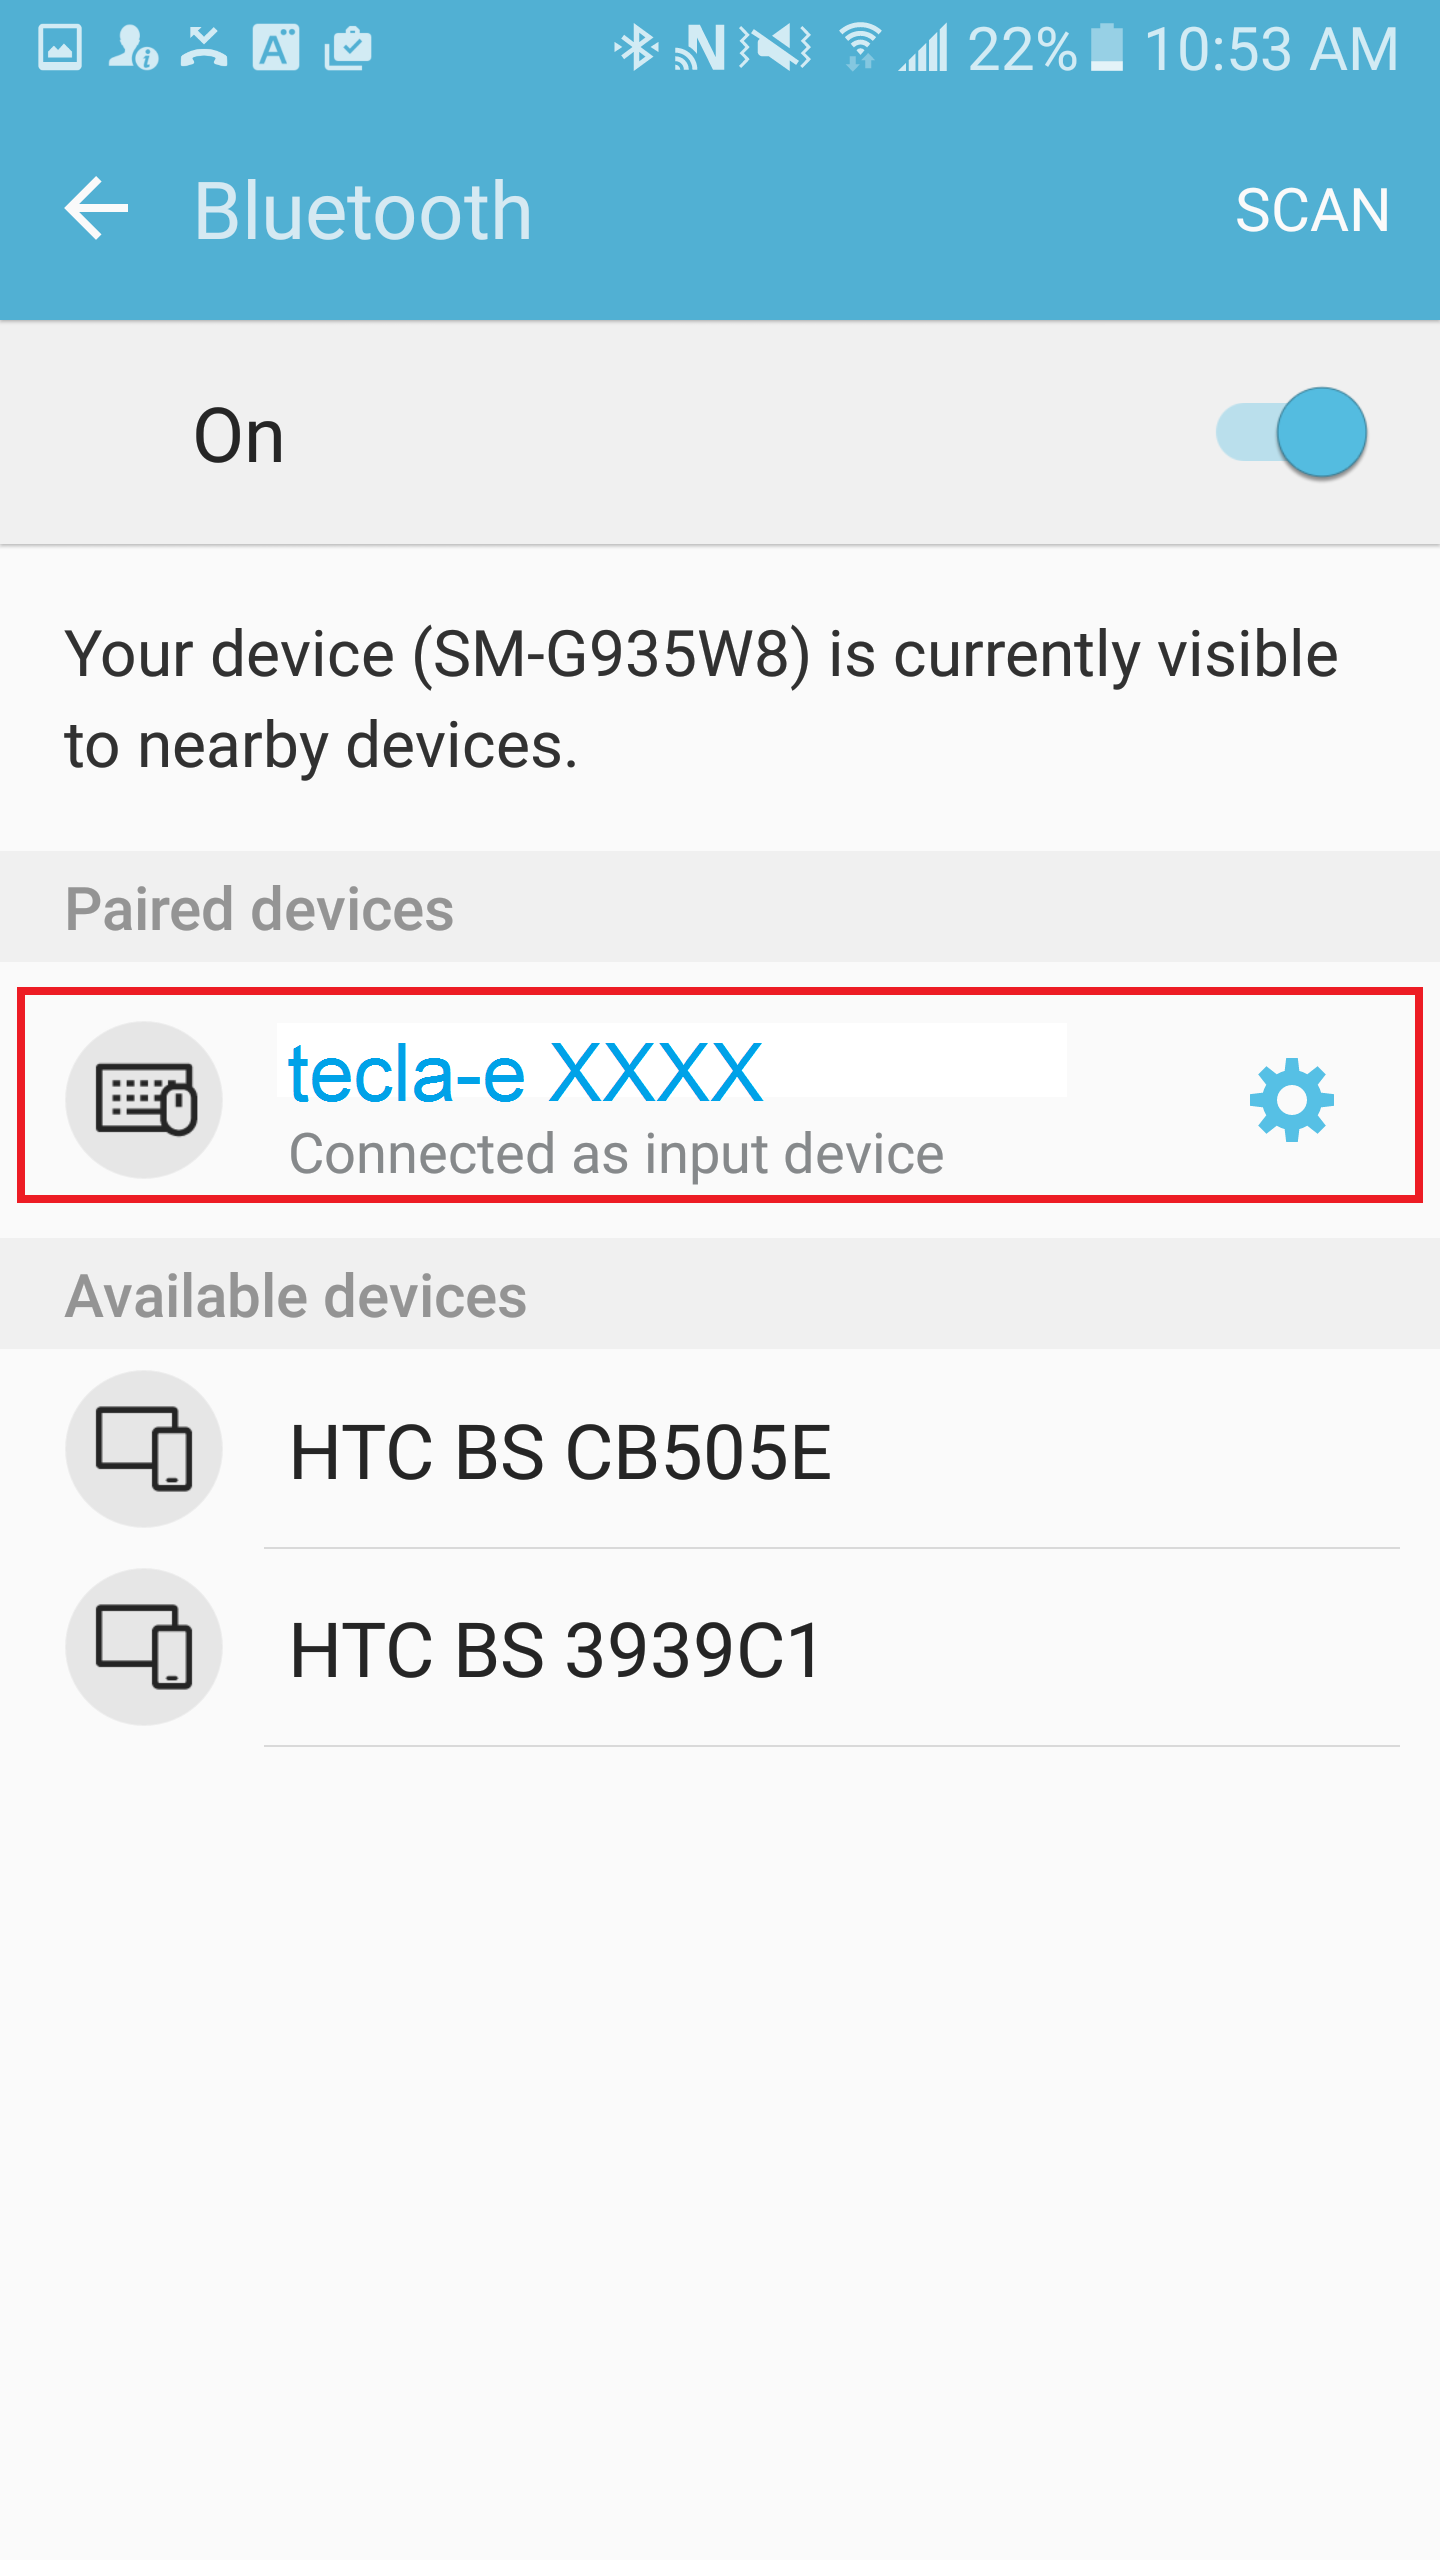
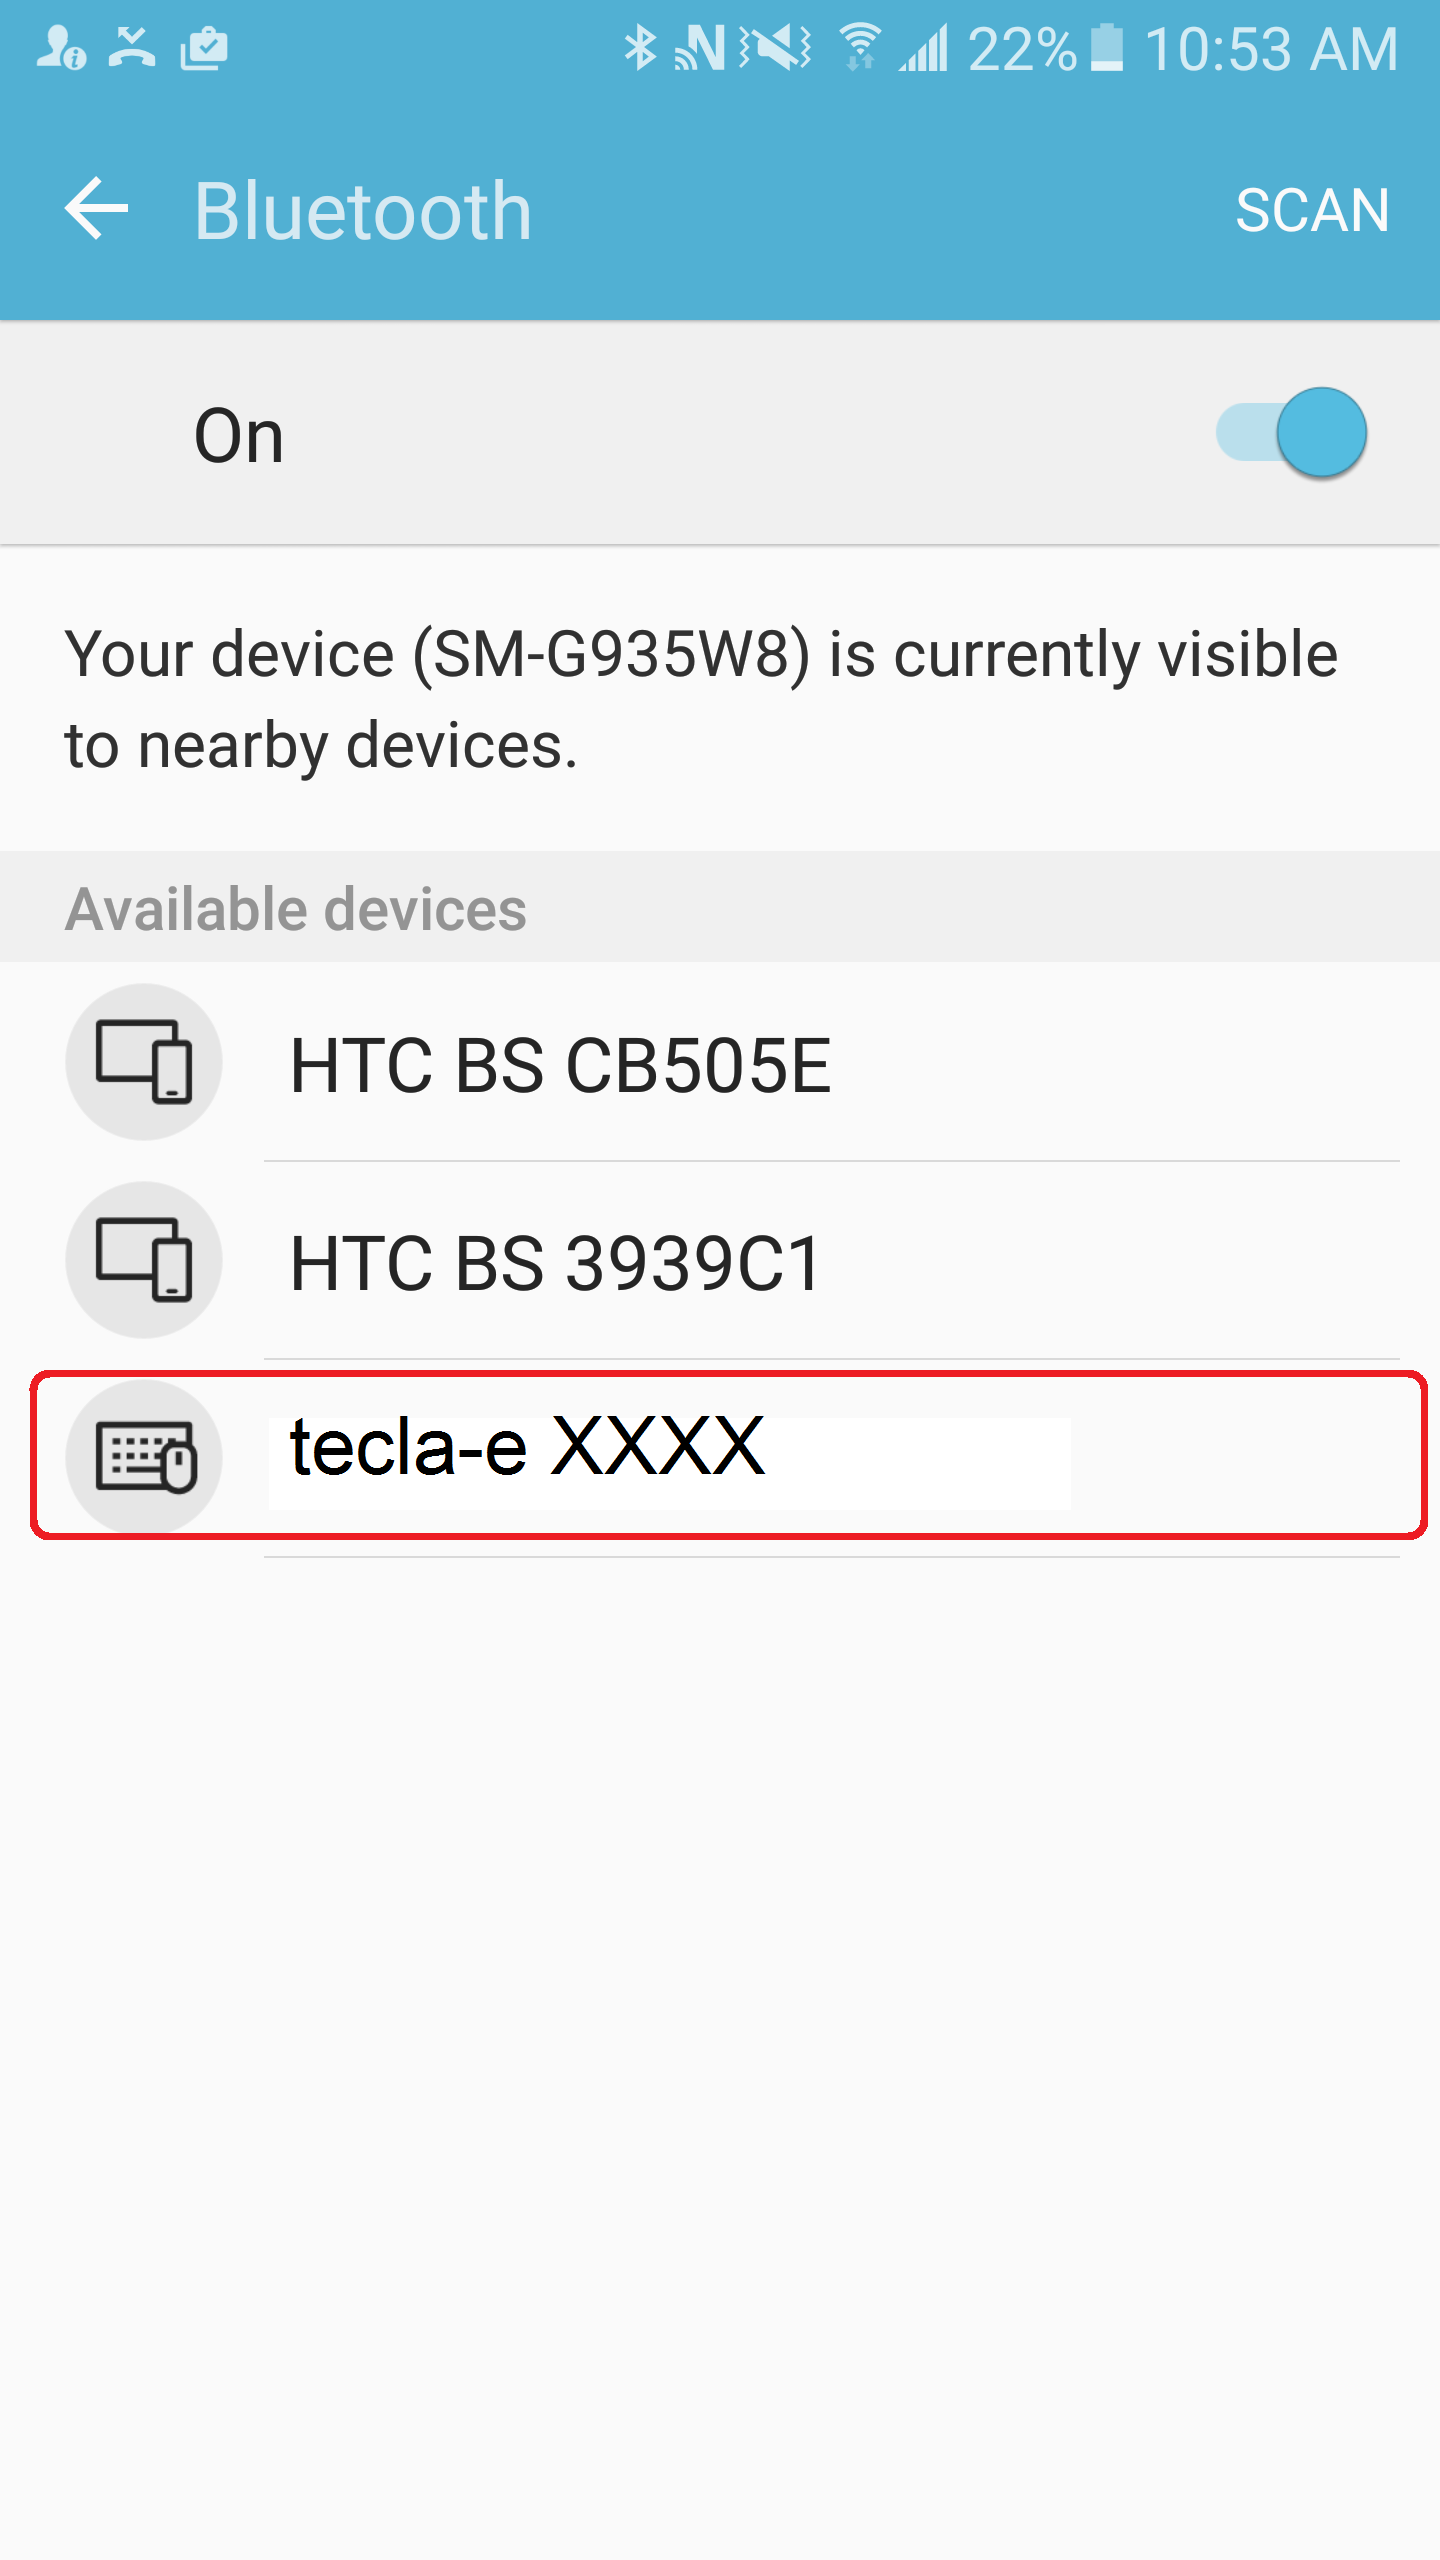
3. With Bluetooth enabled, you should see the tecla-e listed under Available devices as tecla-e XXXX (where XXXX is a random sequence). Click on it. After a few seconds, tecla-e XXXX should be under Paired Devices and appear as Connected.
. Set up a Smart Lock: Once the tecla-e is connected, you can set it as a trusted device. This will keep your device unlocked as long as the tecla-e is connected to it. If you have a screen lock type (i.e PIN, Pattern, Password), go to Settings > lock screen and security > Secure lock settings > smart lock. Enter the screen lock type that your phone has set up. Then select Trusted devices > Add Trusted Device > Bluetooth. Select tecla-e XXXX as your trusted device.
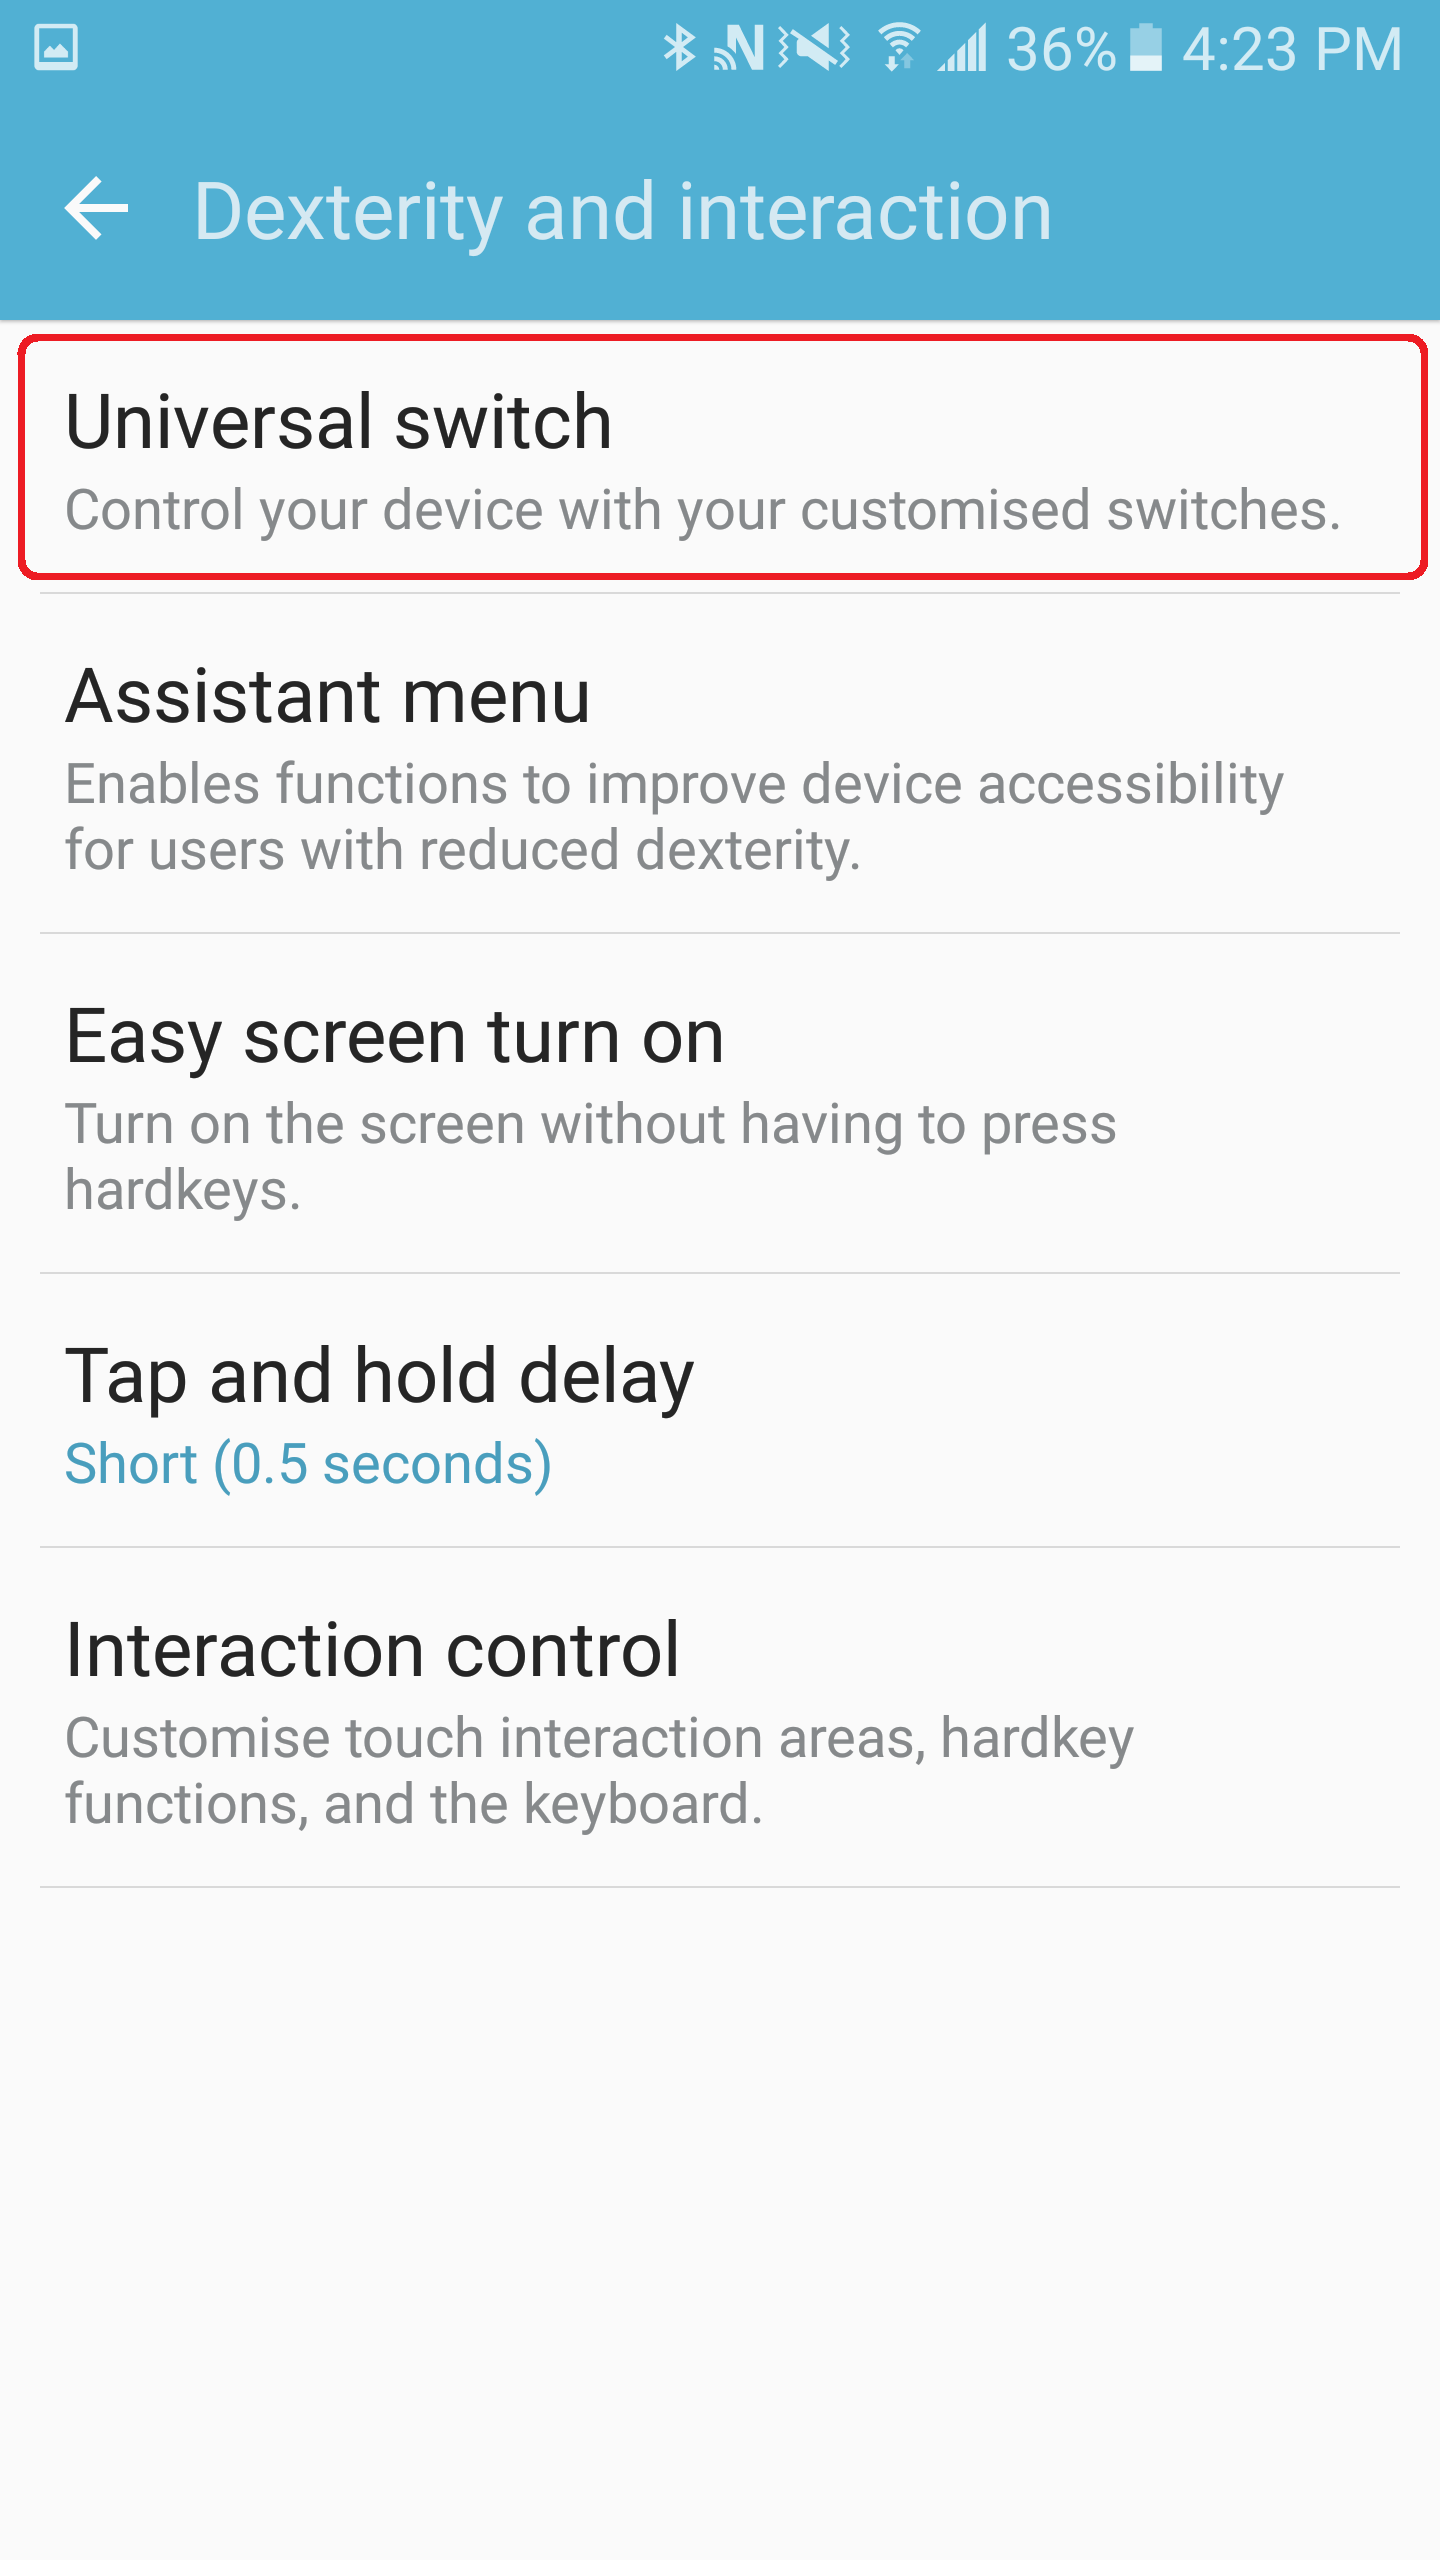
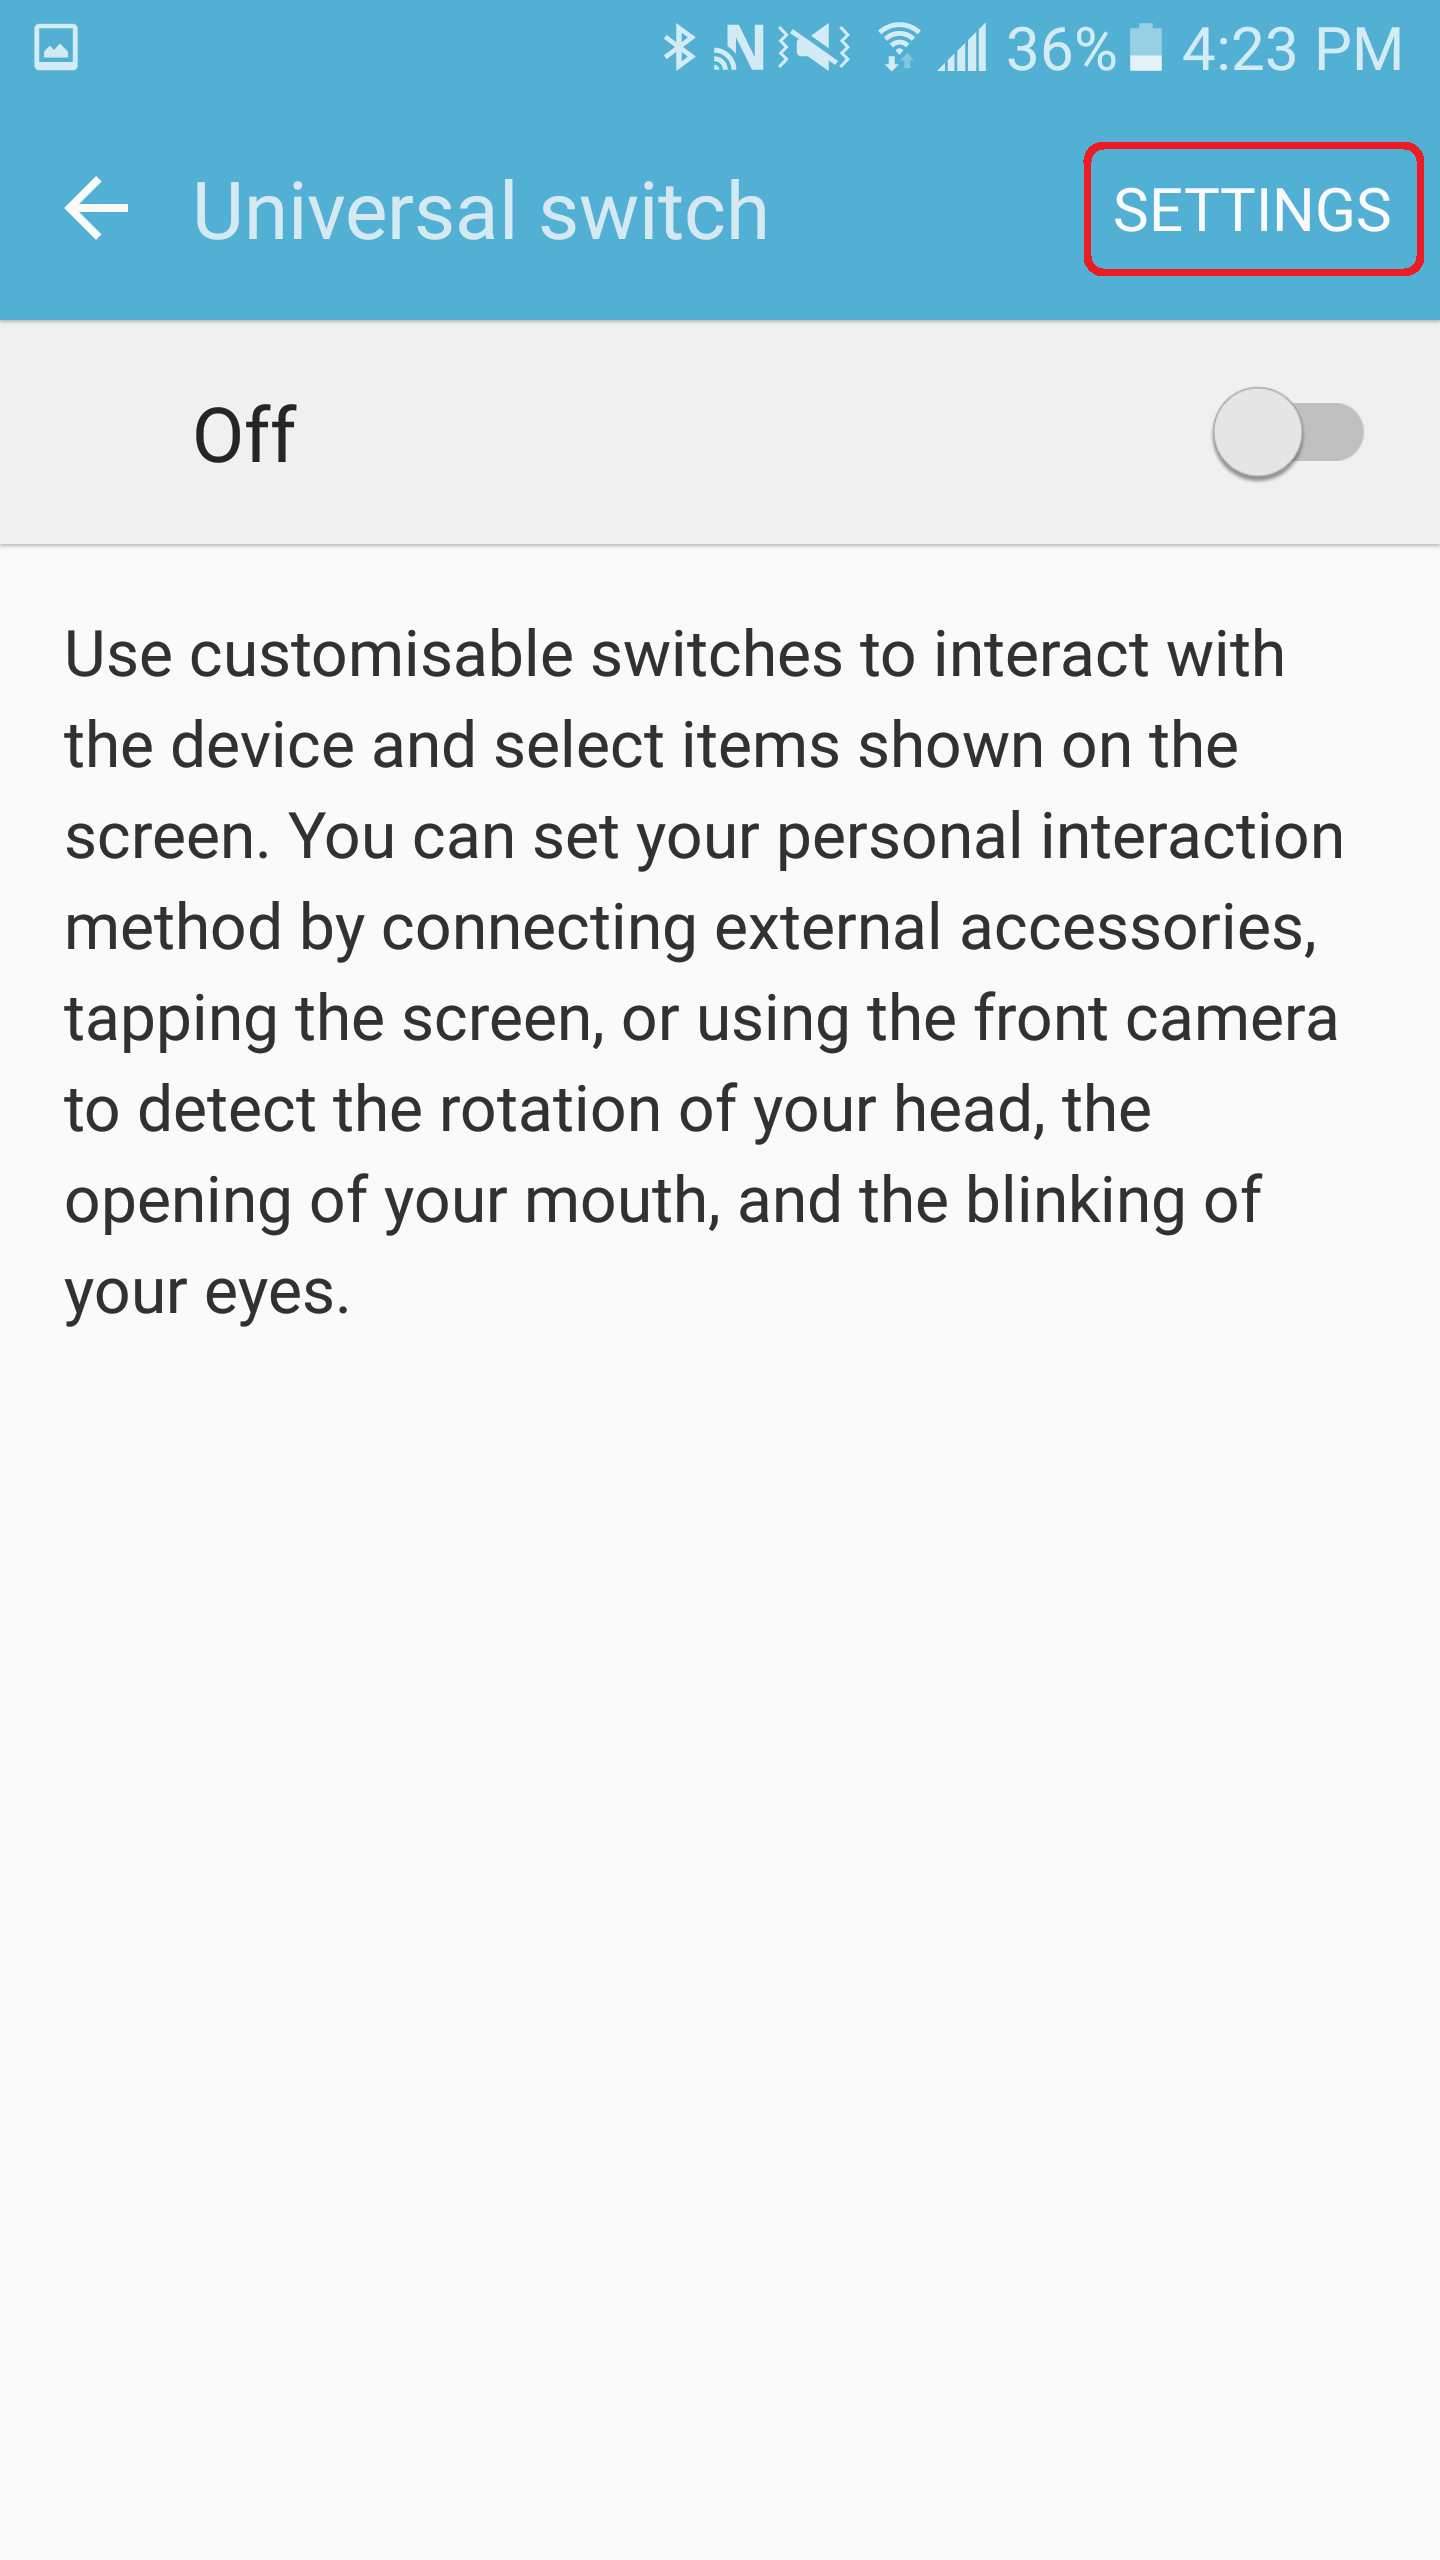
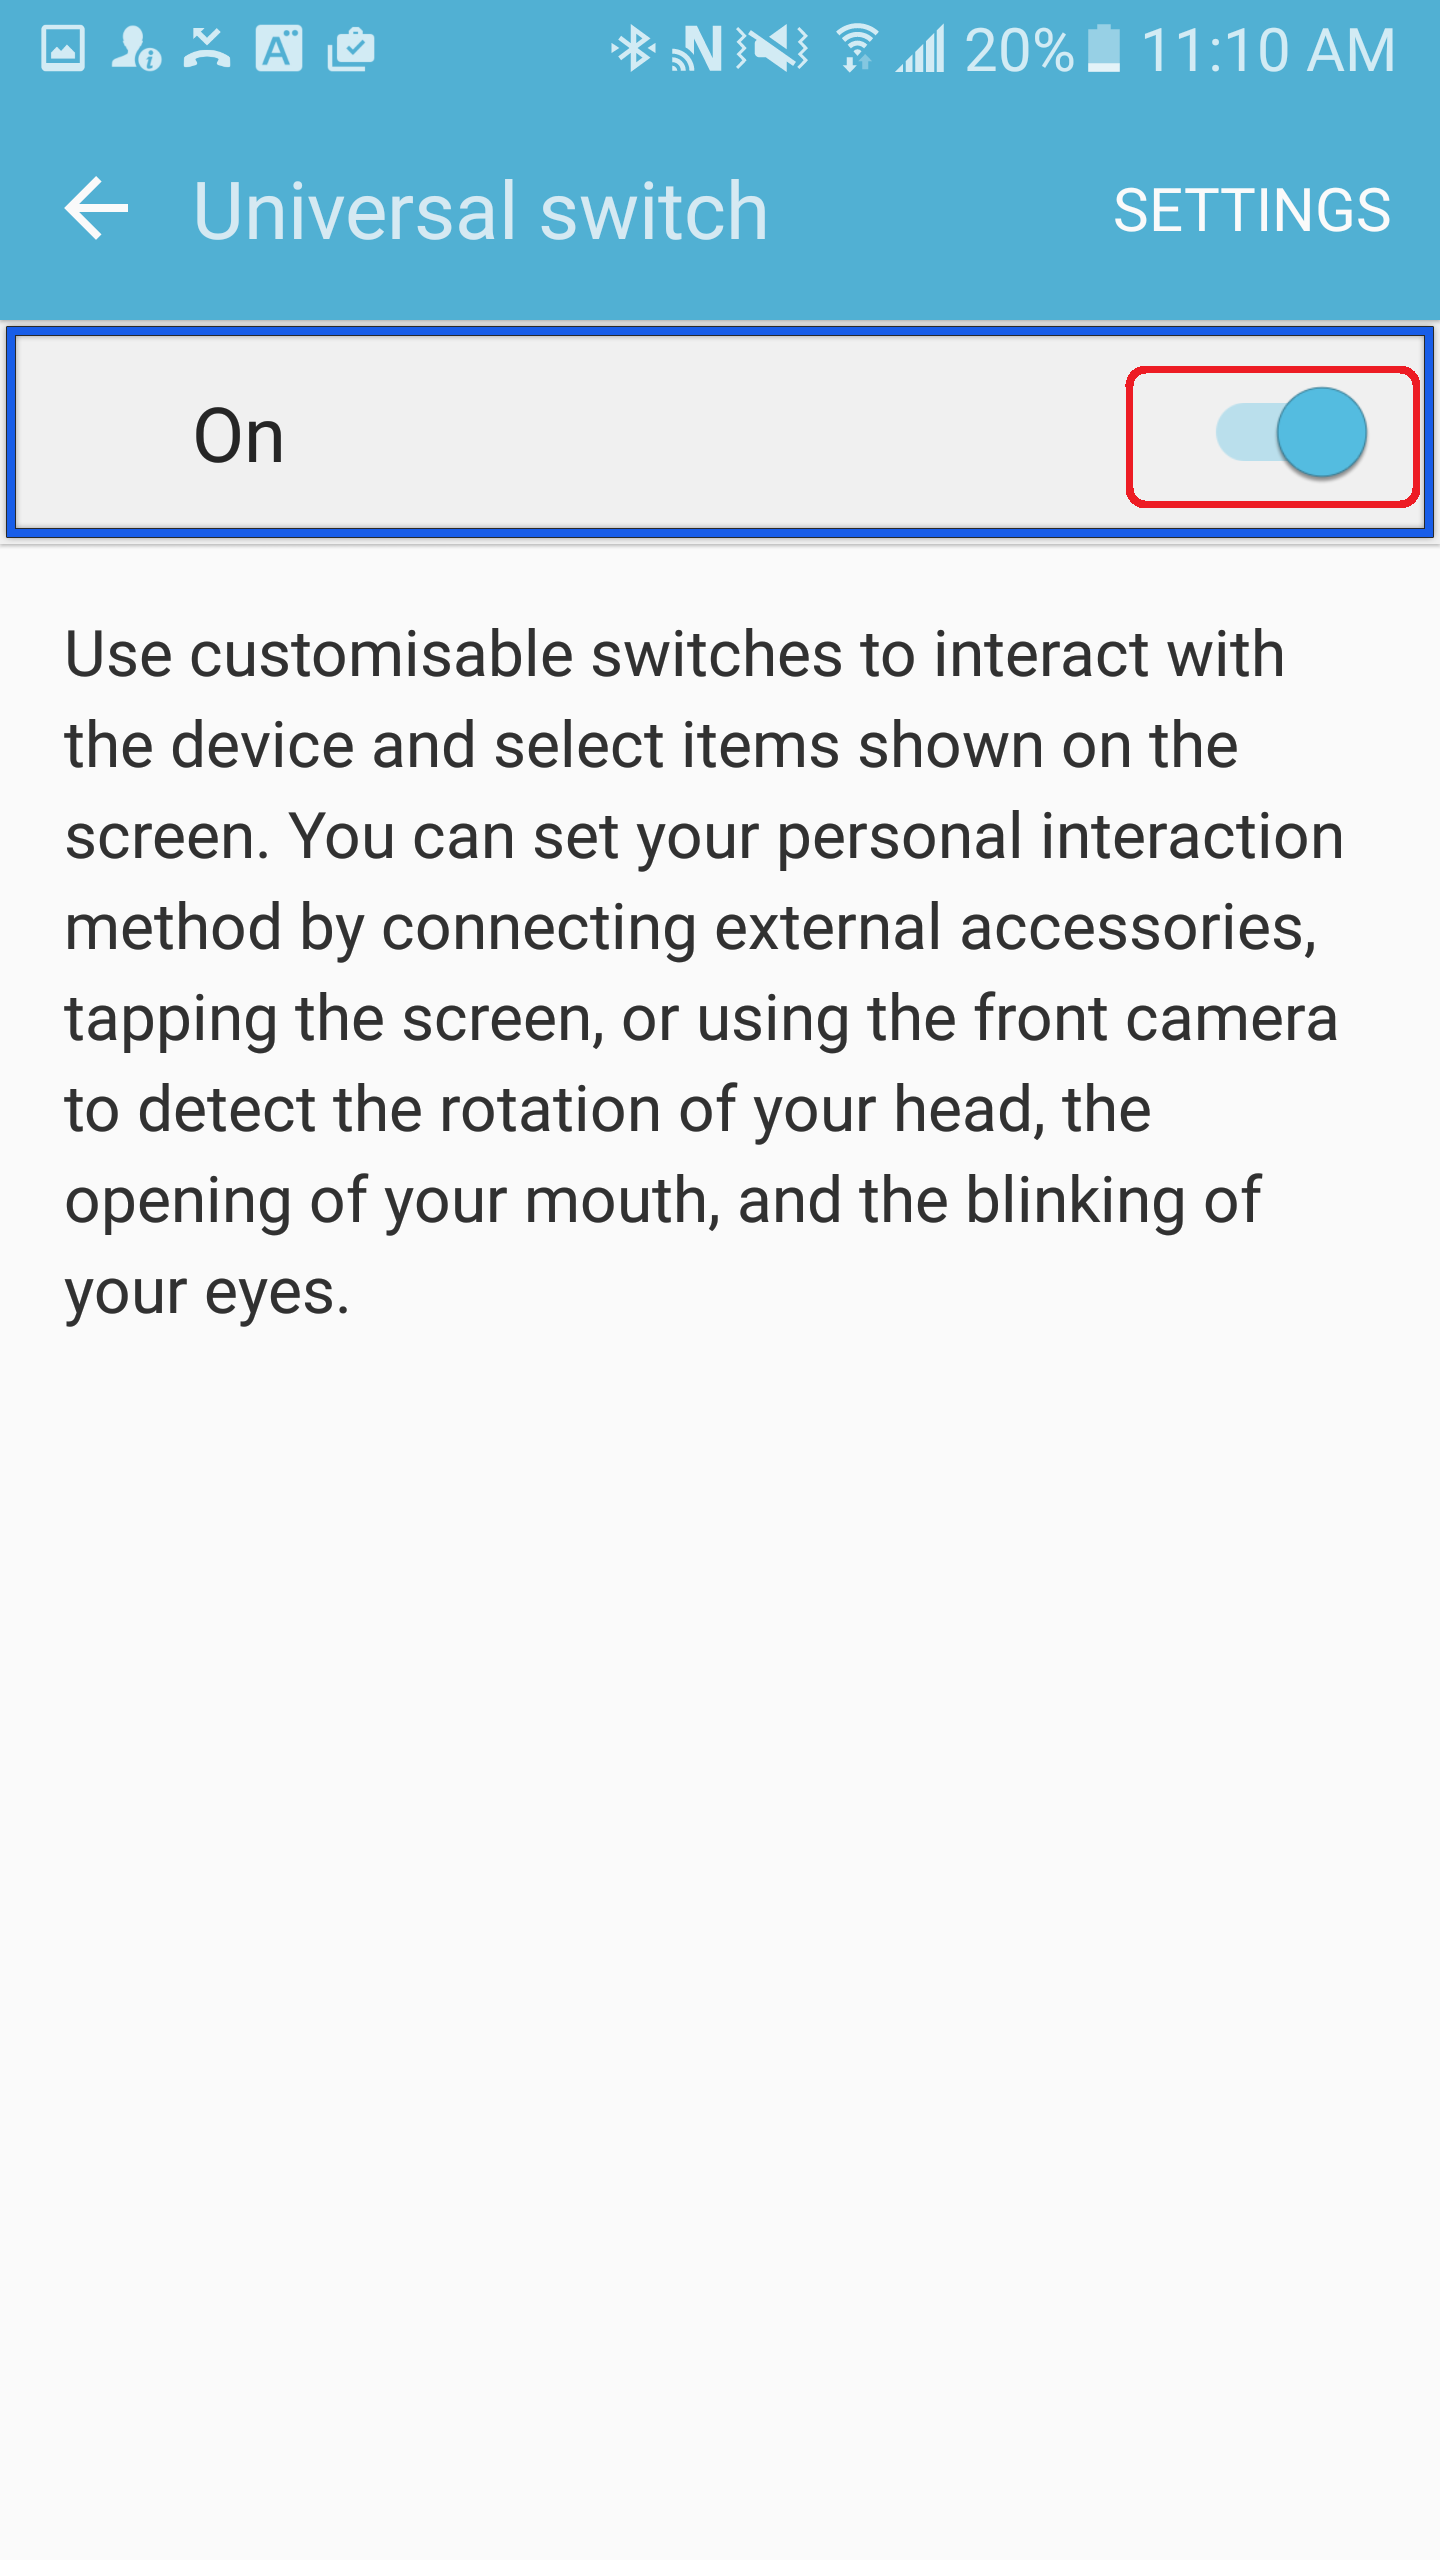
5. Set-up Universal Switch: Go to Settings > Accessibility, then select Dexterity and Interaction > Universal Switch. Click on Settings.
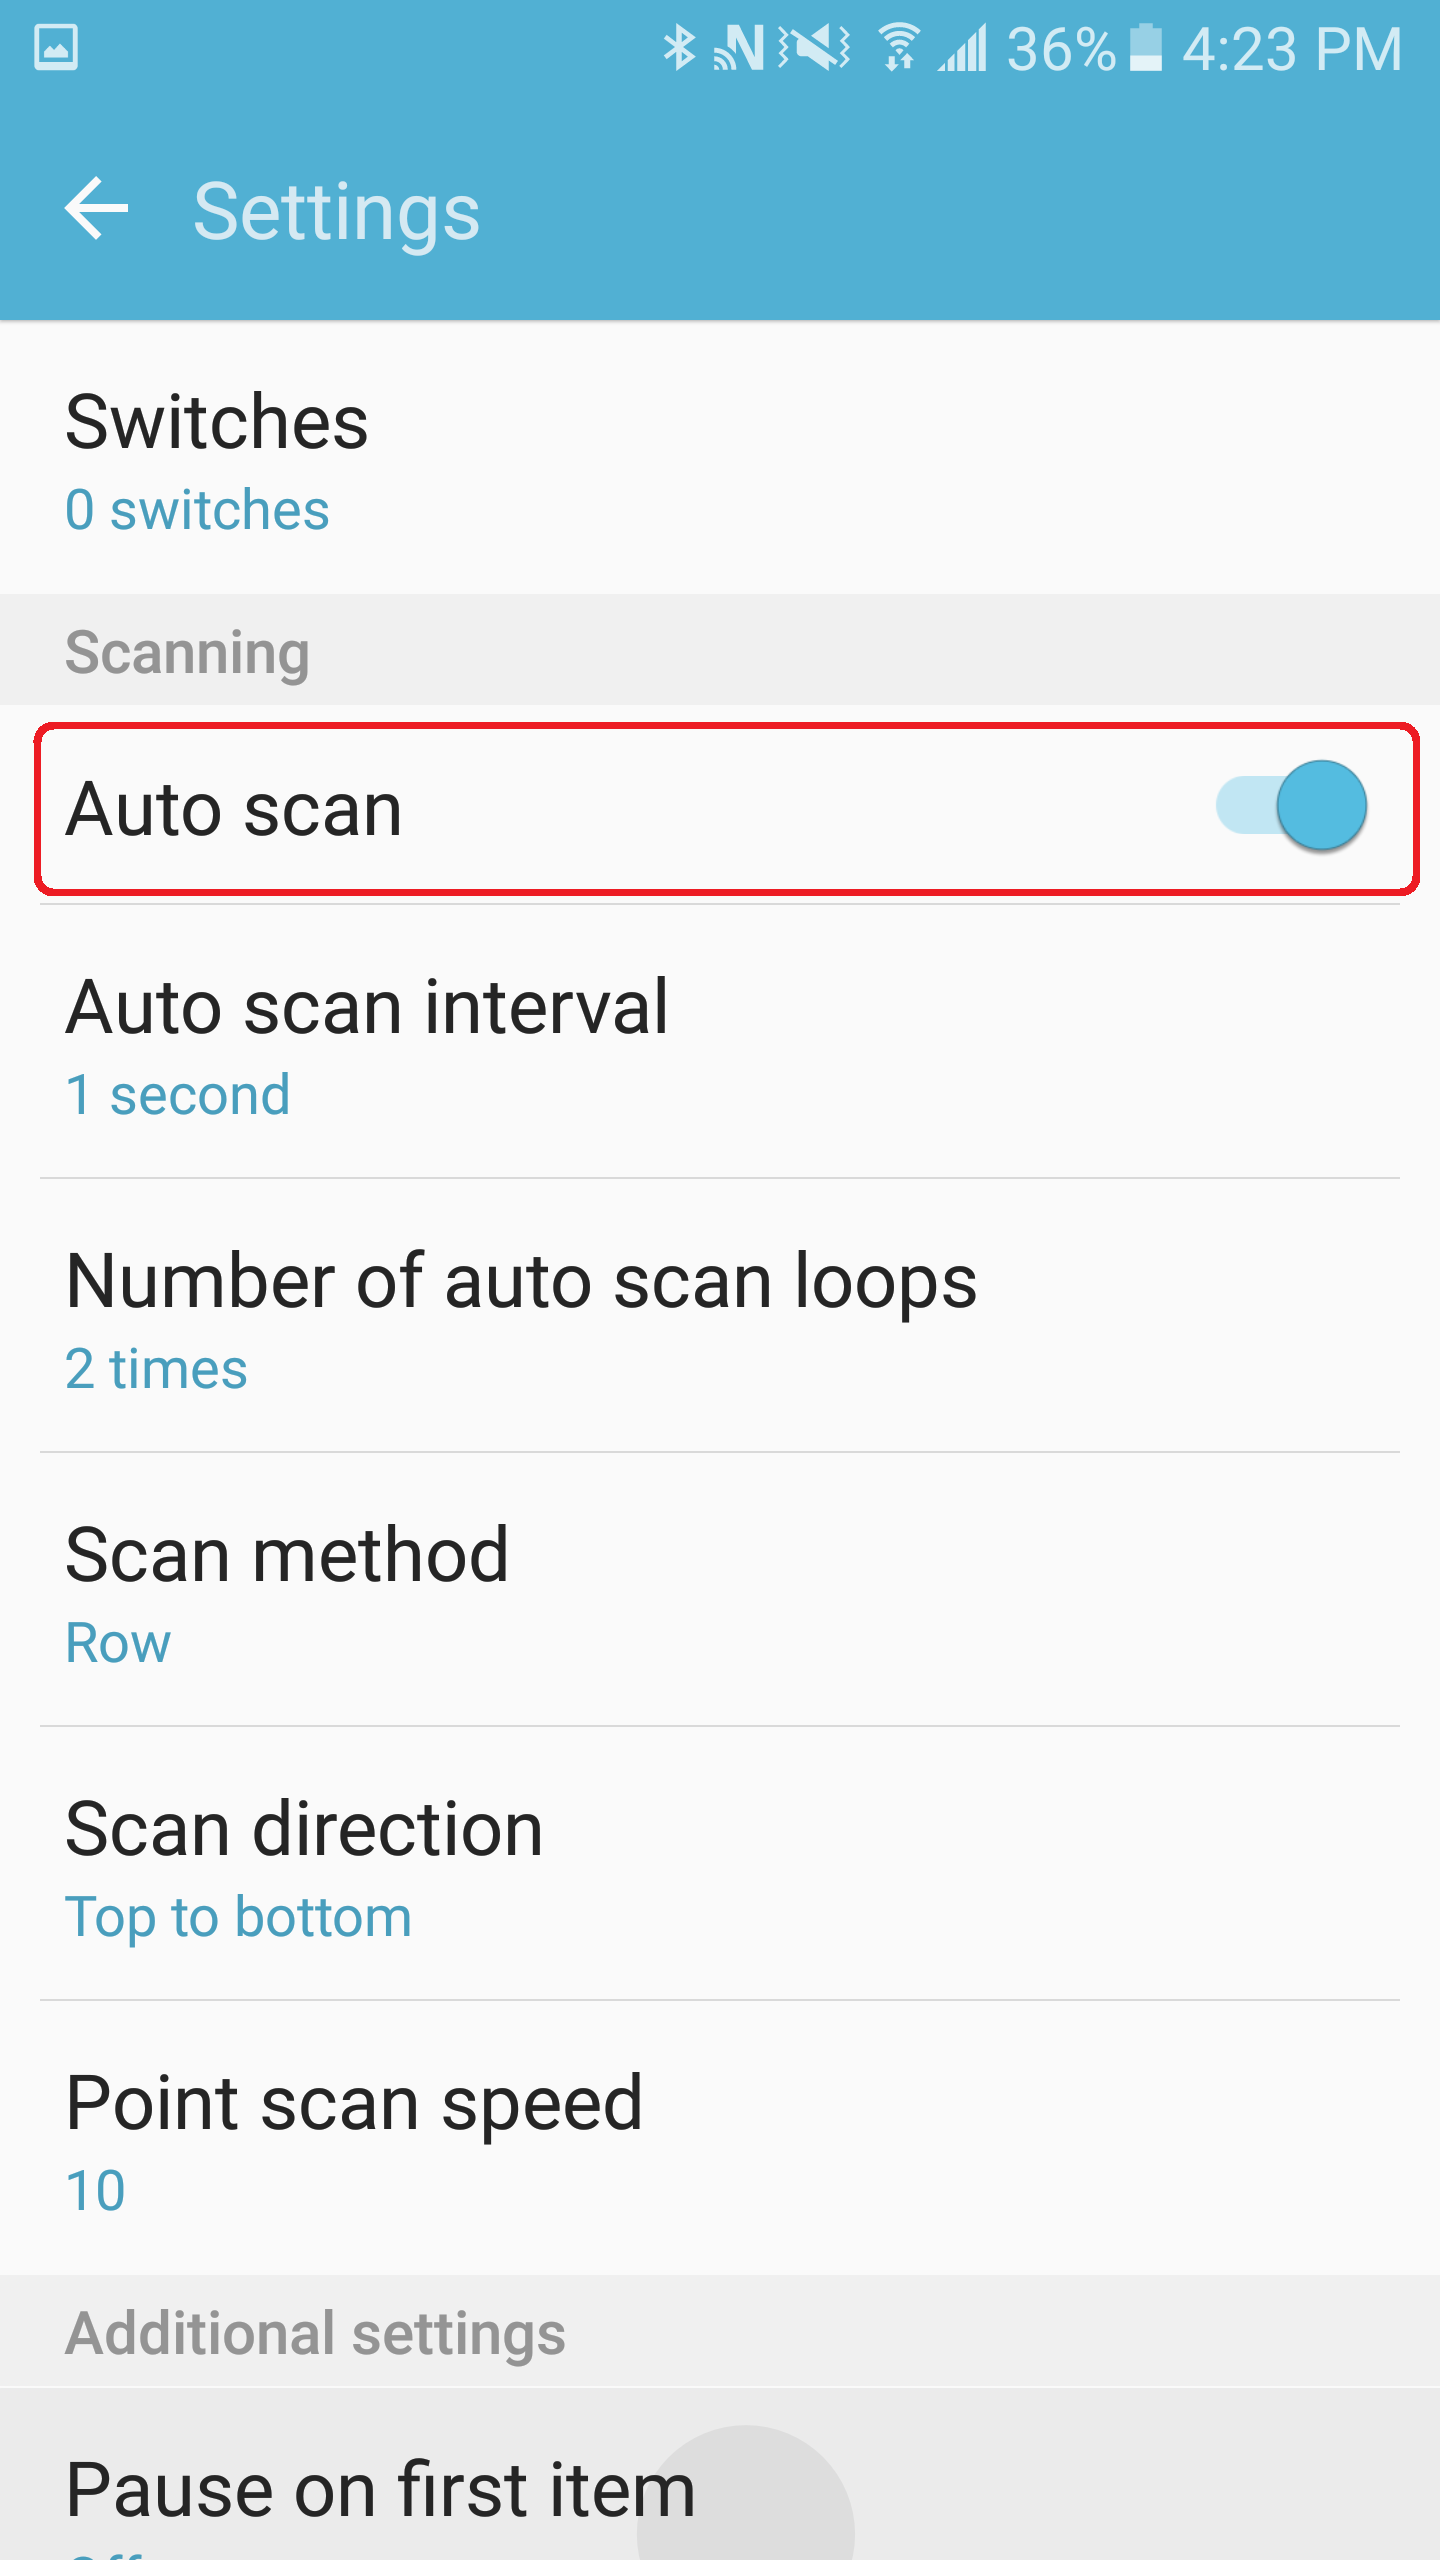
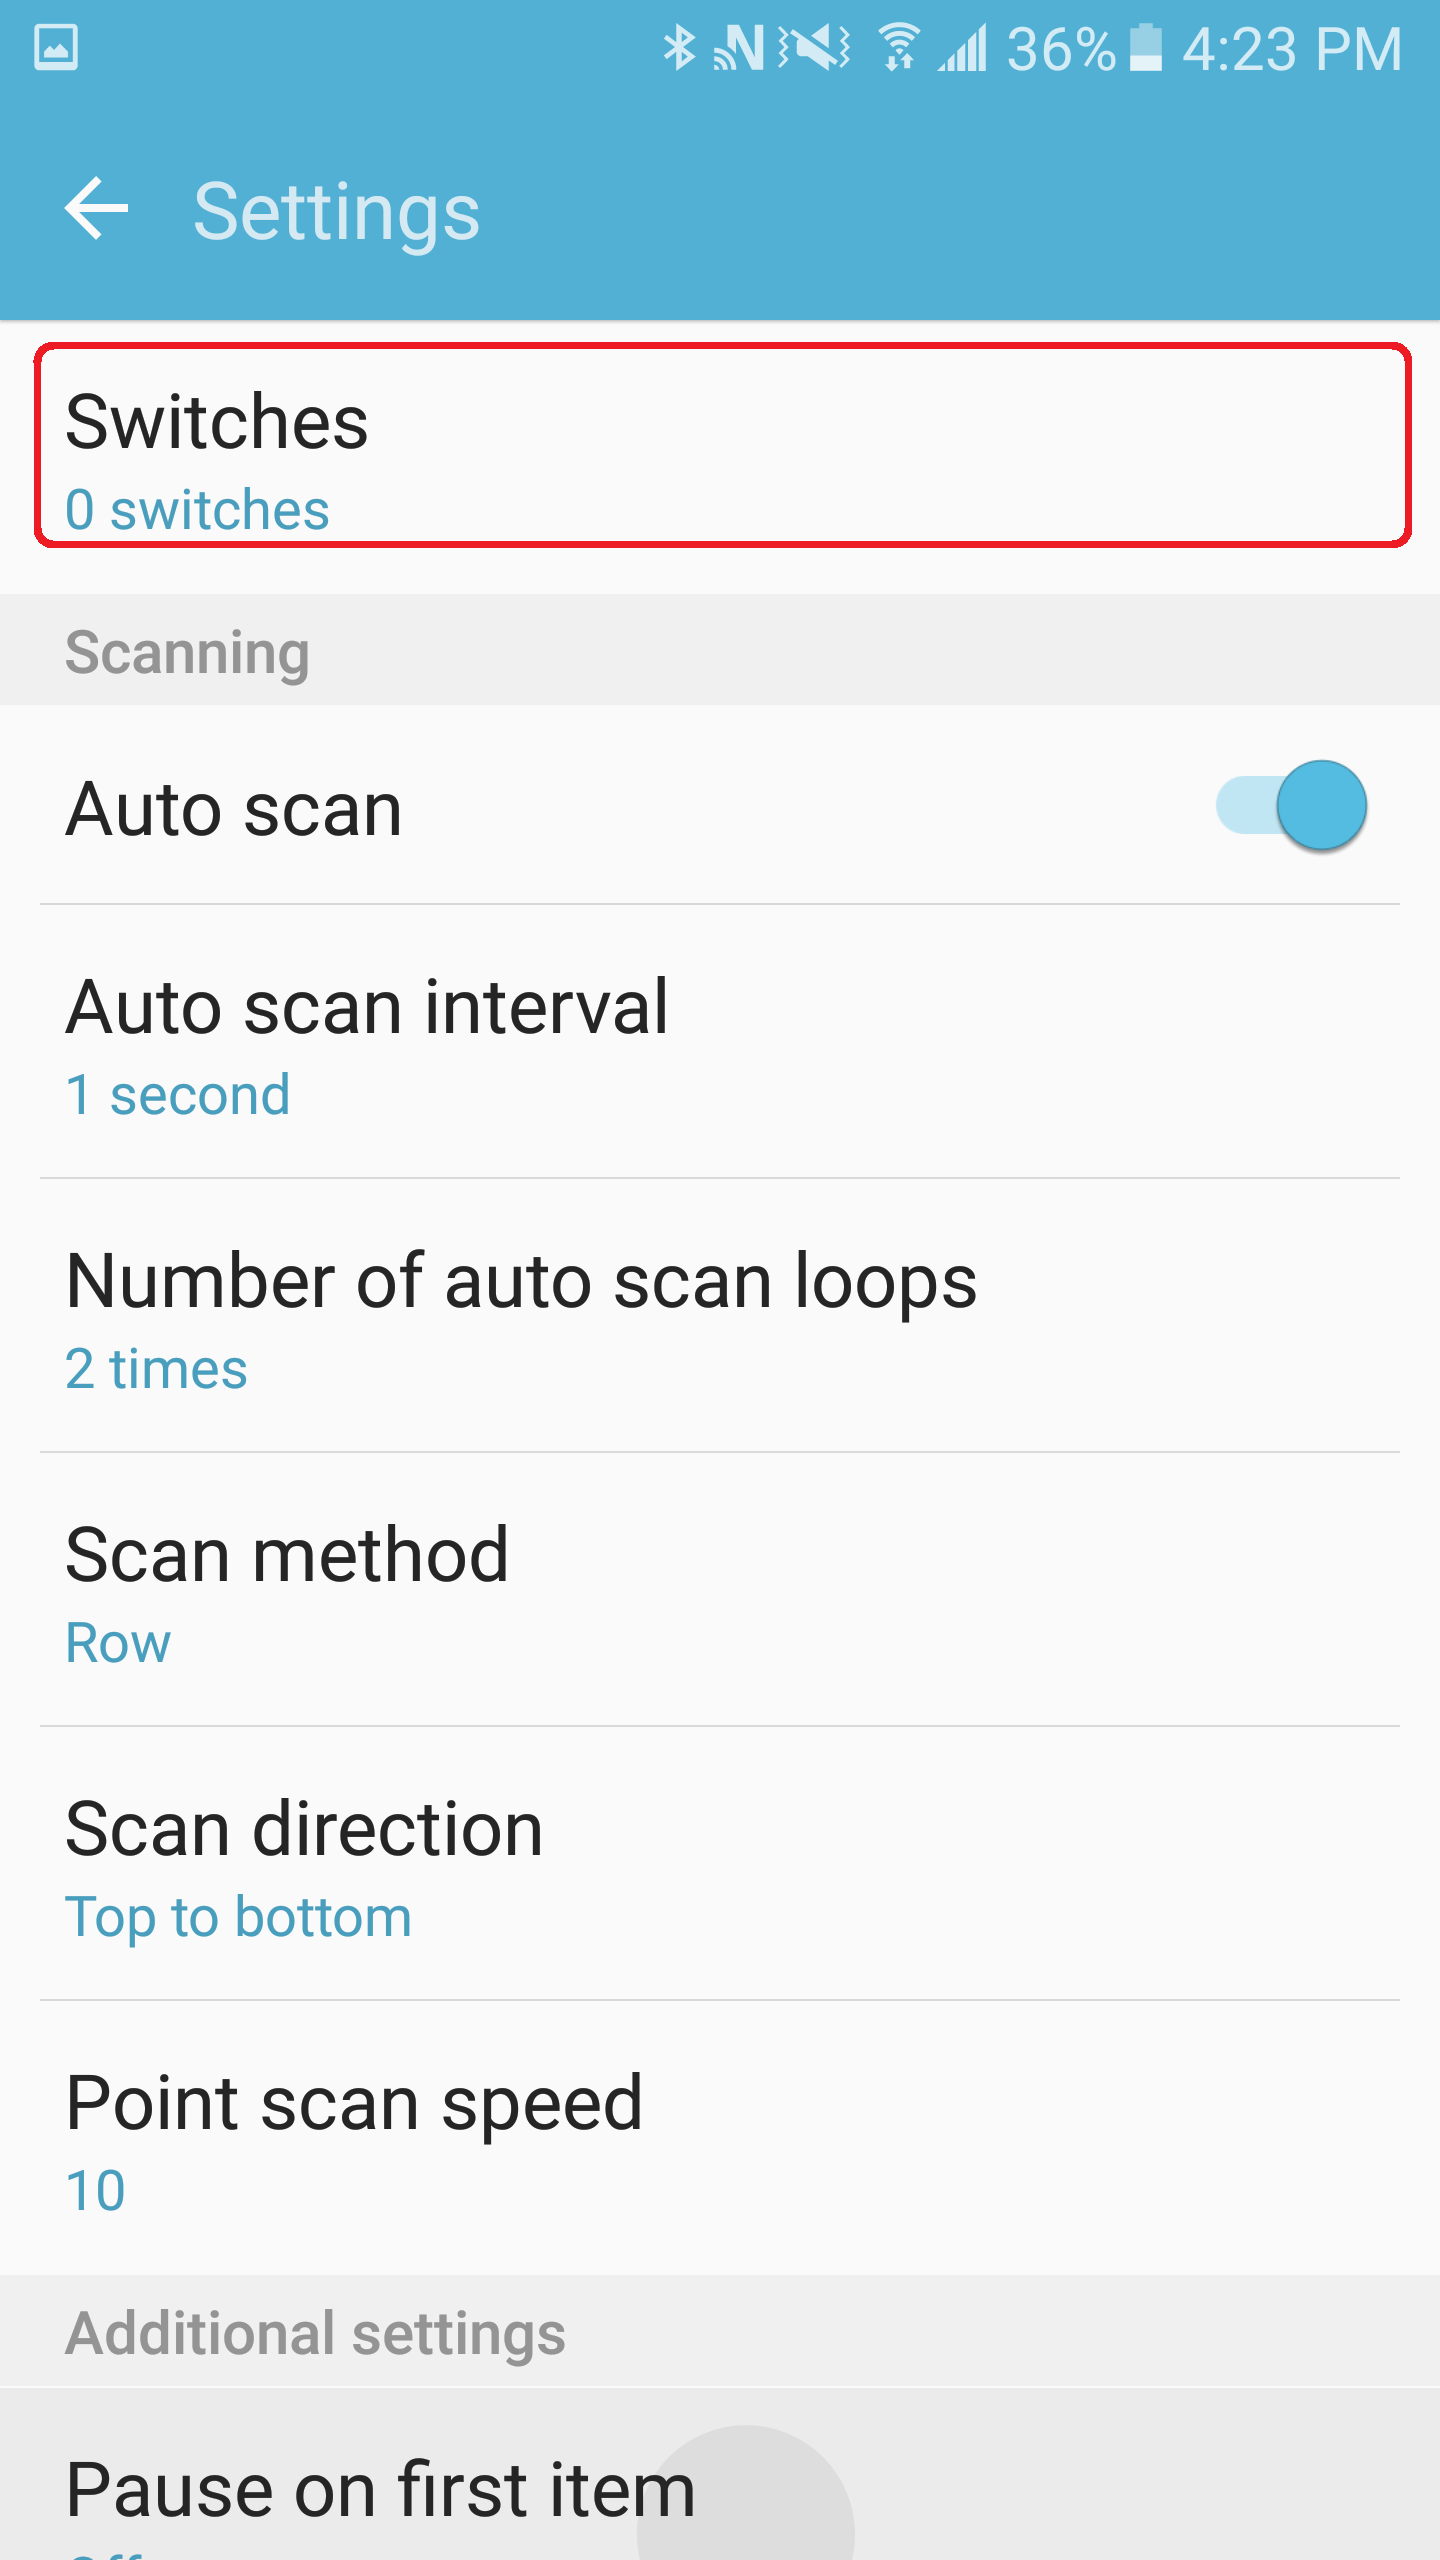
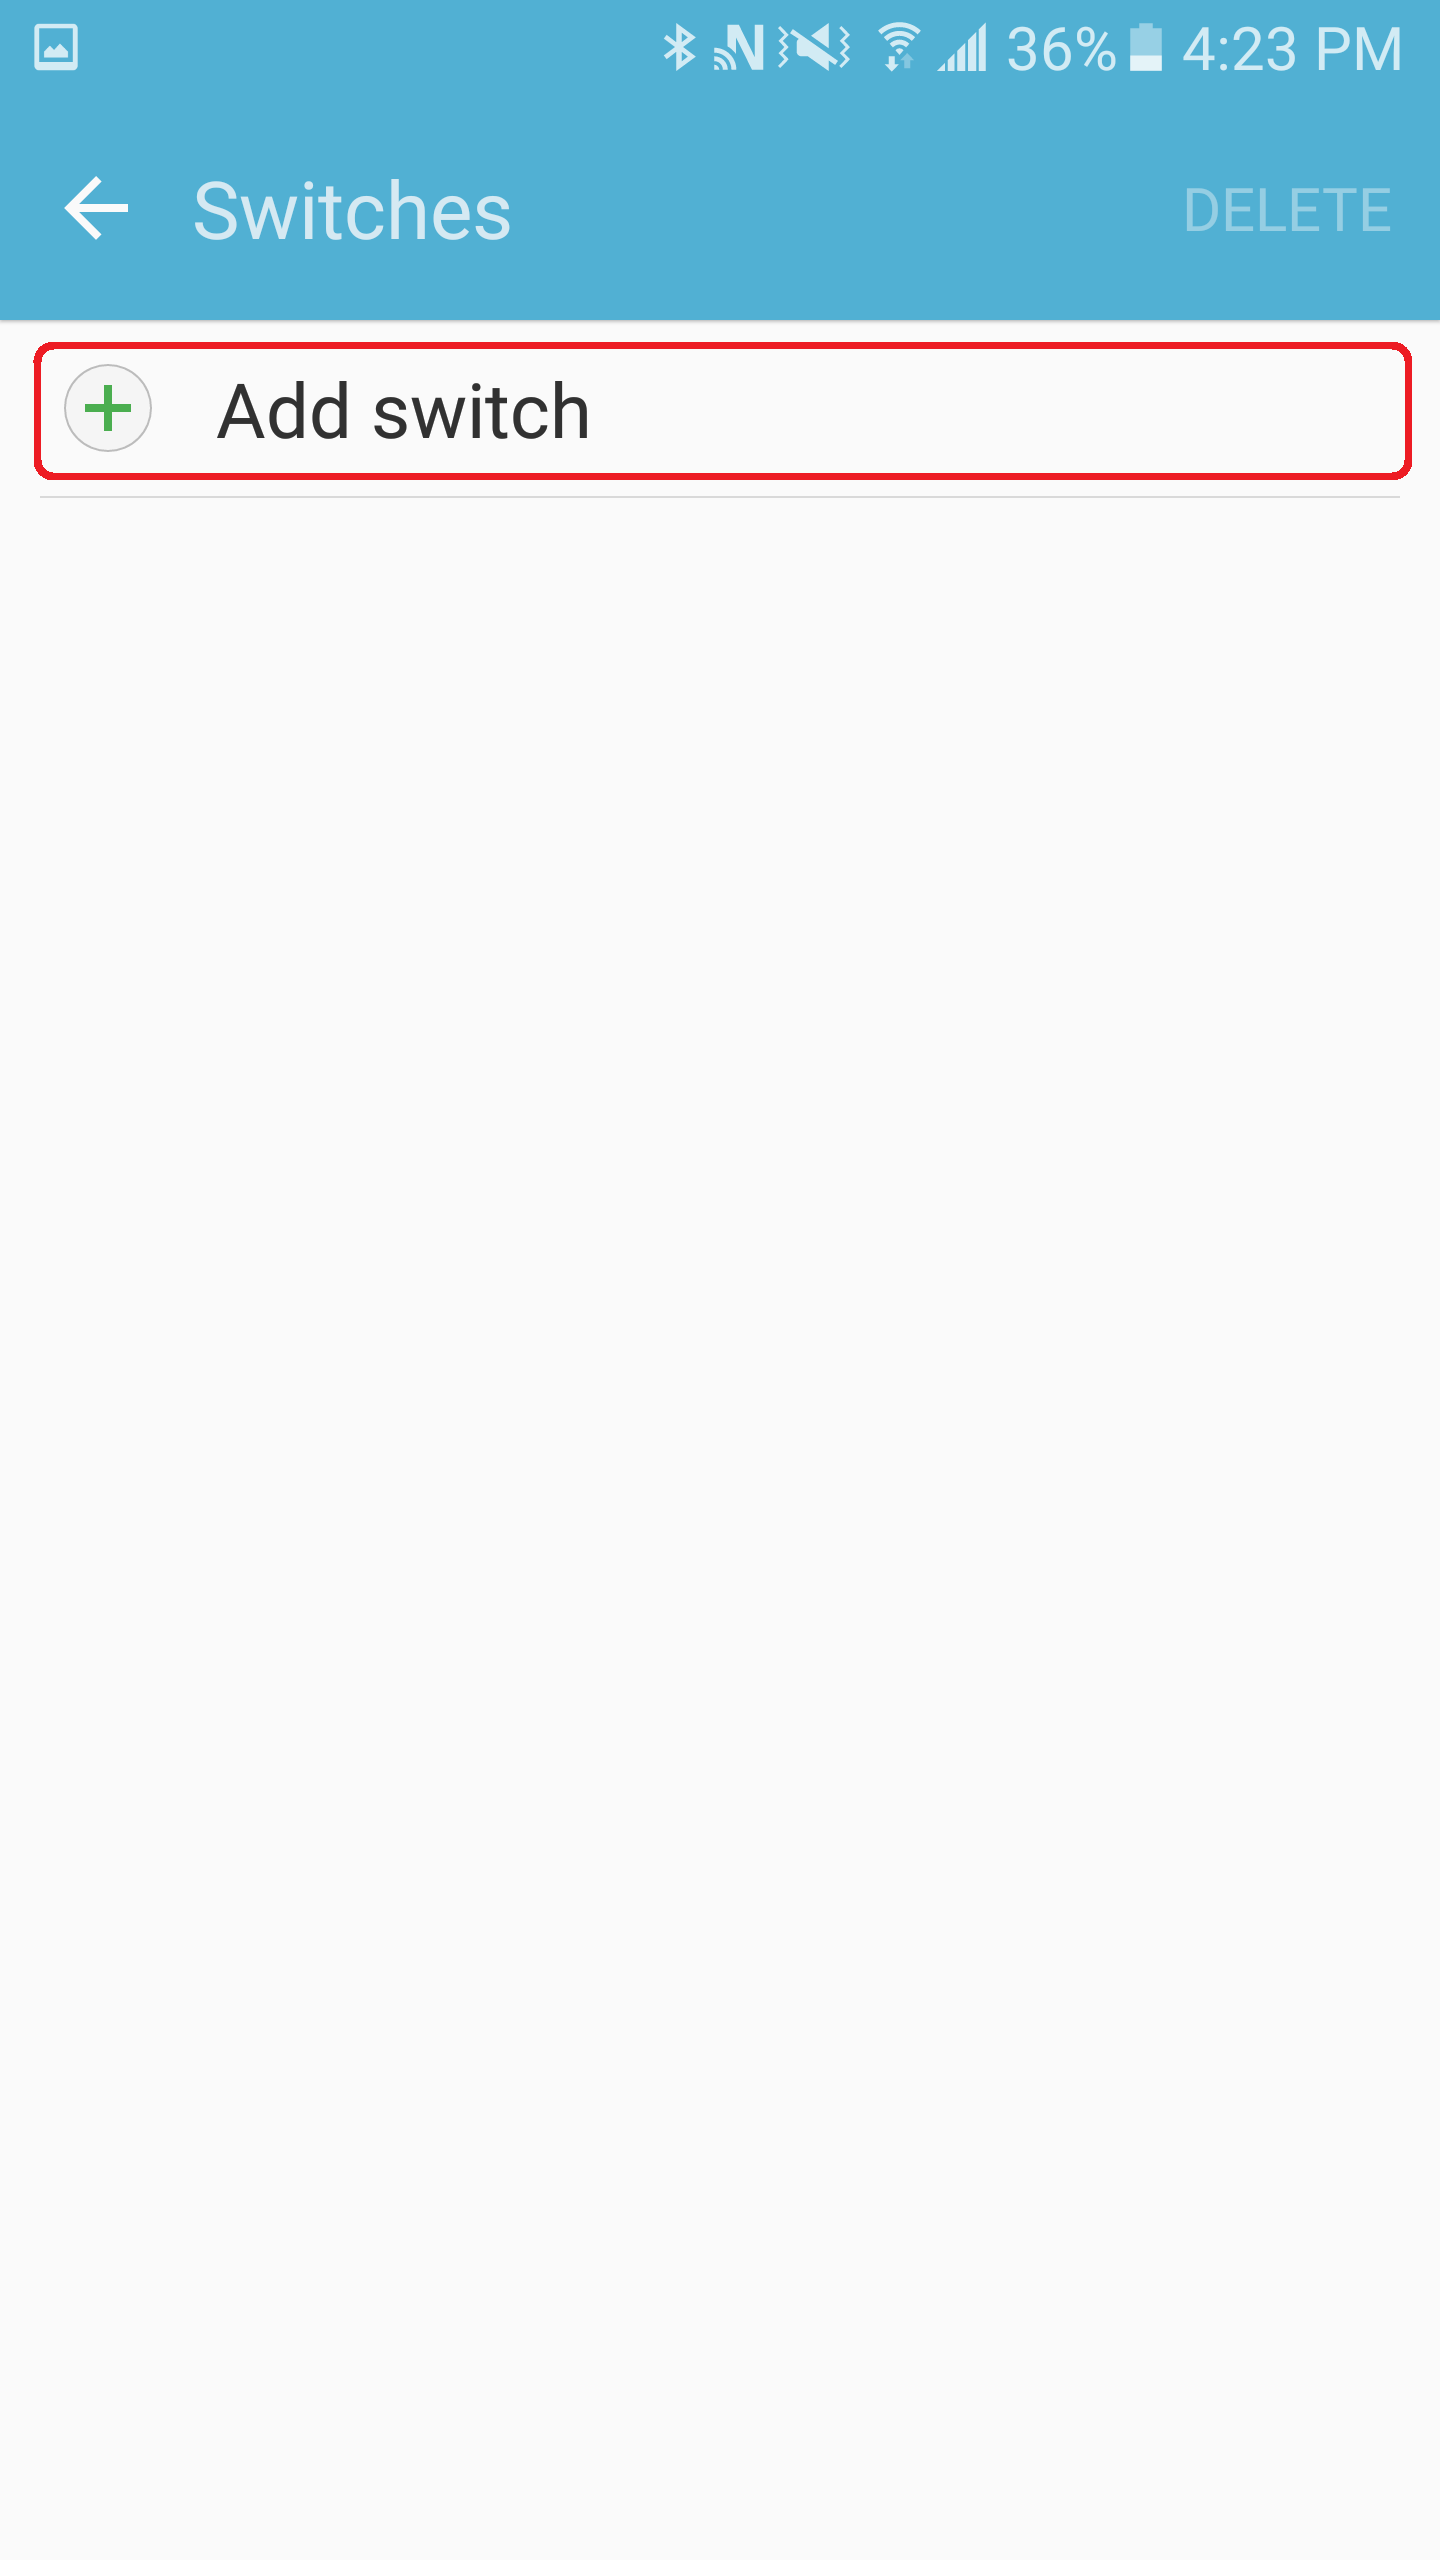
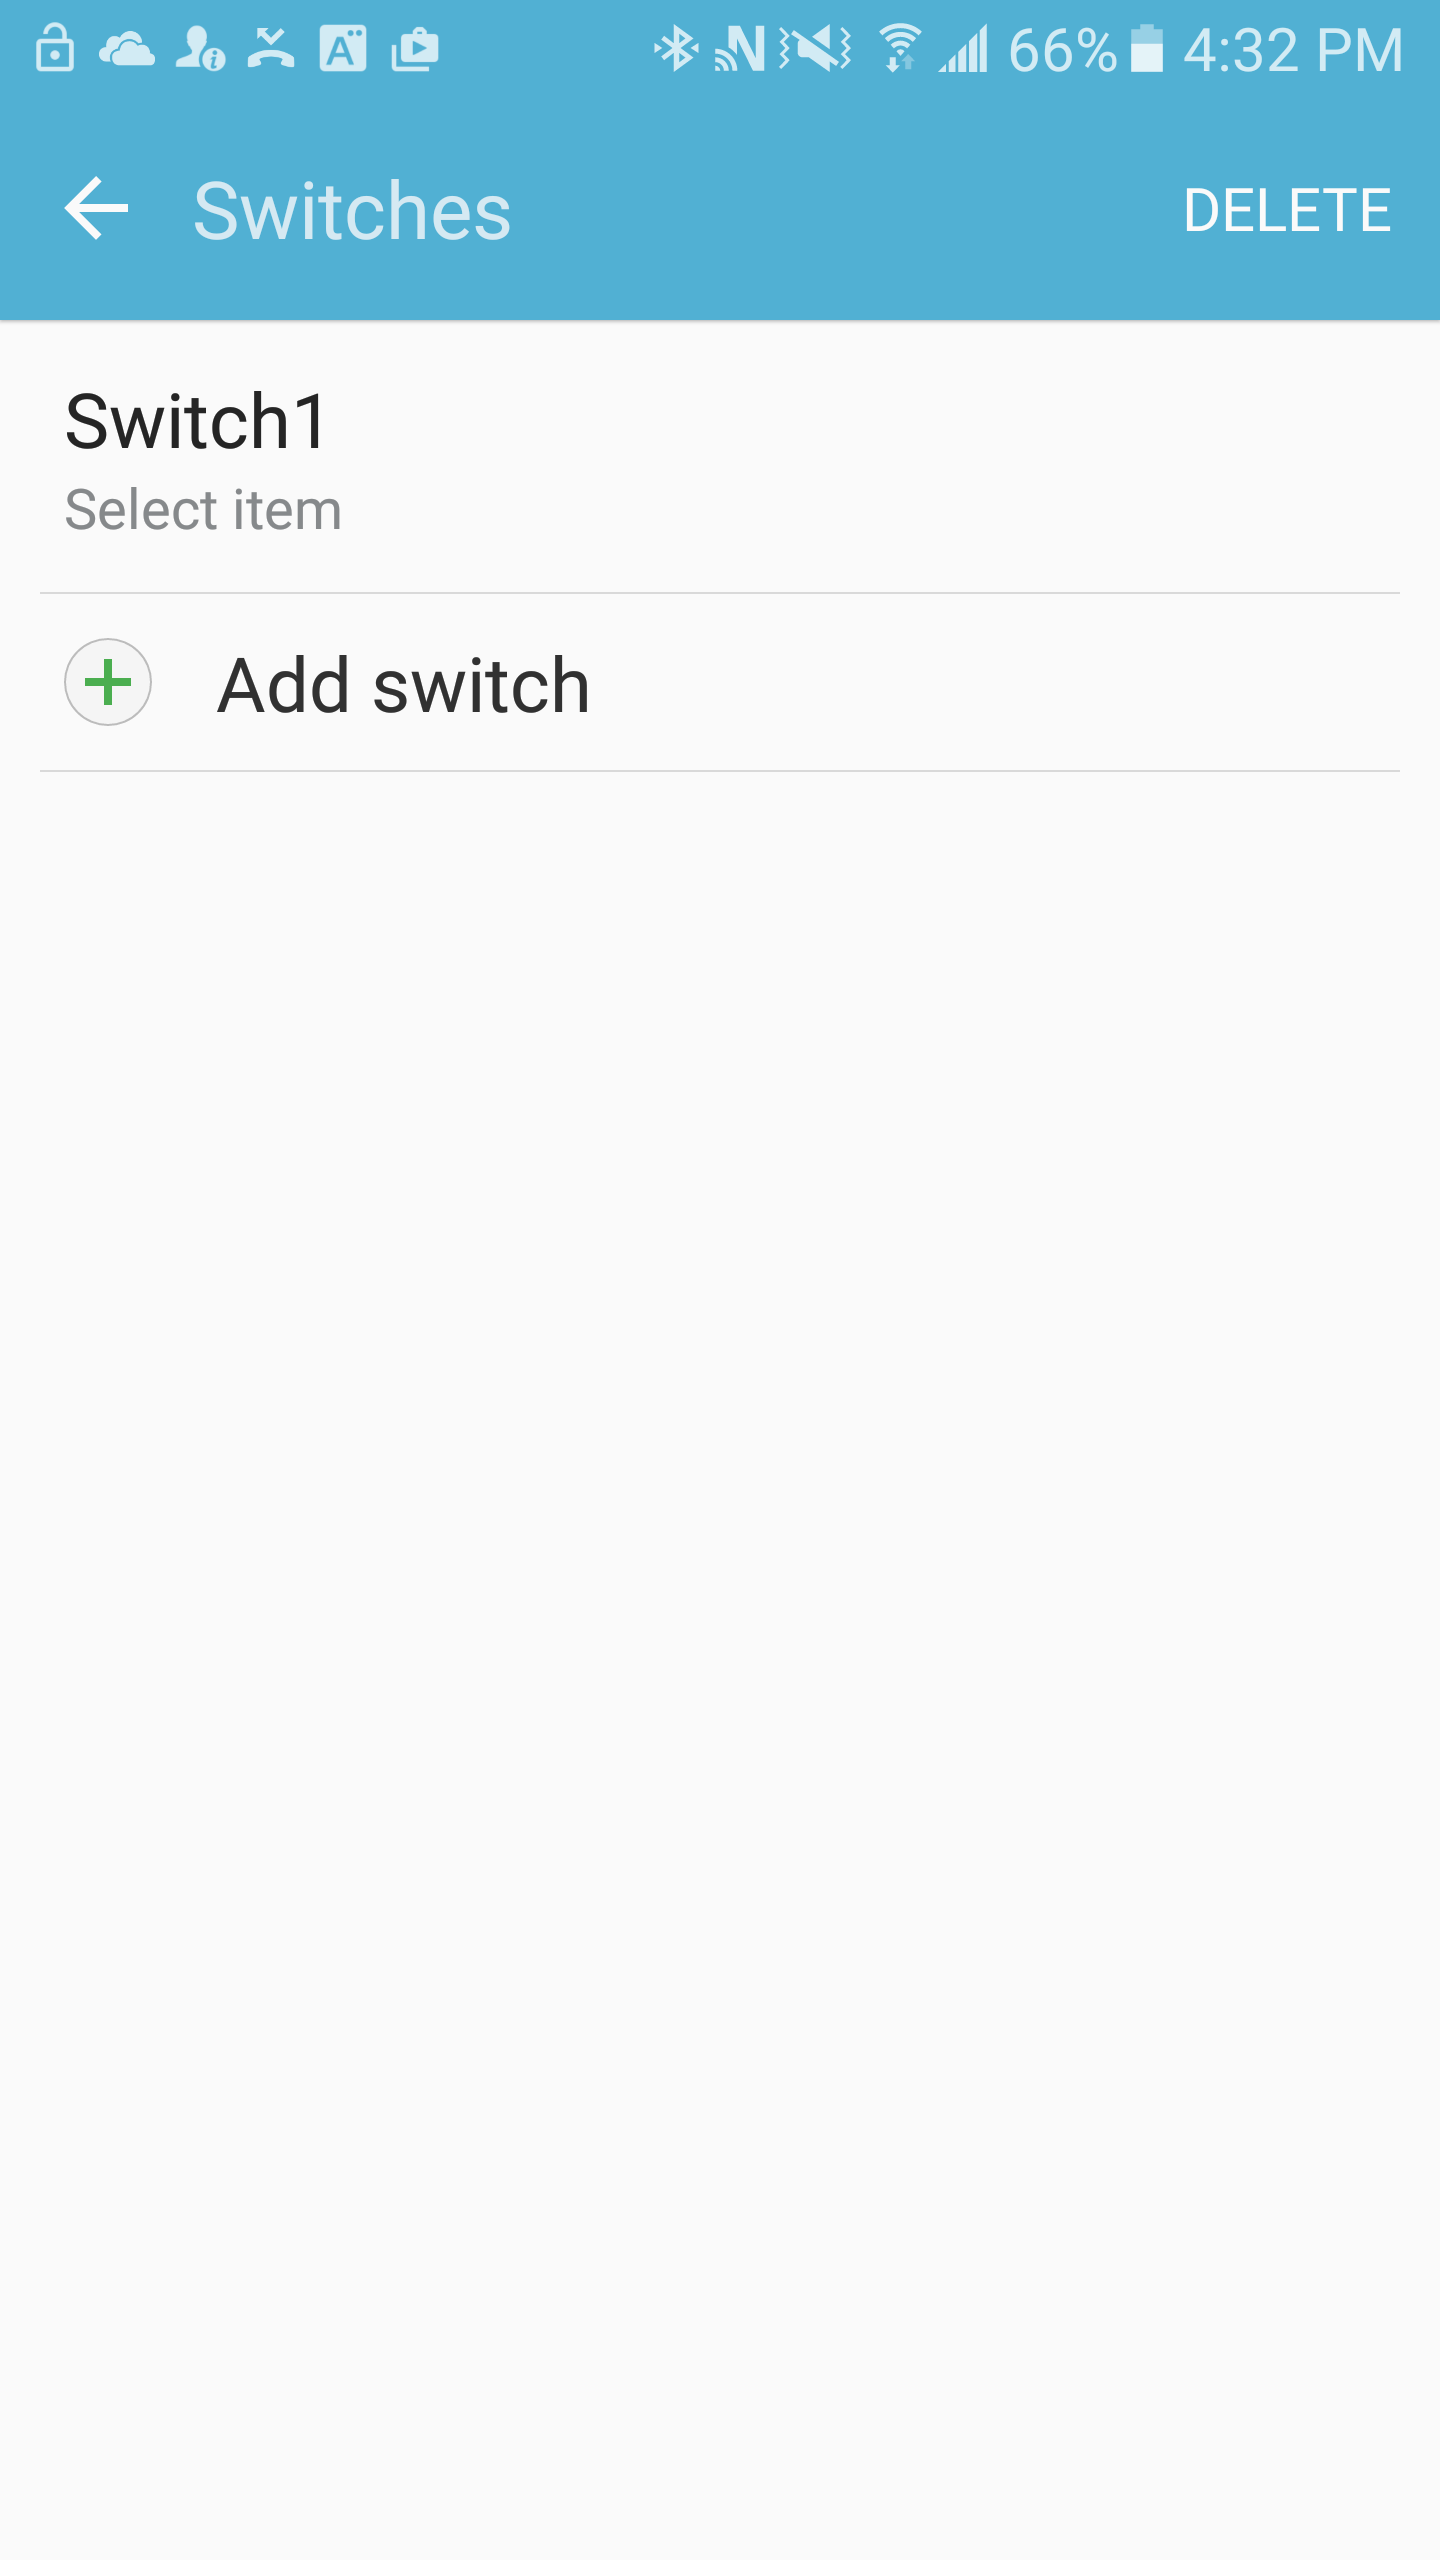
6. Assign your switches to actions: If you are using single-switch access, make sure Auto Scan is on. To set-up your switch Go to Switches > Add a Switch.
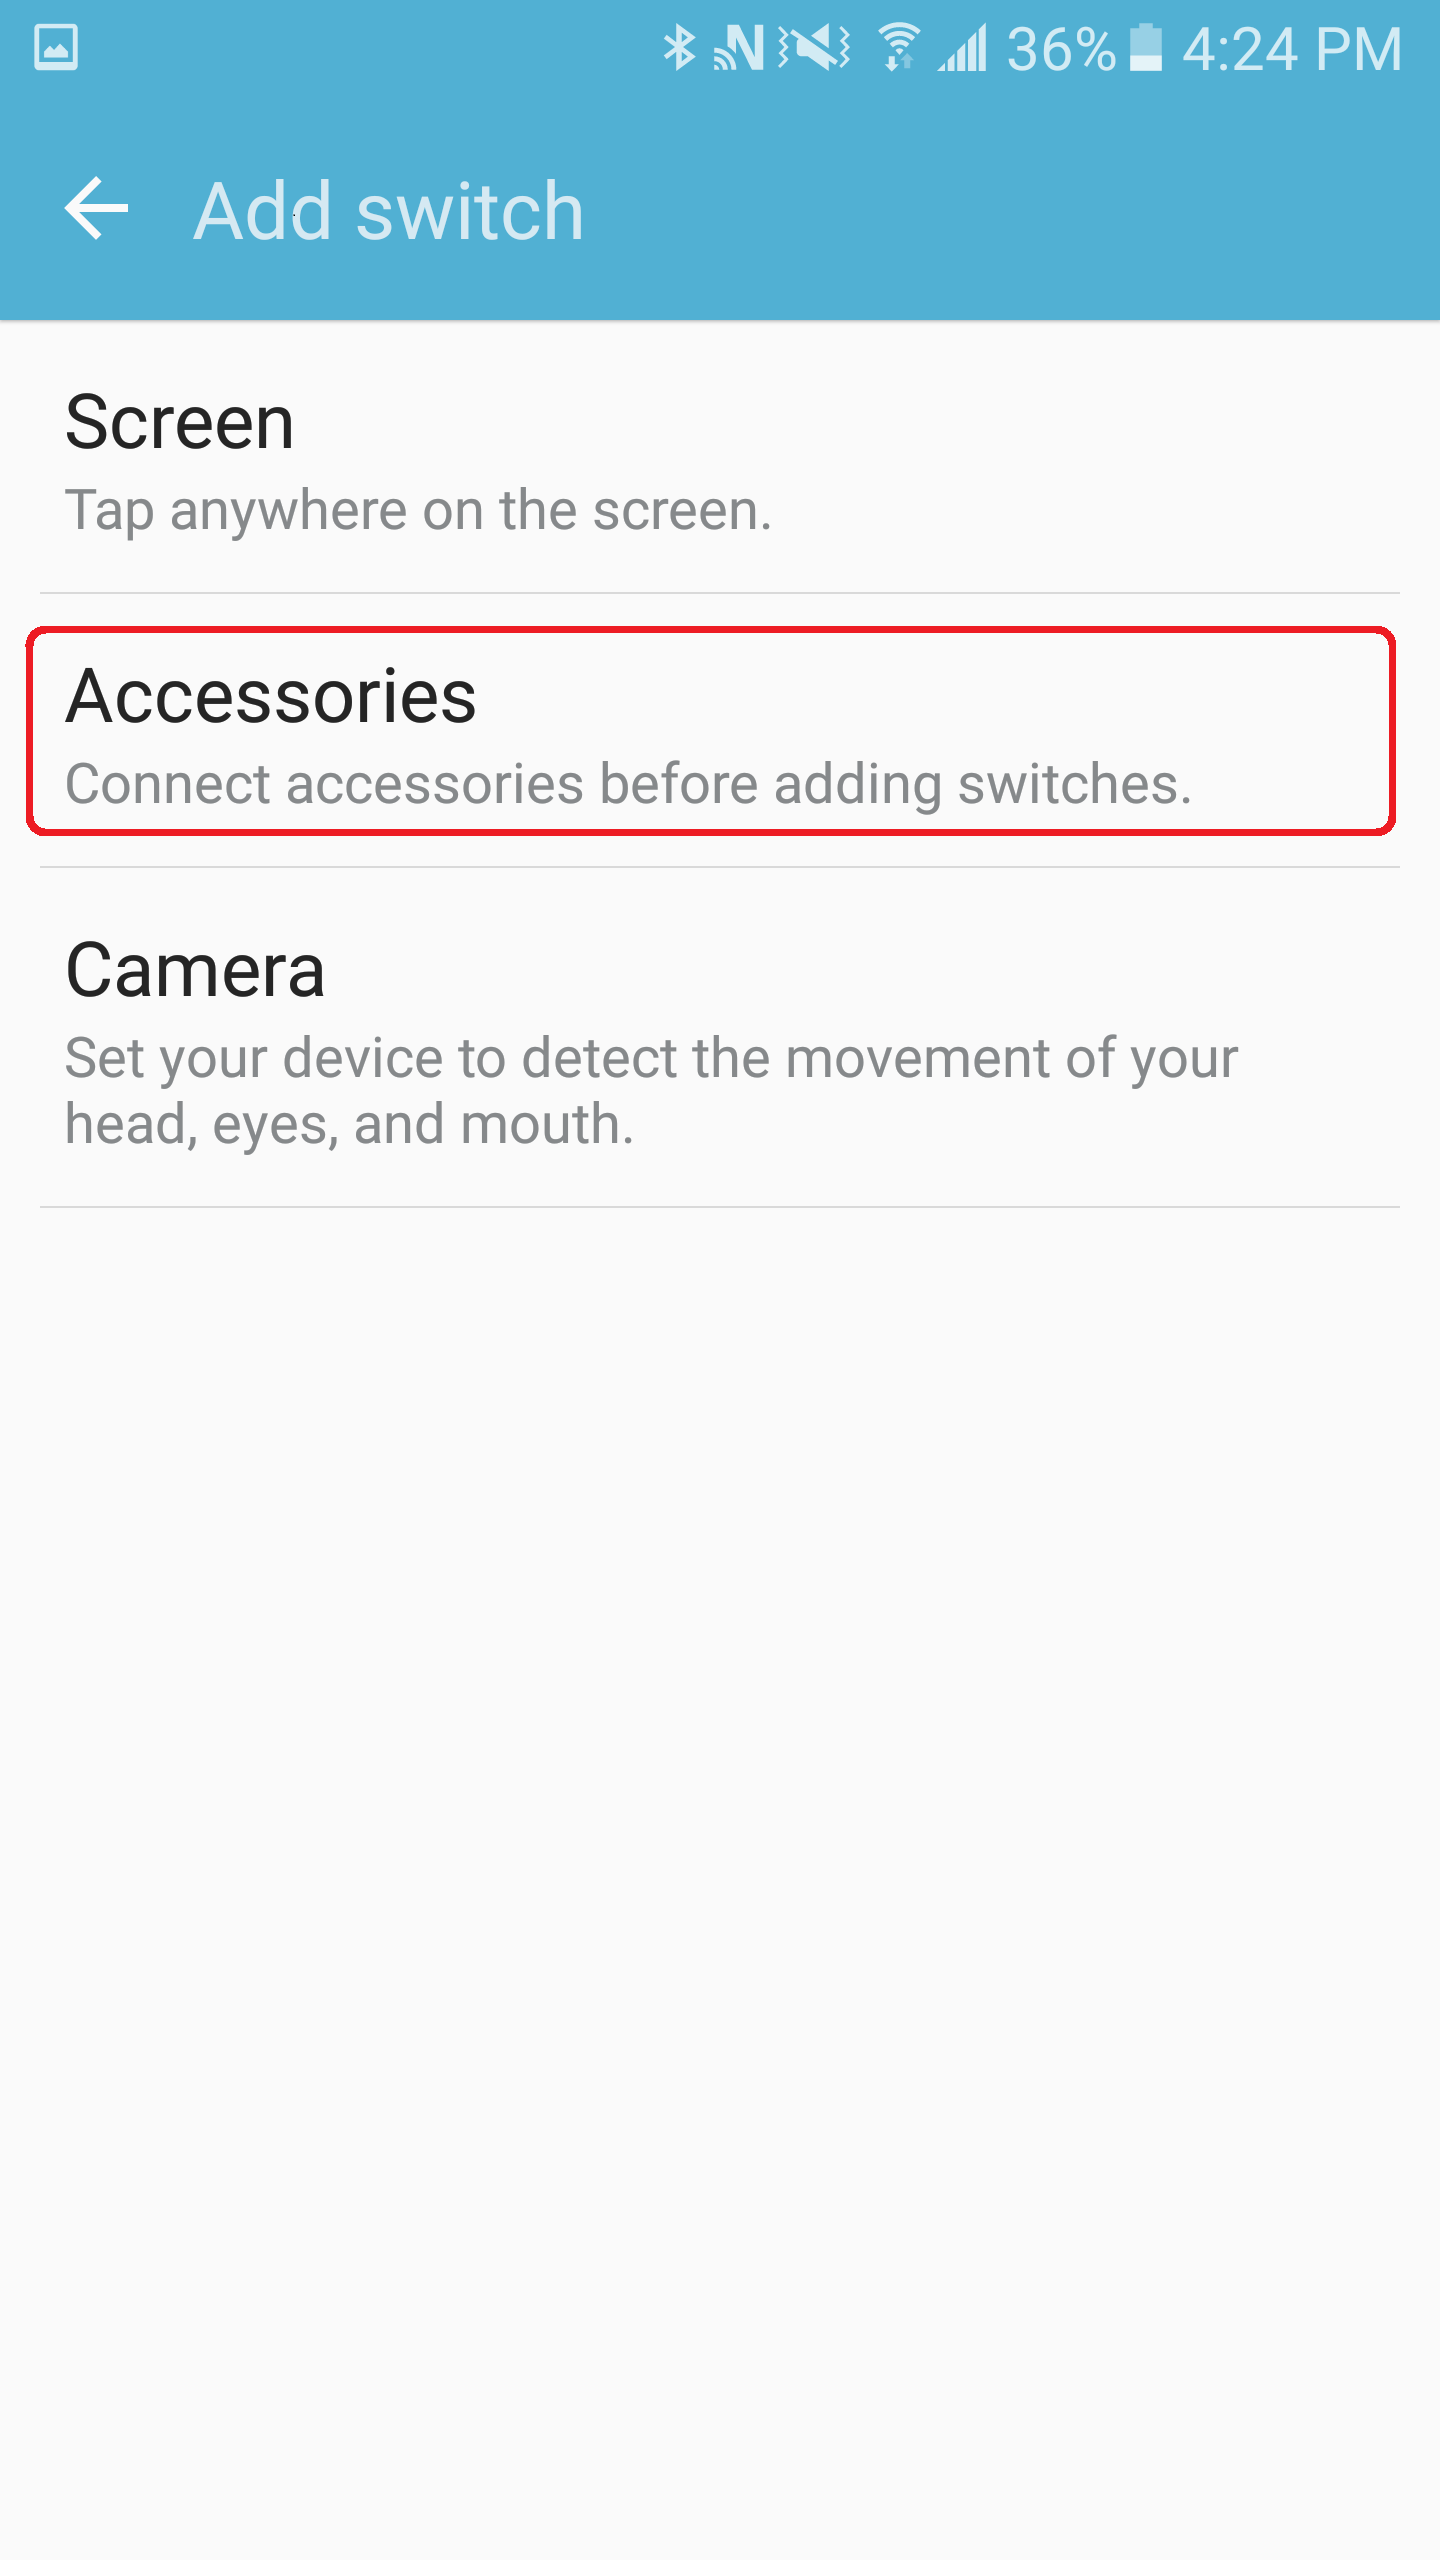
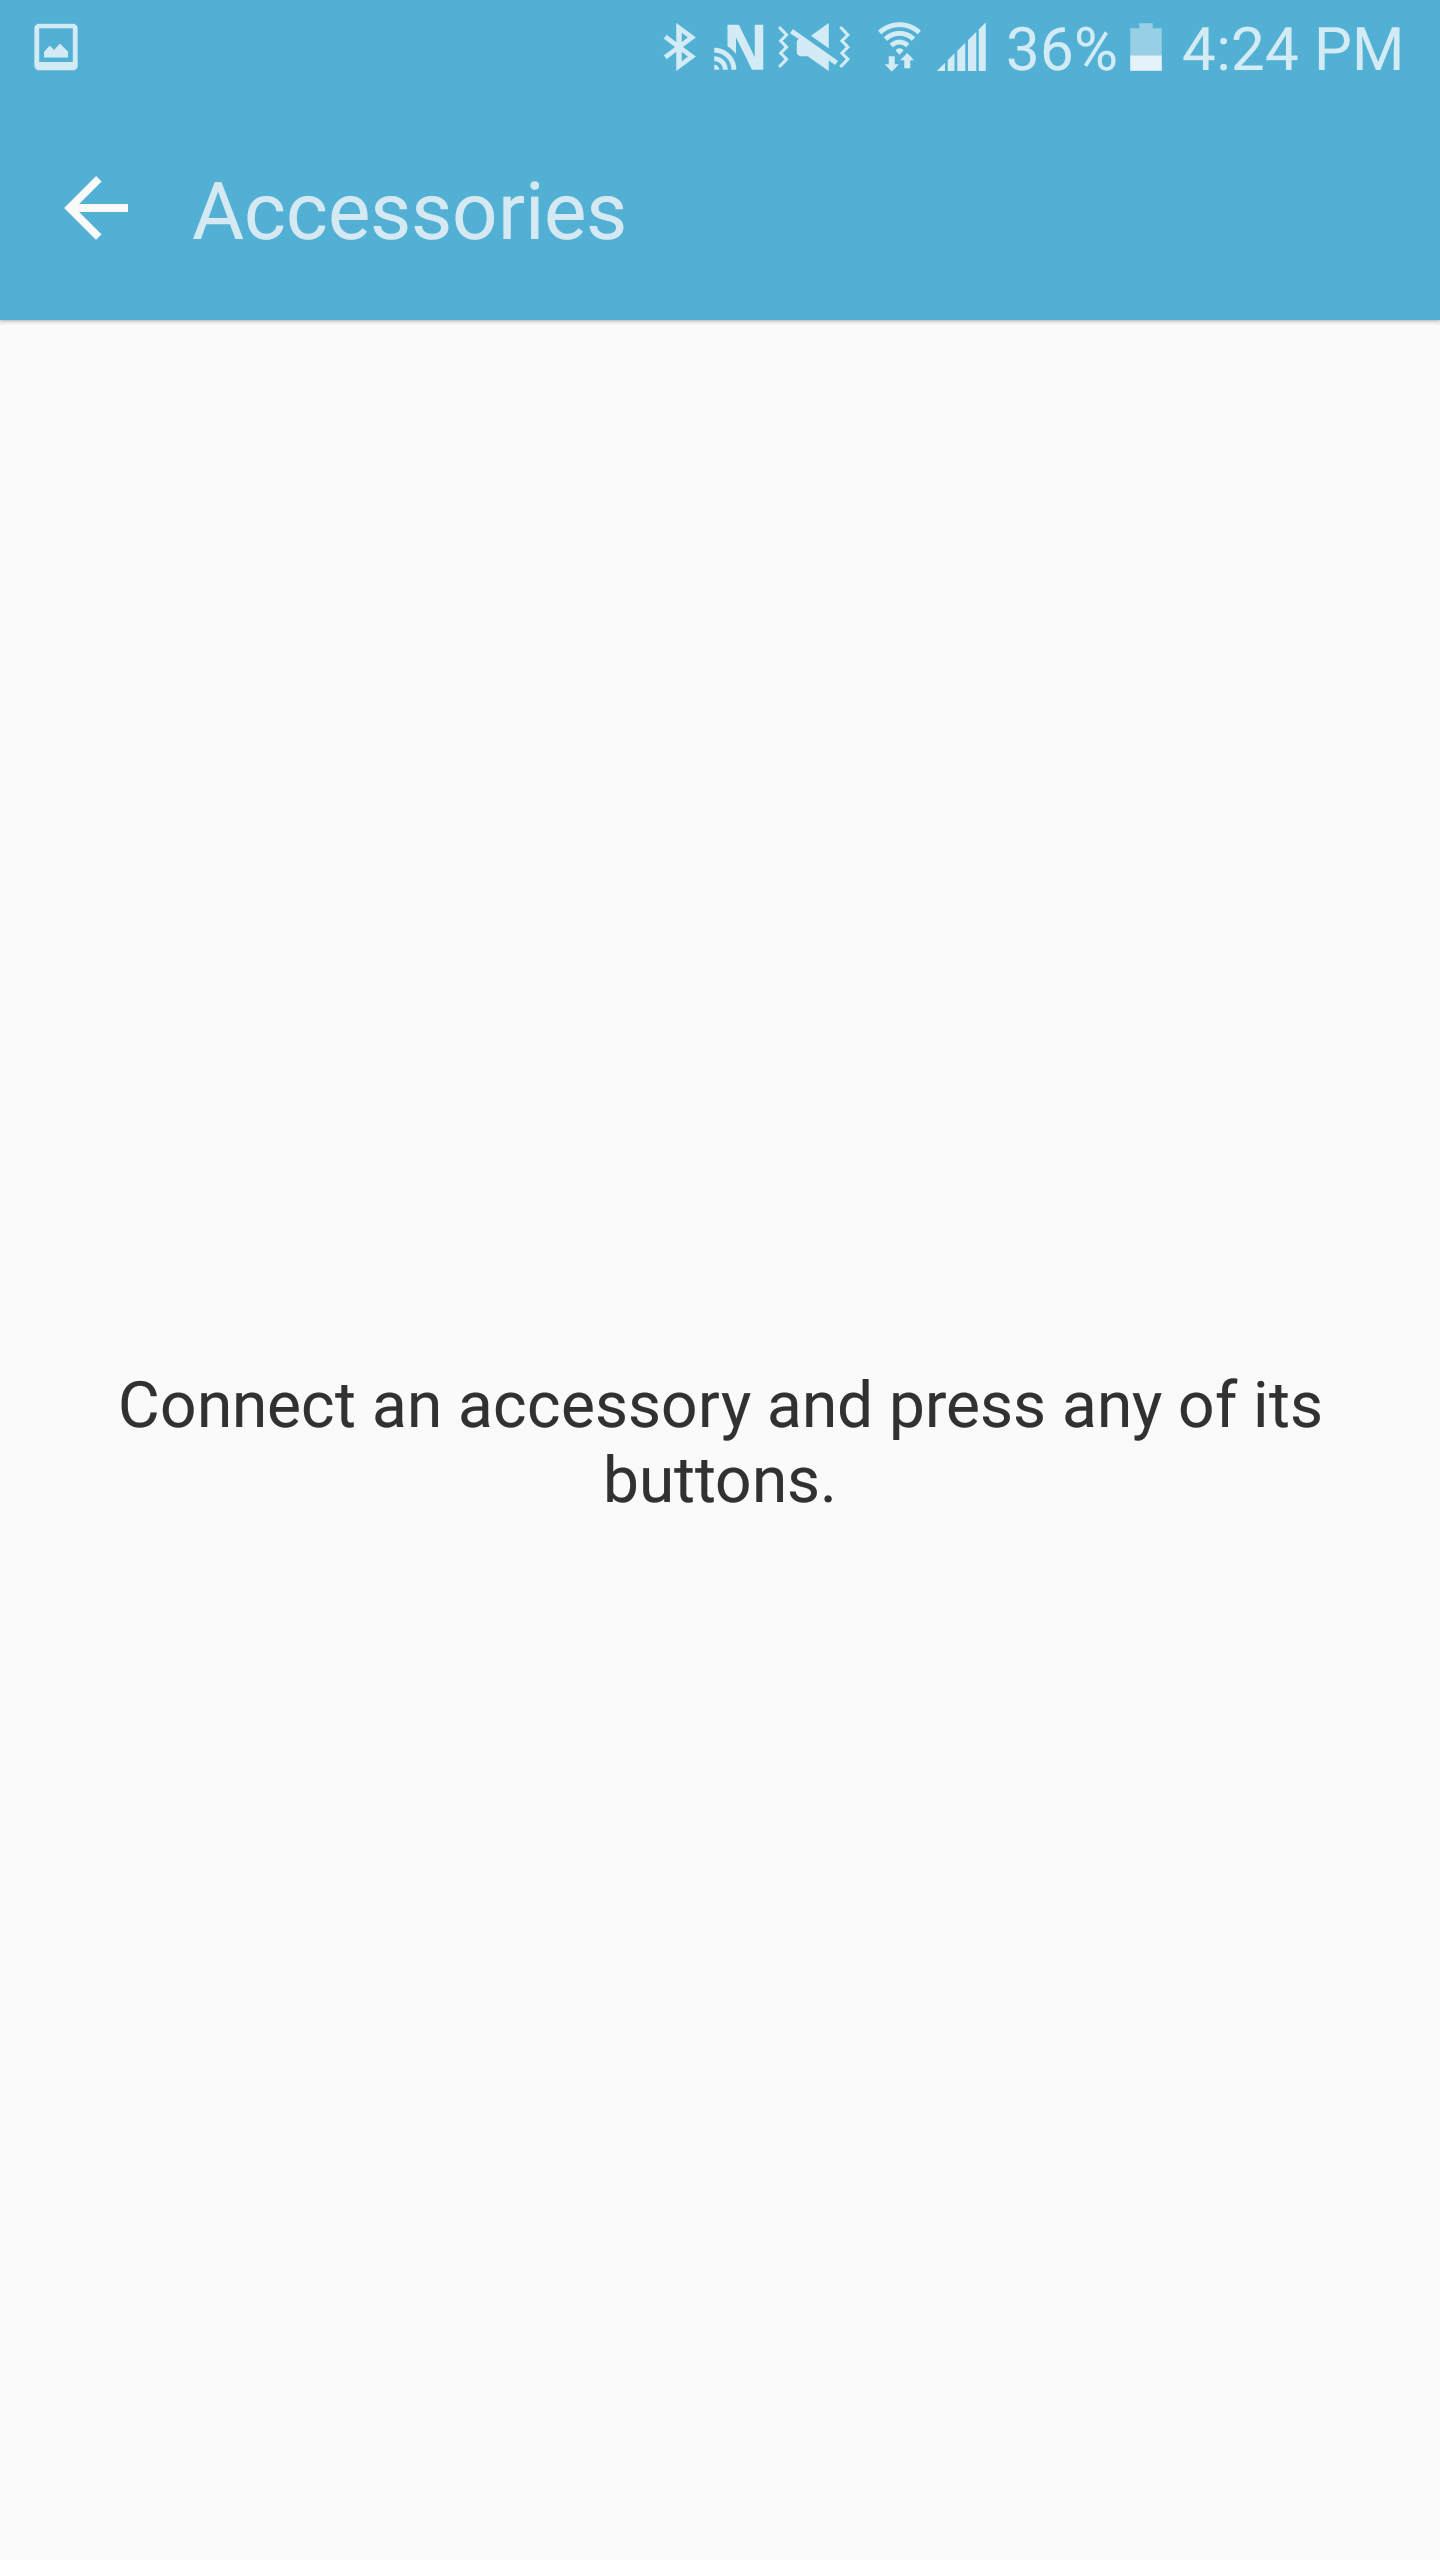
7. Select Accessories. You will be prompted to press your switch at this point. Press a switch connected to the tecla-e. In the New Switch pop-up window write the name of the switch and press Save.

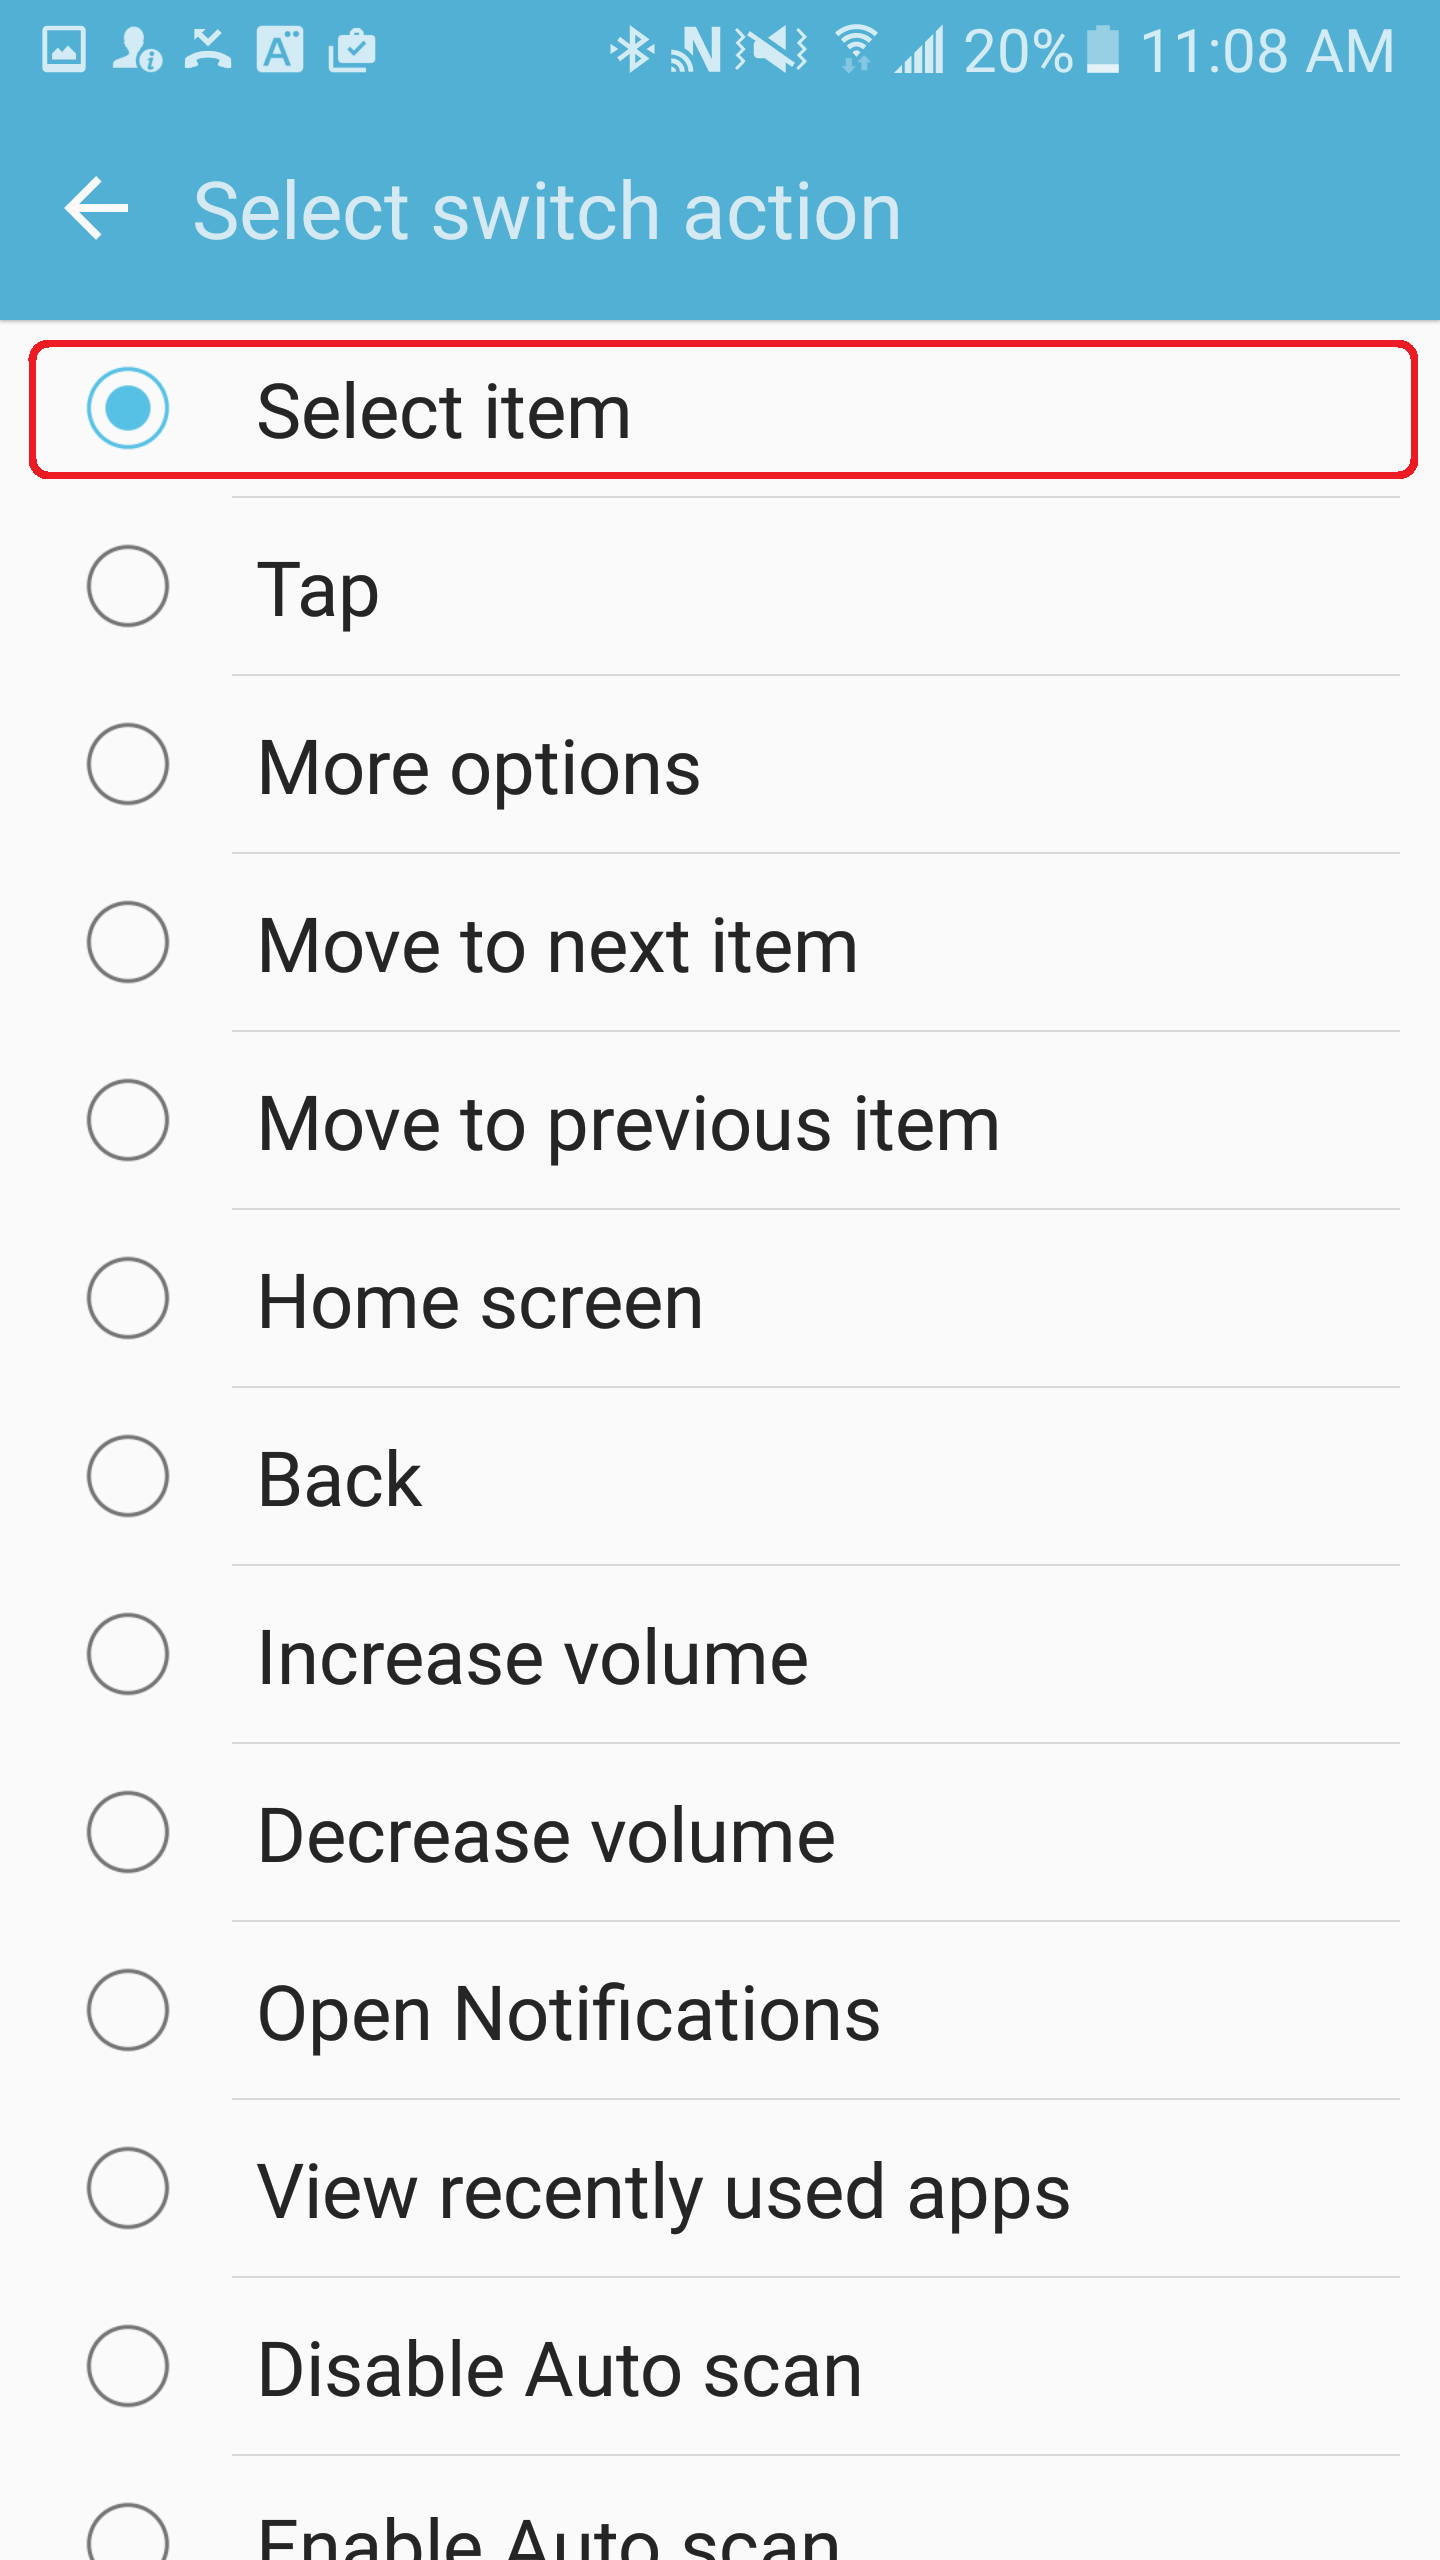
8. If you are using a single switch (or you are using more than one switch, but this is your main selection switch), choose the “Select Item” action. Check the Note section below for a brief description of other possible switch actions that you can assign to switches. The Recommended Configurations (table 1 & 2) may also be helpful for assigning switch actions.
9. Repeat steps 4-6 for all your switches. For possible combinations check the Recommended Configuration section below.
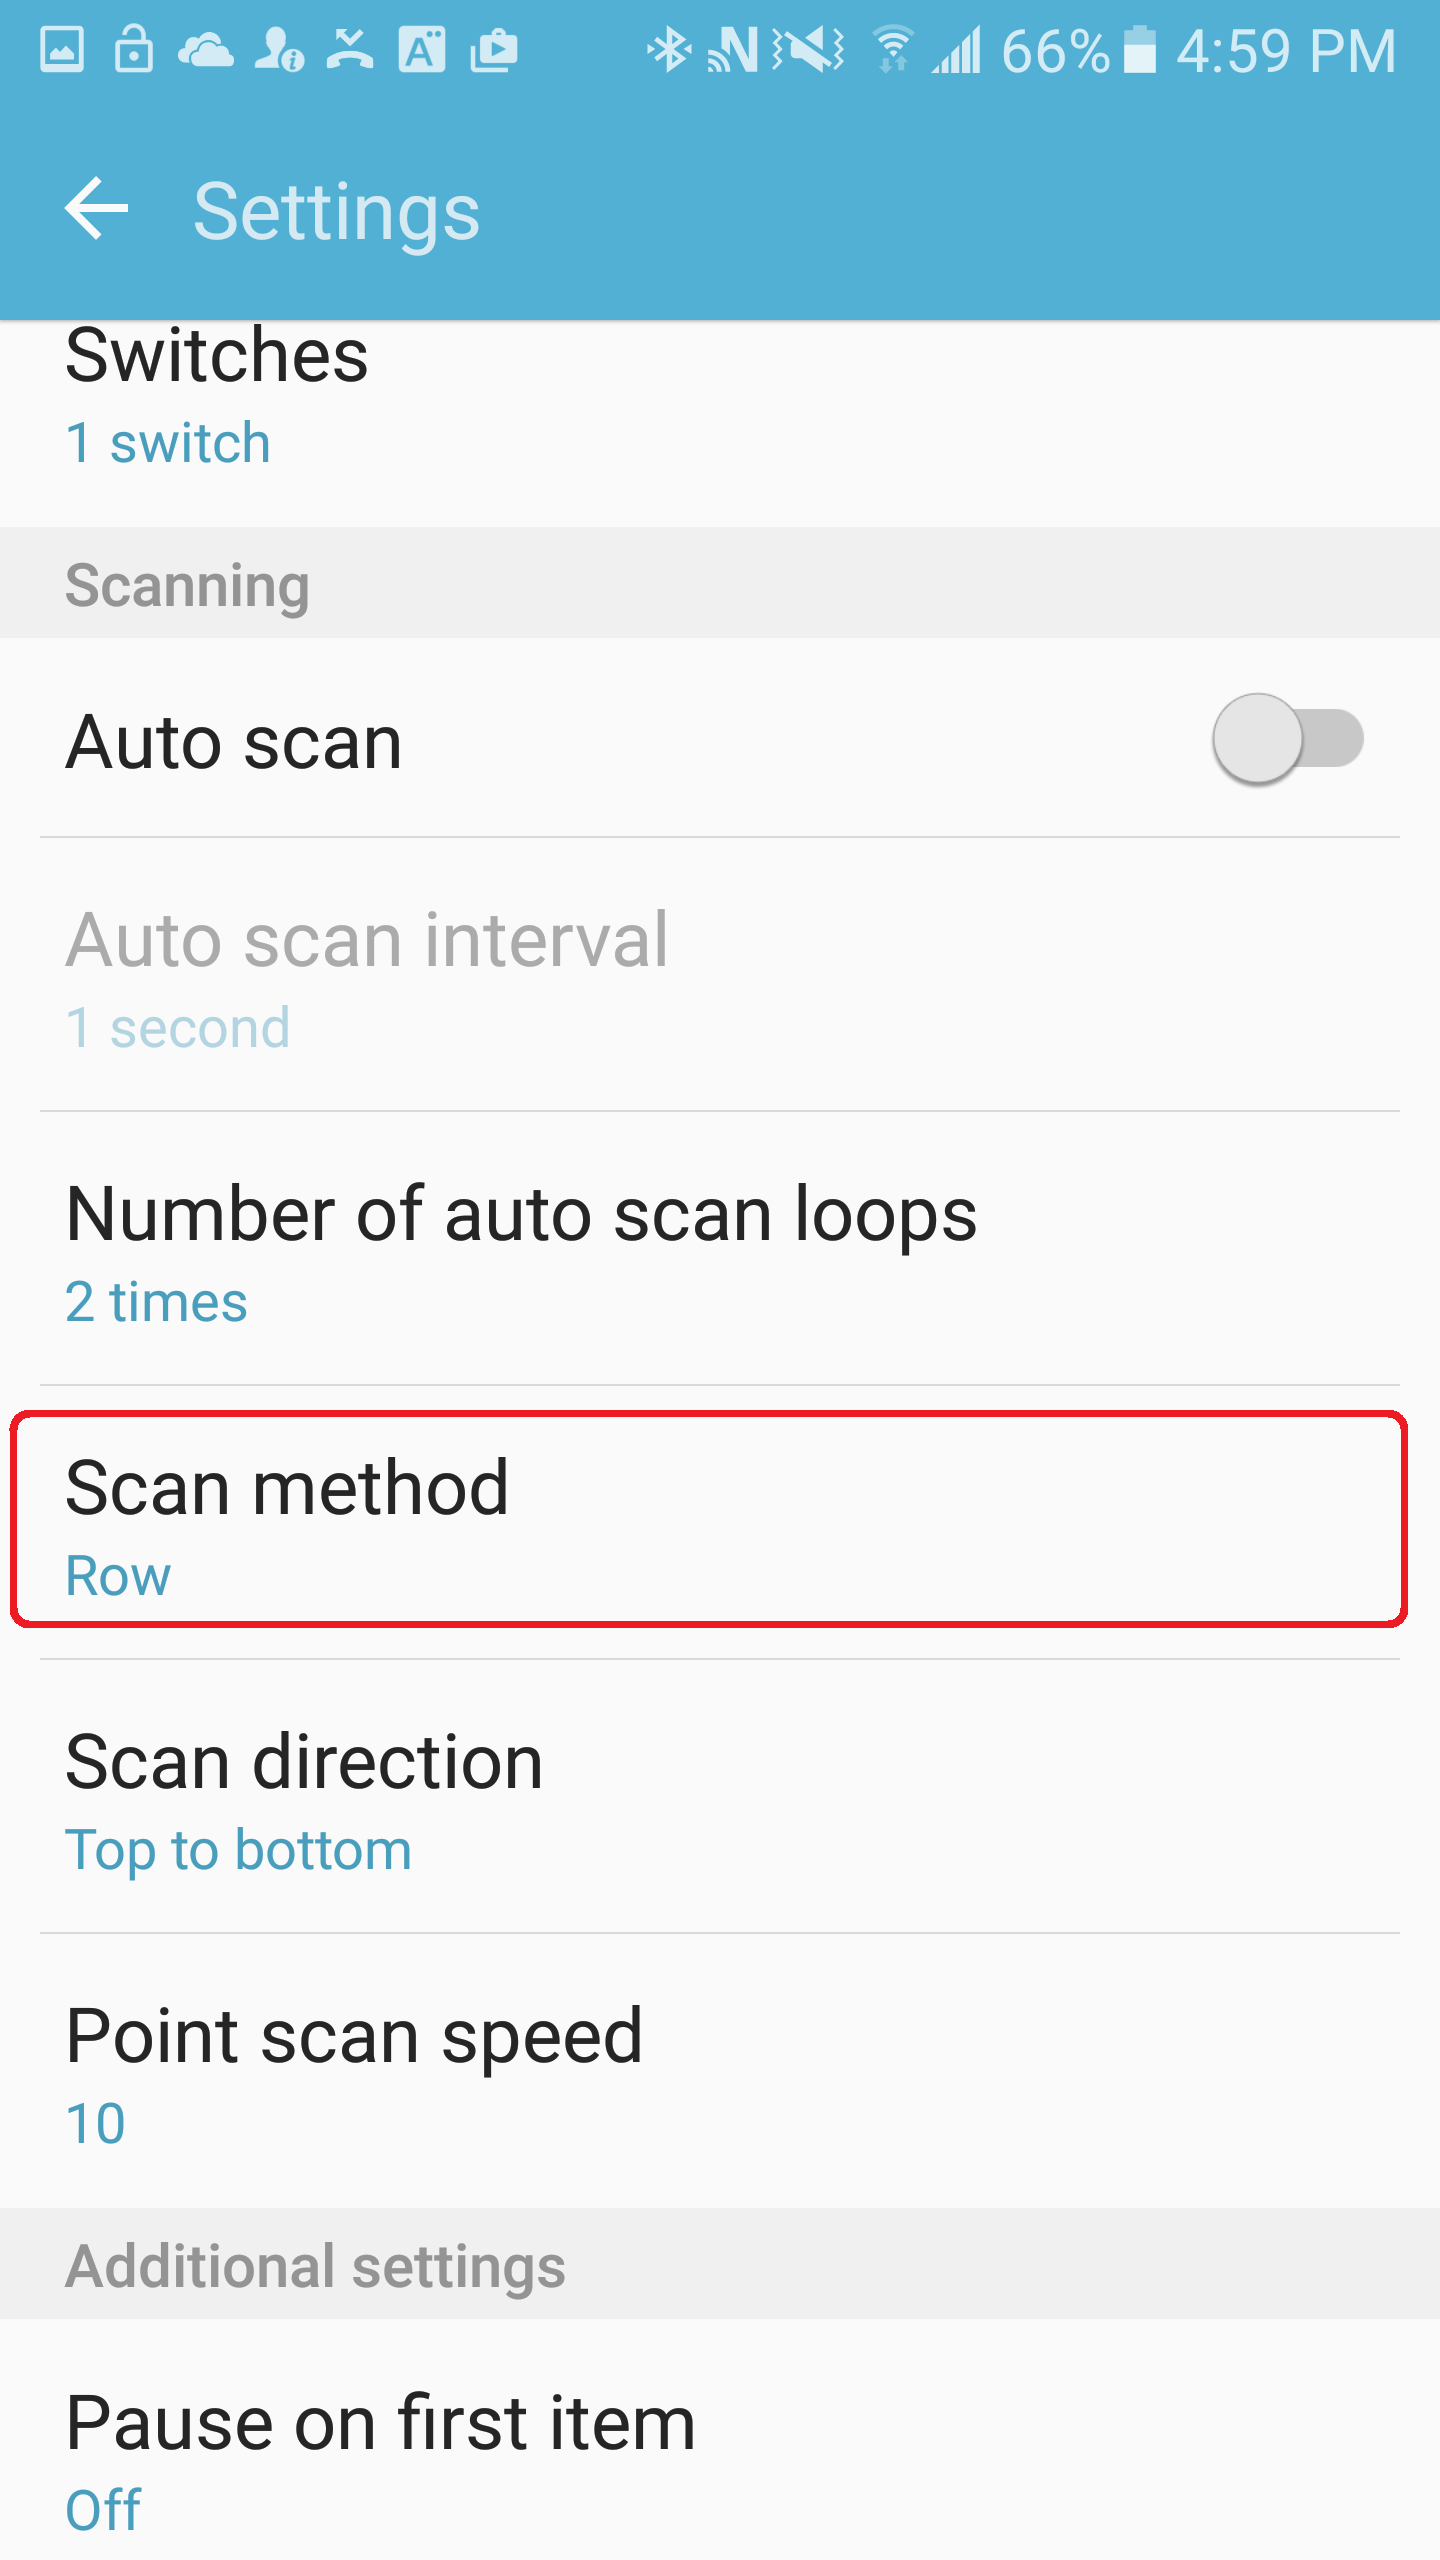
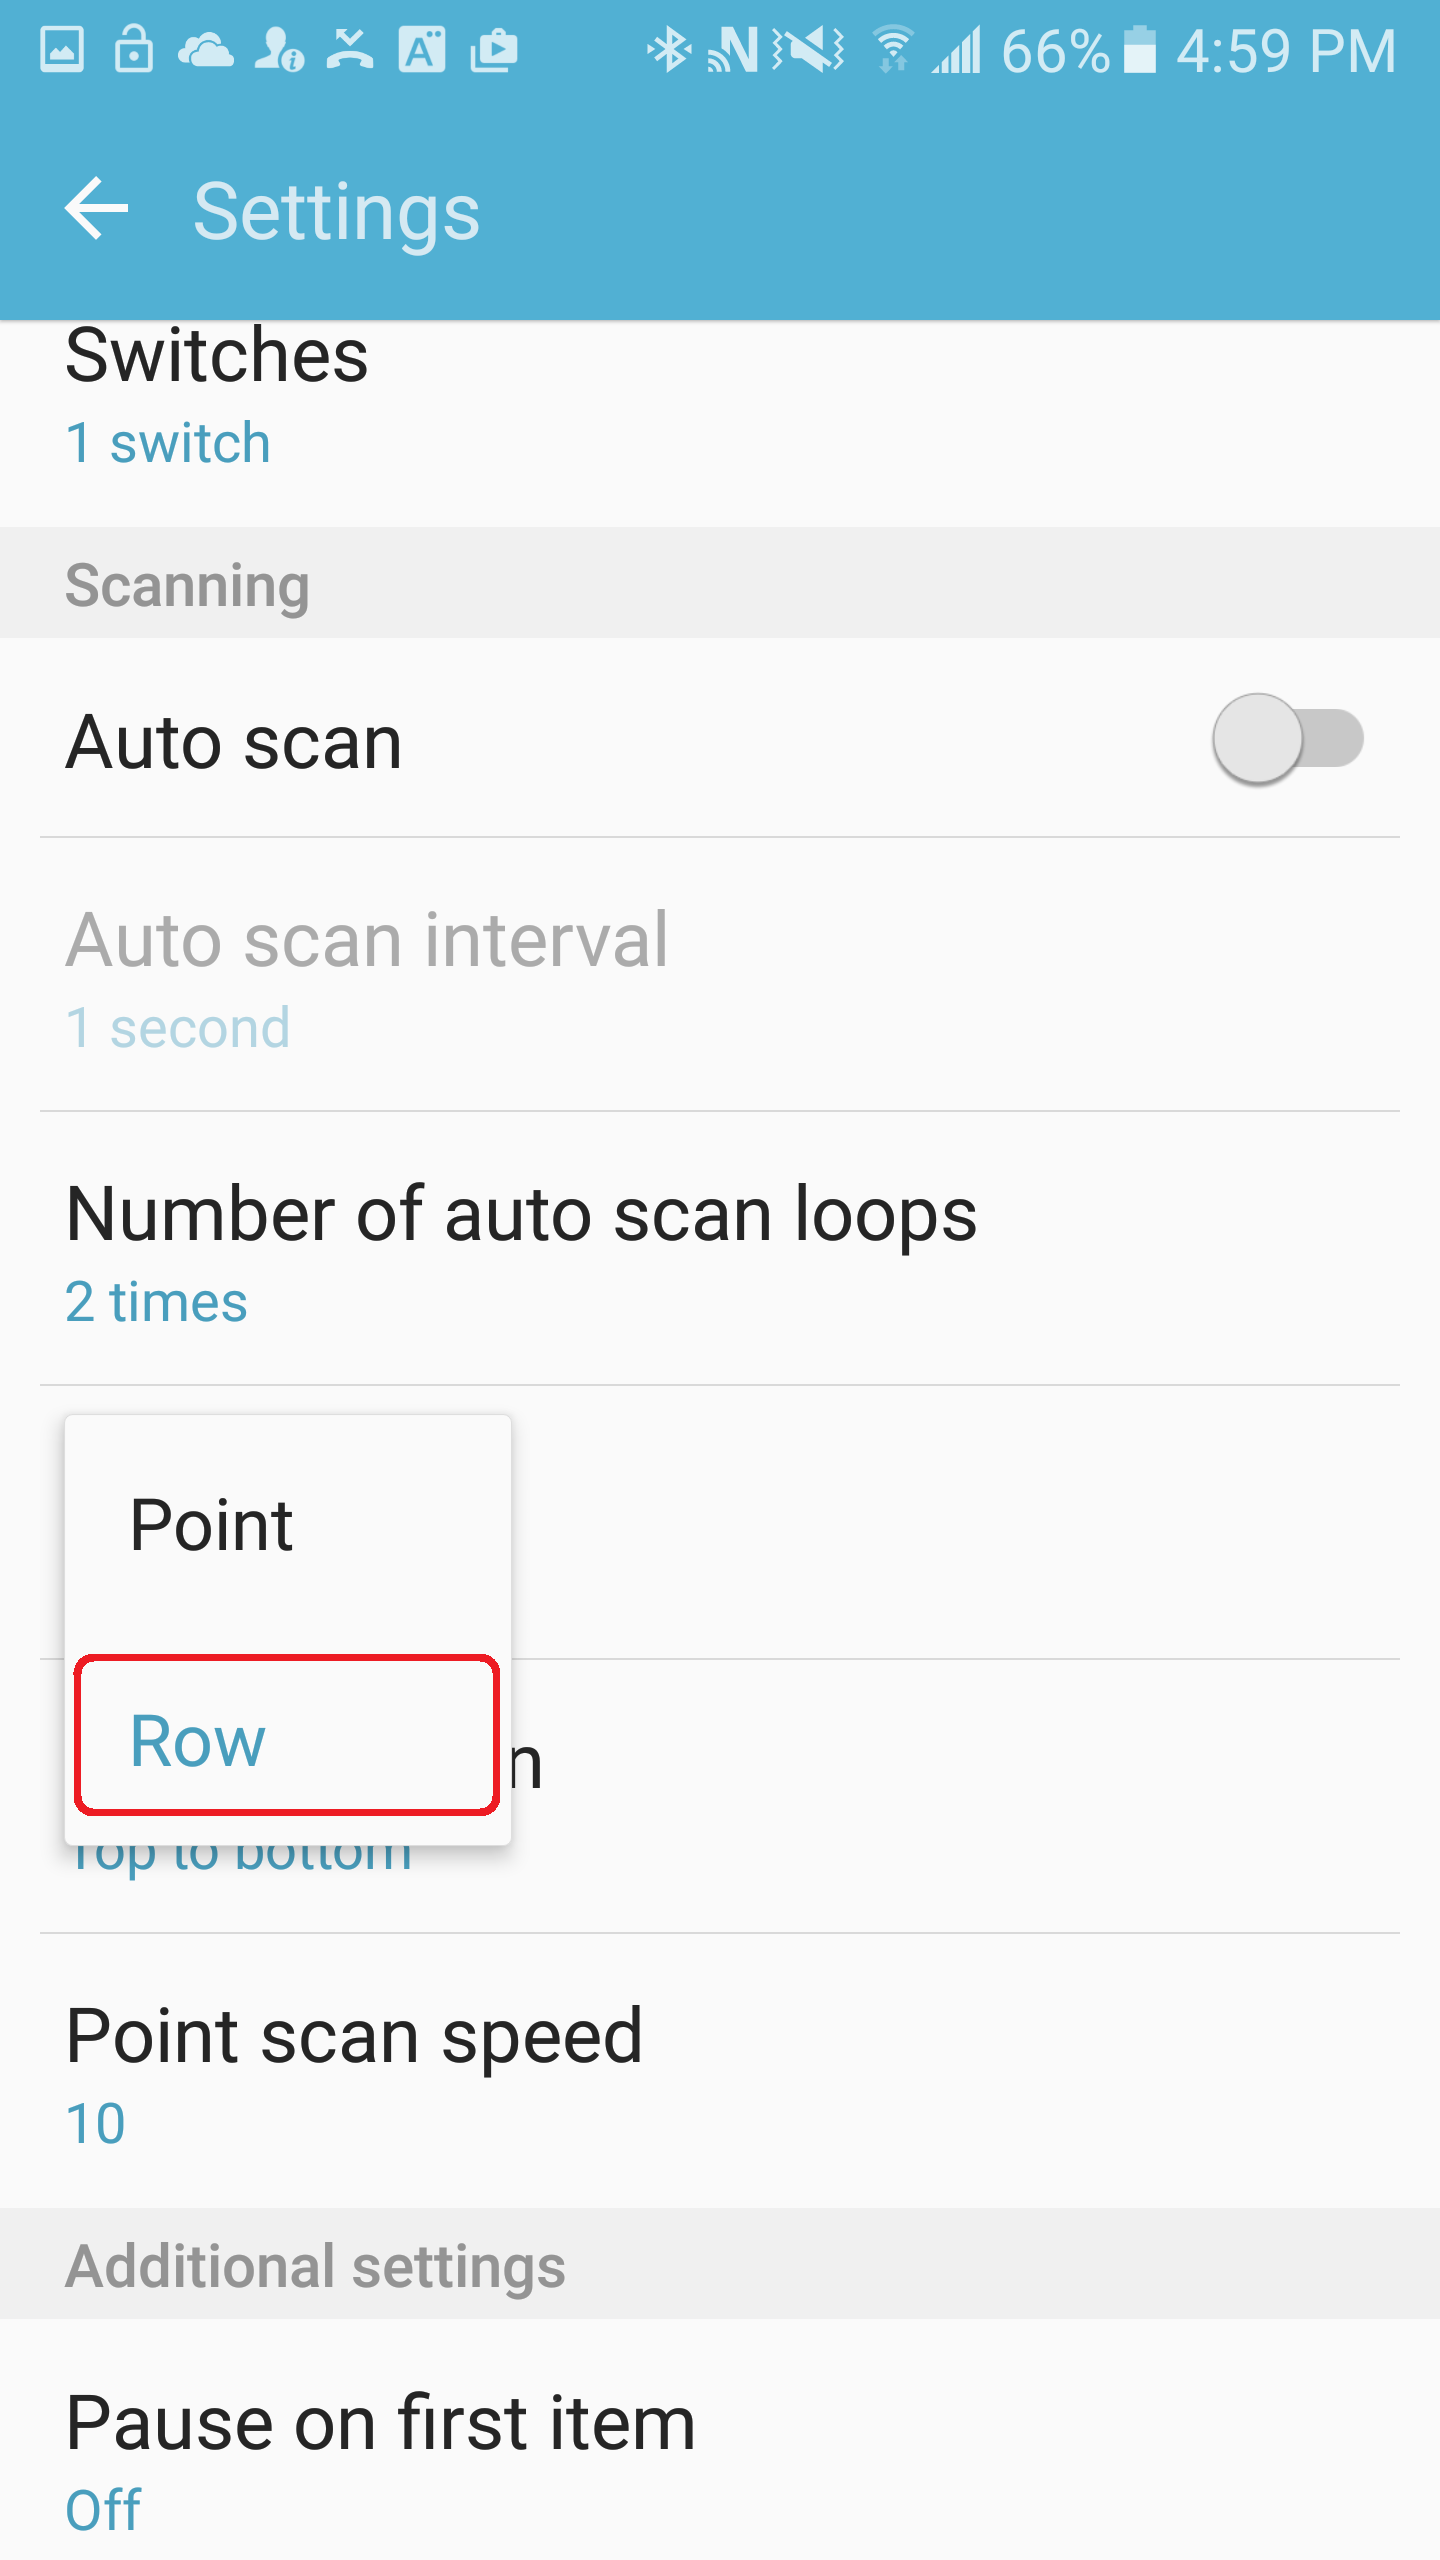
10. Select item mode scanning: on the Universal Switch settings page, go to Scan Method and Select Row.
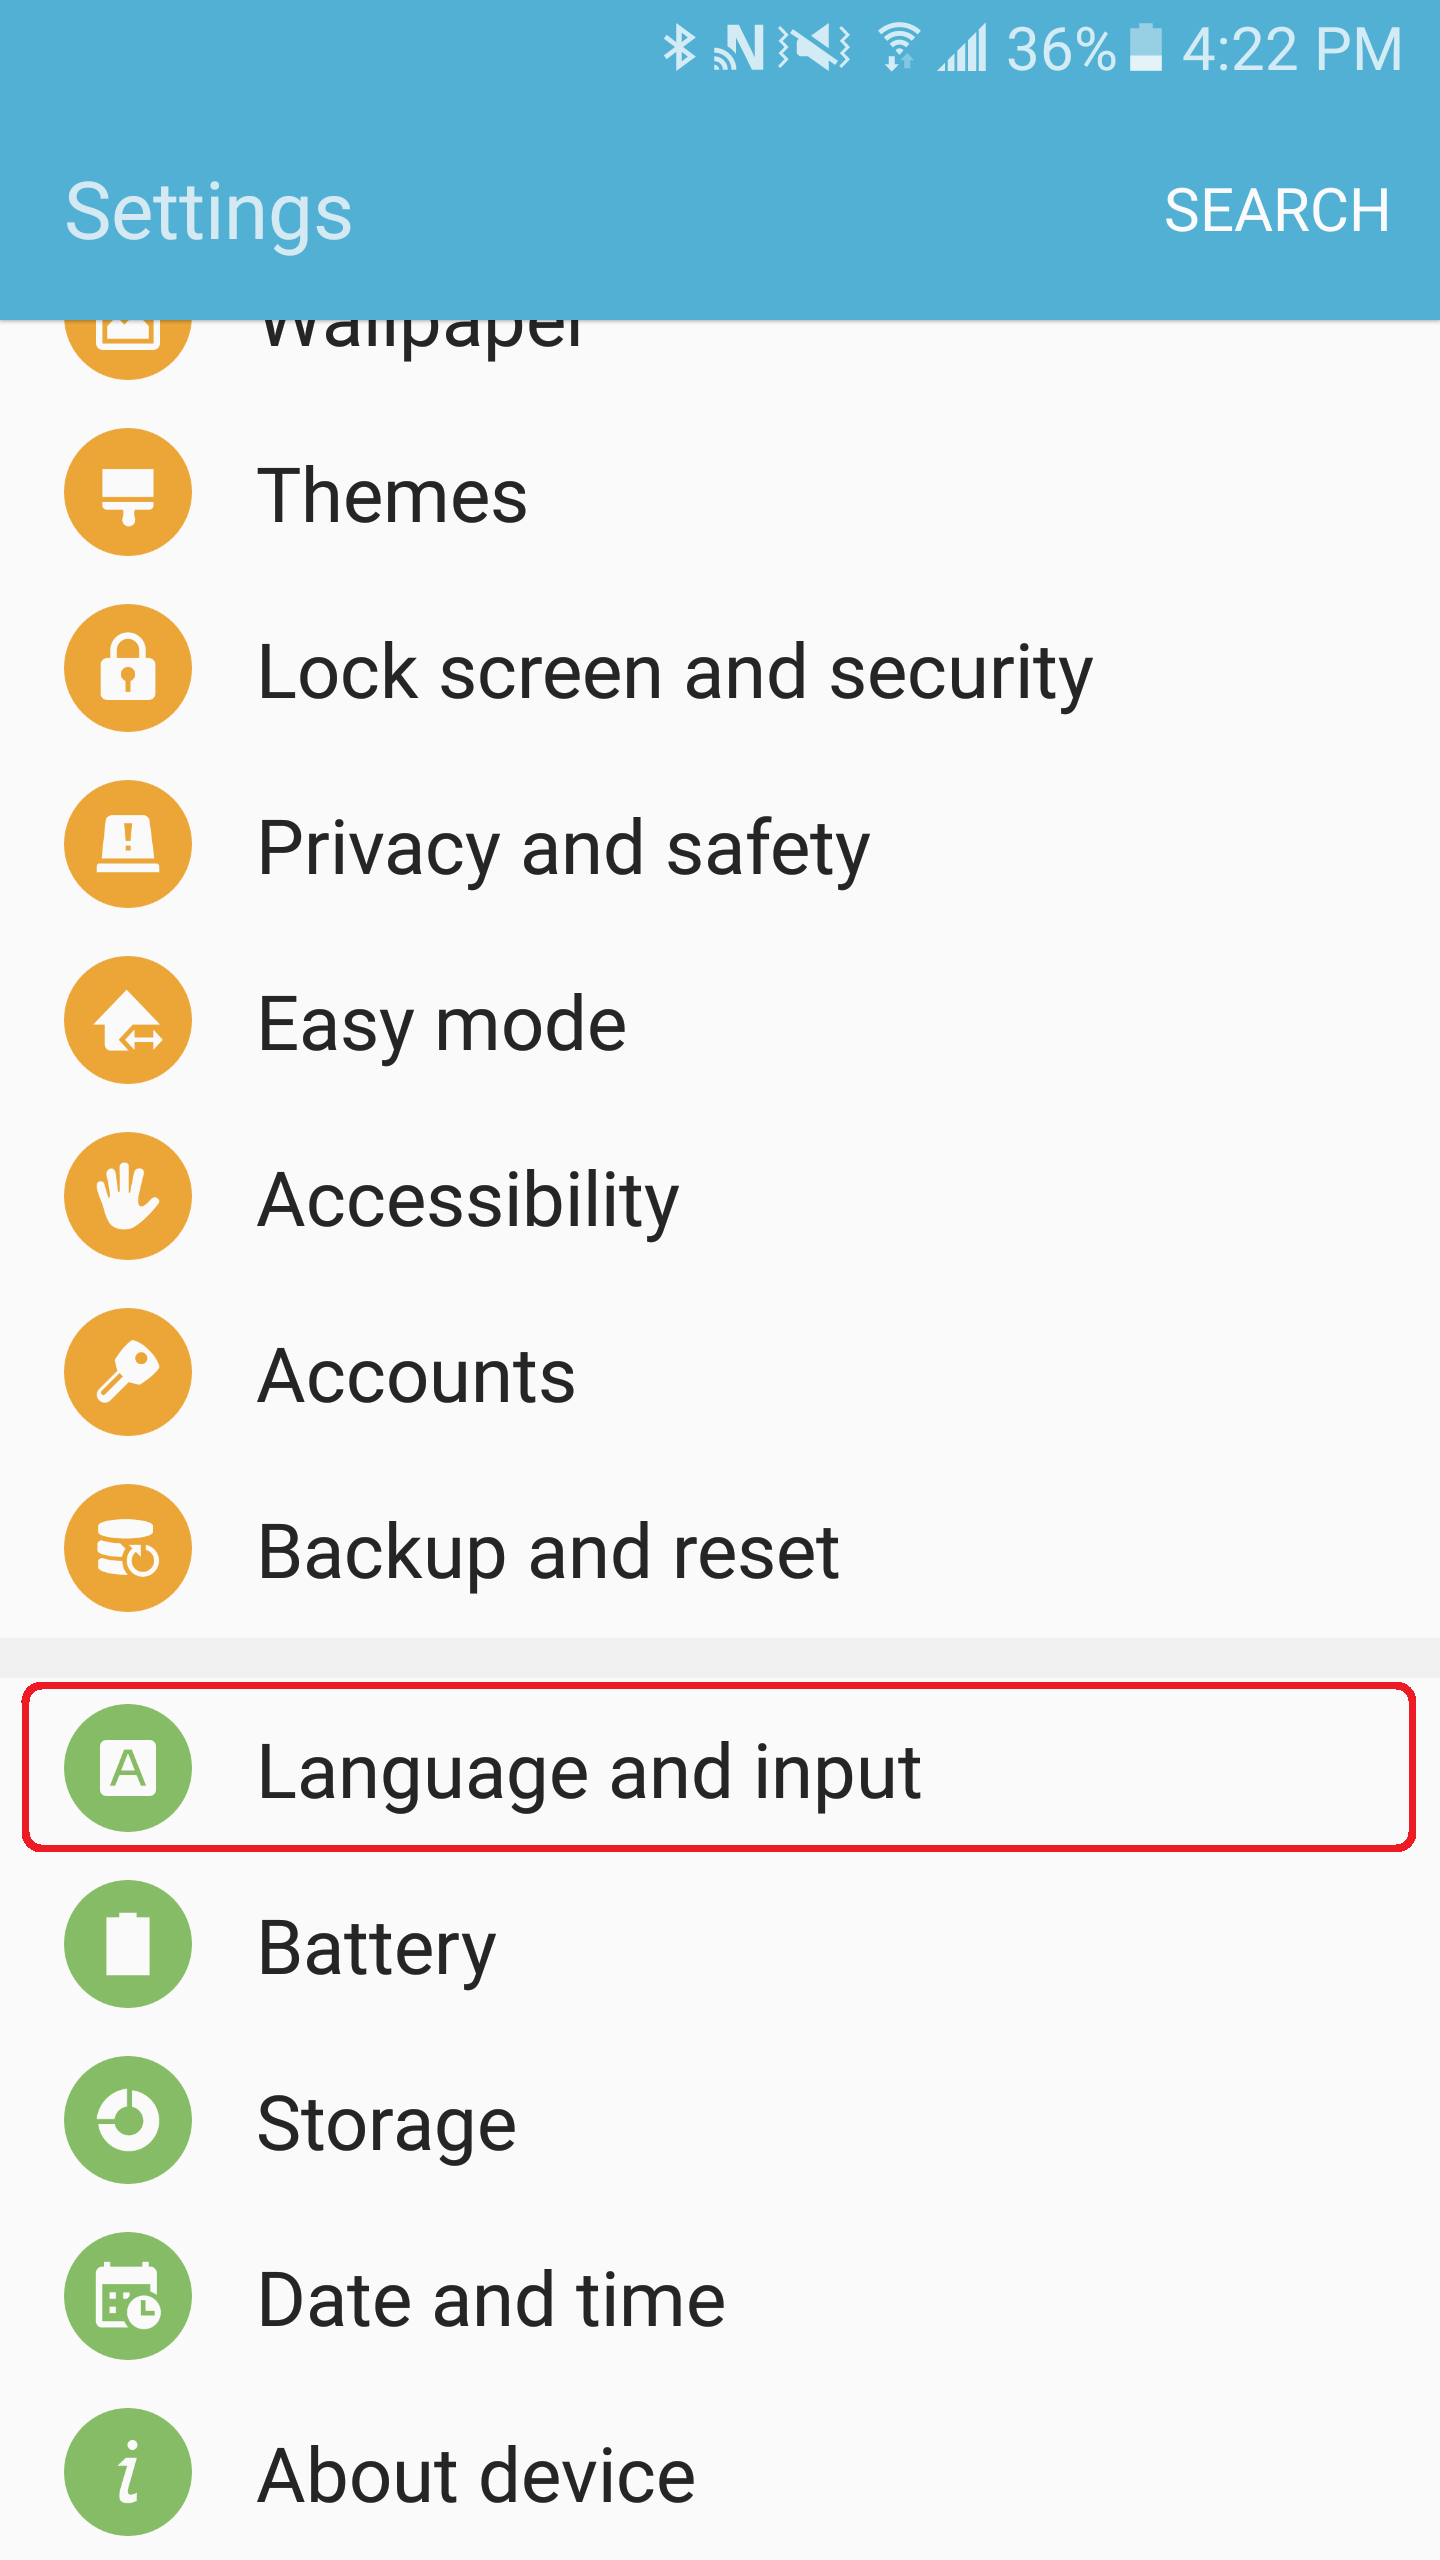
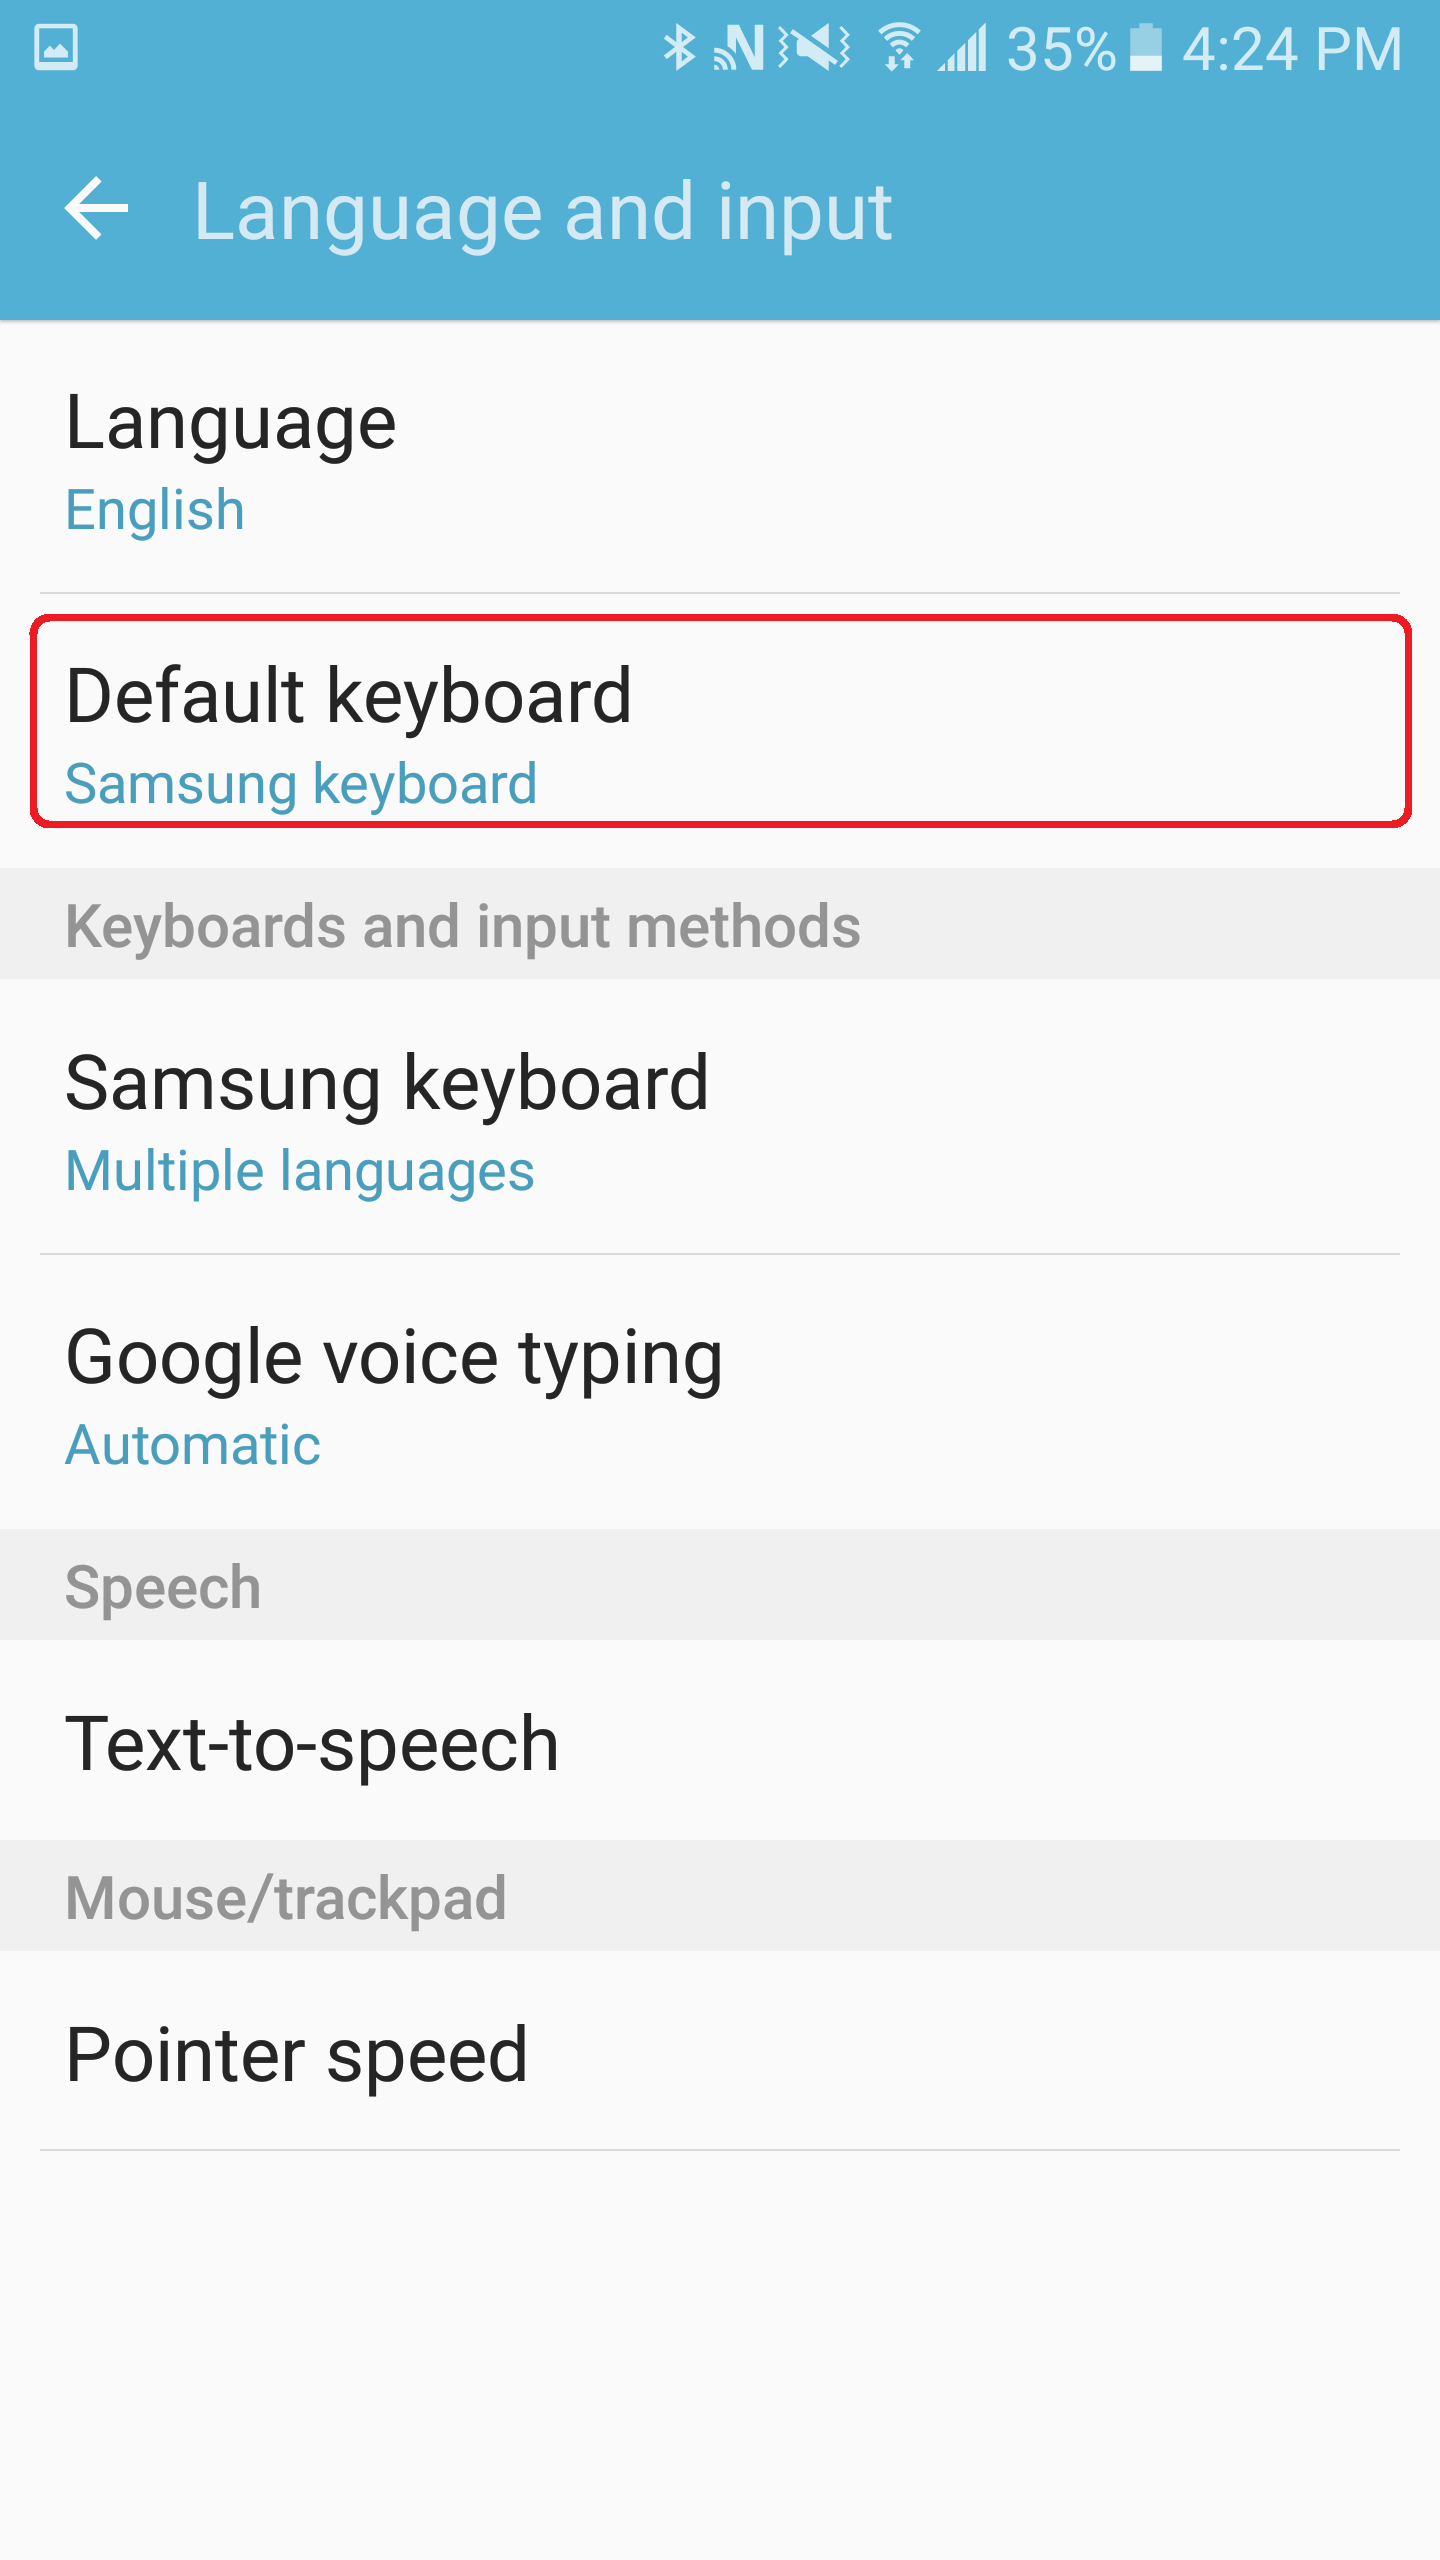
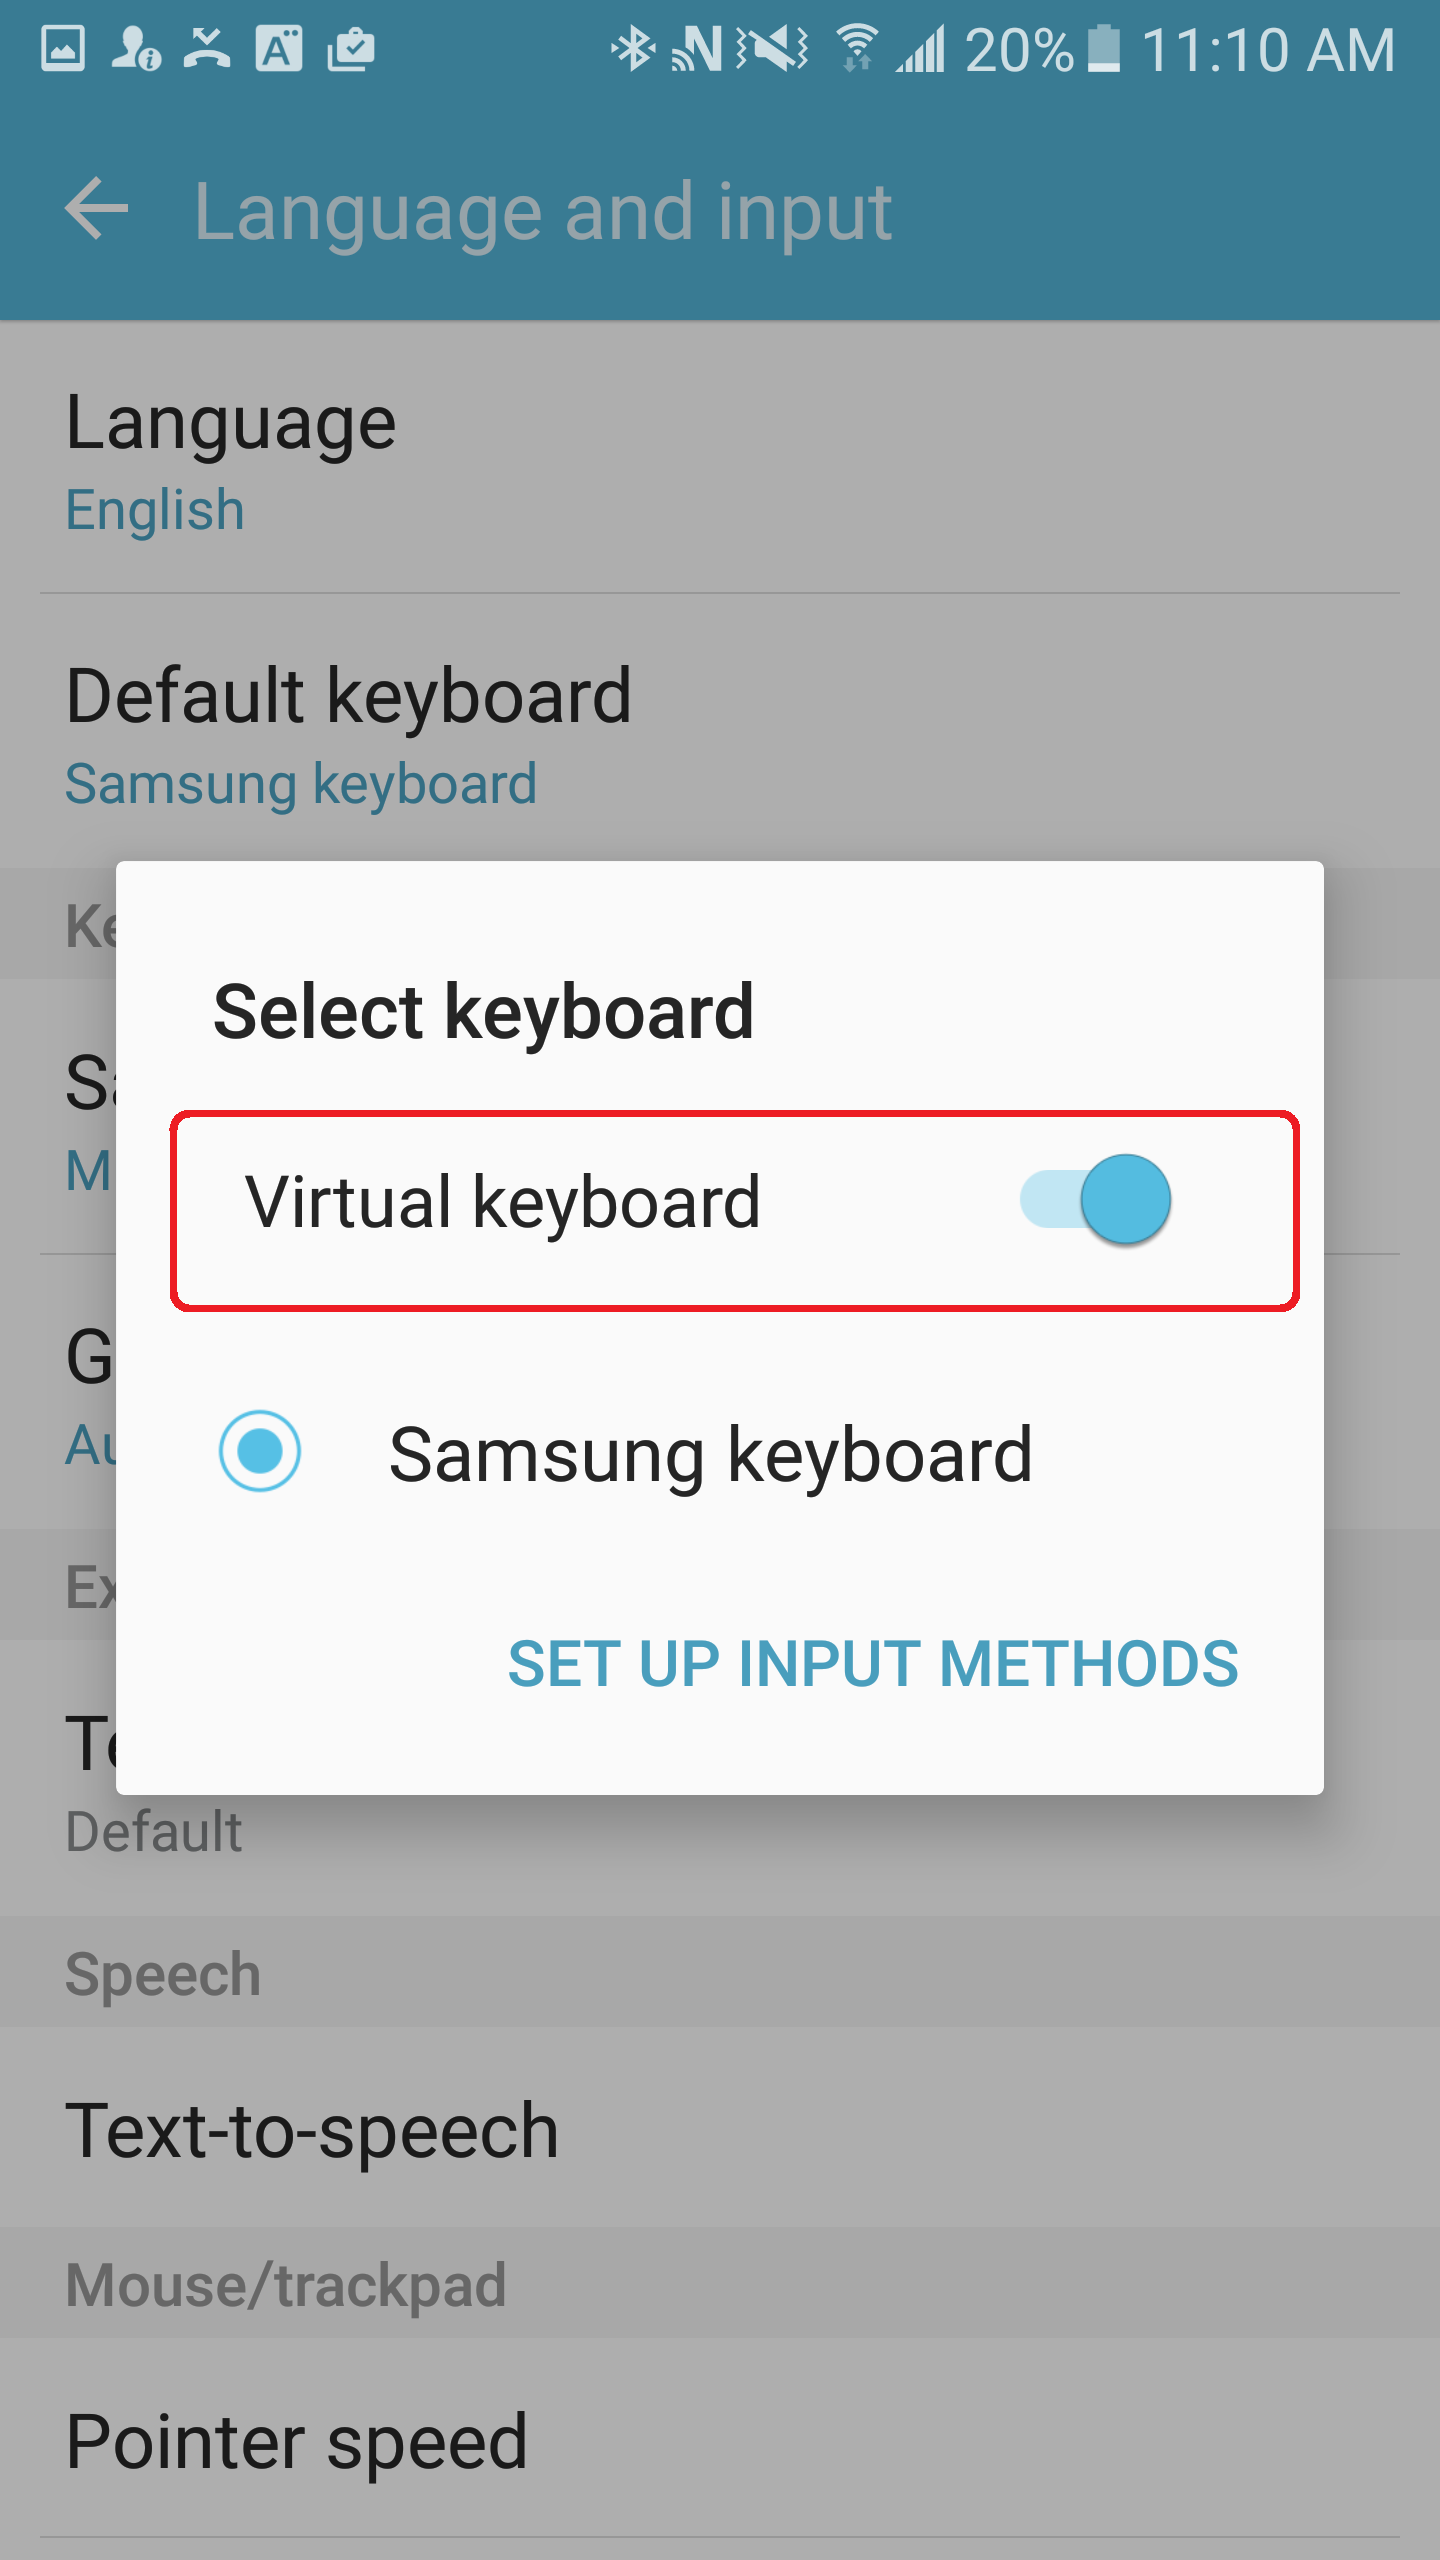
11. Ensure On-Screen Keyboard is shown: Go to System > Language and input > Default Keyboard. Make sure you have Samsung Keyboard as your selected keyboard.
12. Enable Switch Access: Go back to Universal Switch, and activate Switch Access by clicking on the on/off control. At this point, you should be able to control the Android using the Switch Control through the tecla-e. When you pressed any of your assigned switches you should see a frame around the user interface.
Recommended Configurations:
|
Number of Switches |
Auto Scan |
SP-1 |
SP-2 |
|
1 |
On |
Auto Scan |
- |
|
2 |
On |
Auto Scan |
Home / Back |
|
2 |
Off |
Select |
Next |
|
Number of Switches |
ECU1 Forward |
ECU2 Back |
ECU 3 Left |
ECU 4 Right |
|
3 |
Select |
- |
Previous |
Next |
|
4 |
Select |
Home / Back |
Previous |
Next |
Notes:
- For a cleaner and more accessible interface, download the Google Now Launcher (home screen replacement) from the Google play store.
Switch Actions -
- Select item – pop-up action menu related to selected item or location
- Tap - activate the selected item
- More options – extended pop-up menu giving more options related to the current screen
- Move to next / previous item - move the scan focus to the next or the previous item (this only works in row scan mode with auto scan disabled)
- Home screen, Back, Recently used apps - equivalent to pressing the corresponding hardware keys
- Back - Goes to previous step or screen.
- Increase / decrease volume - increase or decrease ringtone volume
- Open Notifications - opens the notification bar.
- View recently used apps - Shows the recently opened applications.
- Turn on / off auto scan - enable or disable auto scan in row scan mode
Settings -
- Auto scan - enable or disable automatic scanning (row scan mode)
- Auto scan interval - set the scan interval when auto scan is enabled (row scan mode)
- Number of scans - set the number of times the scan loops
- Scan method - choose between row scan mode and point scan mode. It should be noted that row scan may not work in some situations
- Scan direction - set the scan direction, from top to bottom or from bottom to top
- Point scan speed - set the scan speed (point scan mode)
Timing -
- Pause on first item - select the duration of the pause on the first item in row scan mode
- Tap duration - select how long a switch needs to be performed for it to be recognised as a switch action (this must be less than the auto tap length)
- Single interaction interval - set the length of time in which multiple switch actions are treated as a single gesture
- Auto tap - Enabling auto tap will perform a regular tap instead of bringing up the action menu when you use a switch action to select an item. You can then bring up the action menu by performing your switch action twice within the set auto tap length of time
- Auto move interval – when ‘holding down’ the switch action (i.e. keeping your mouth open) that controls moving to the next / previous item, the ‘auto move interval’ setting determines the length of time before the action (i.e. moving to the next item) is automatically repeated
Action Menu -
- Tap - perform a tap action on the selected item or location
- Gestures - including the swipe / touch and hold / drag / touch / hold then drag gestures
- Actions - you can zoom in on screen contents, rotate screen, set sound mode, open recent apps, lock your phone, open notifications, and take a screenshot
- Settings - you can change the scan speed, mode, direction, and adjust feedback
- Editing text - when you select a text input box, this menu will appear to let you select characters, move the cursor, and perform copy, paste, and cut actions
- Home - go to home screen
- Back - go to previous screen
- Keys - you can adjust ringtone and media volume, and perform Home key double press and triple press actions. In addition, you can open the device options menu, which usually requires a long press of the power key to open
Comments
0 comments
Please sign in to leave a comment.