If you are developing an Android application, it is important to make sure all components of your App are accessible to your potential users, including those with disabilities. This article gives you a list of resources that you can use for the development of accessibility features that will make your App more inclusive.
- Design your app to support accessibility needs
- Develop your app using accessibility best practices
- Test with accessibility in mind
For testing your App, you can use applications that are developed for accessibility testing such as:
Or you can also use Switch Access with the volume keys assigned as switches. For testing your App with a single switch follow the steps below:
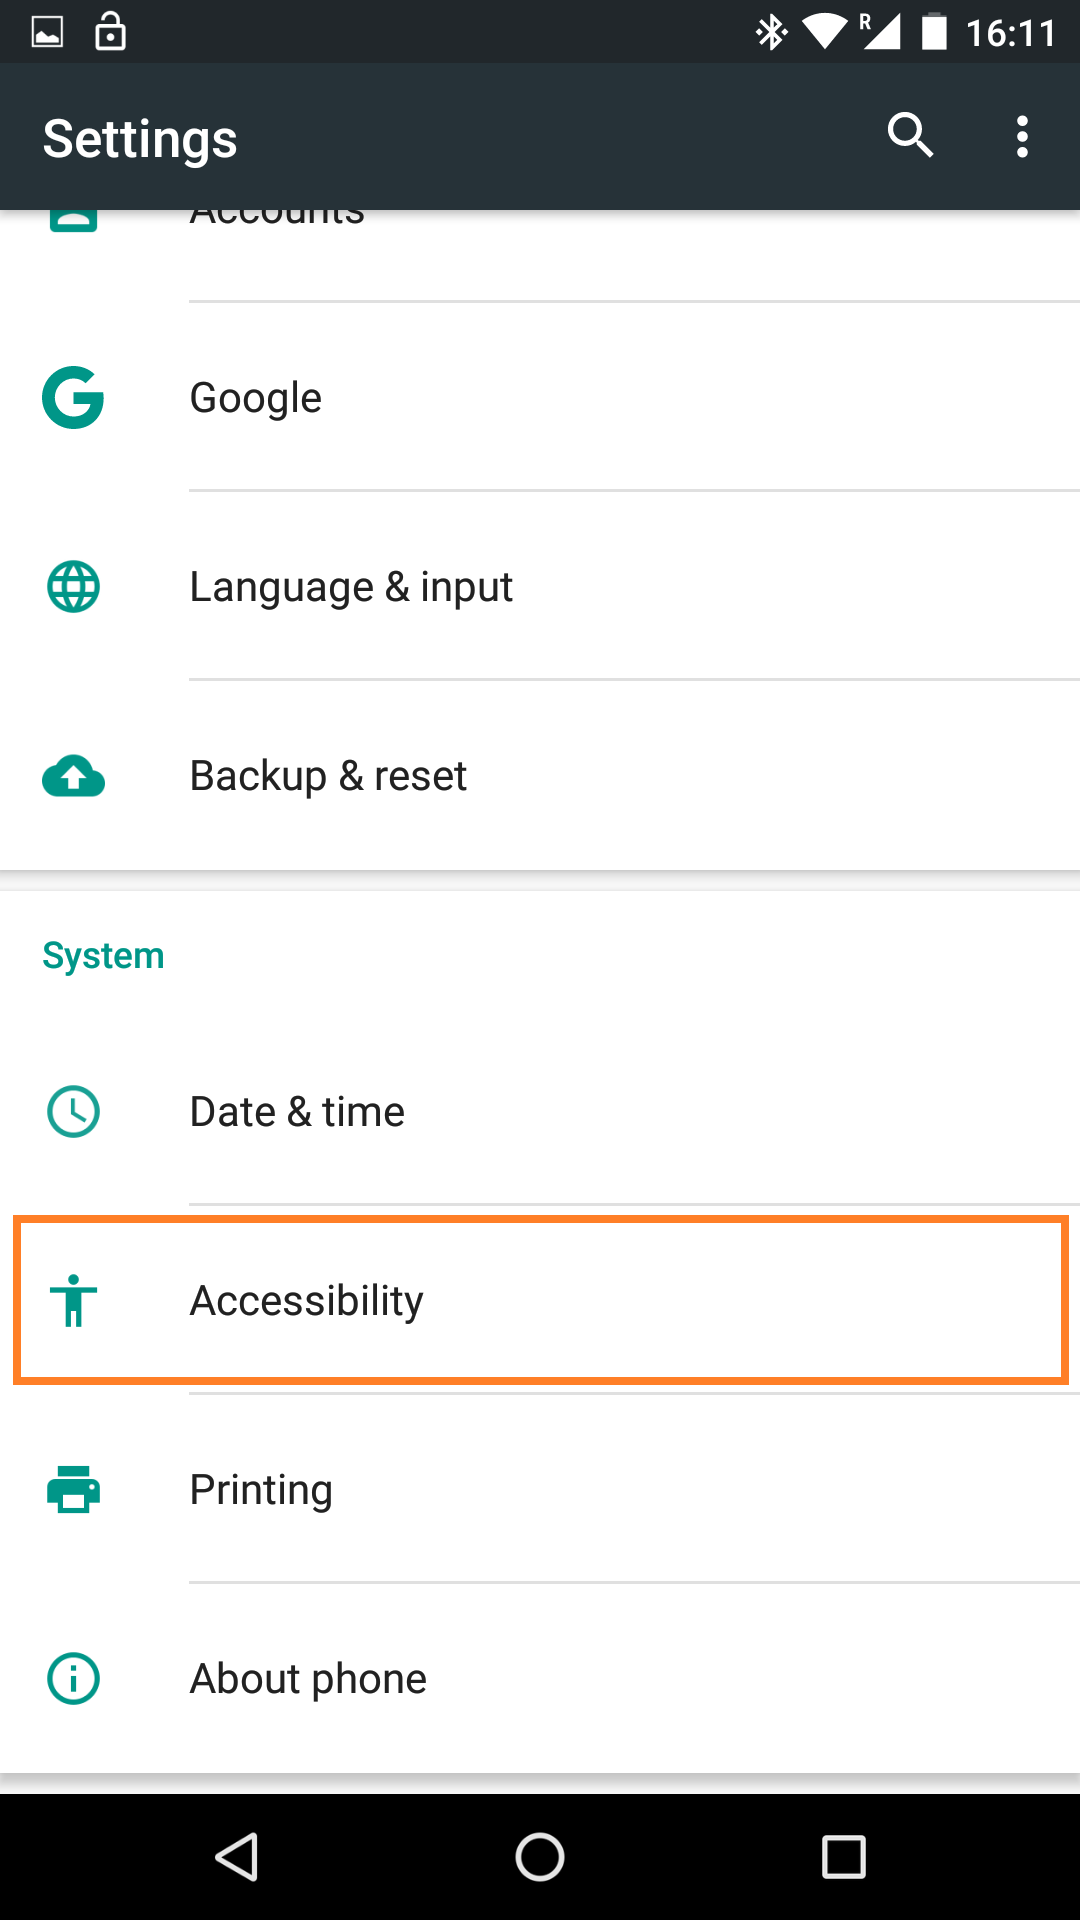
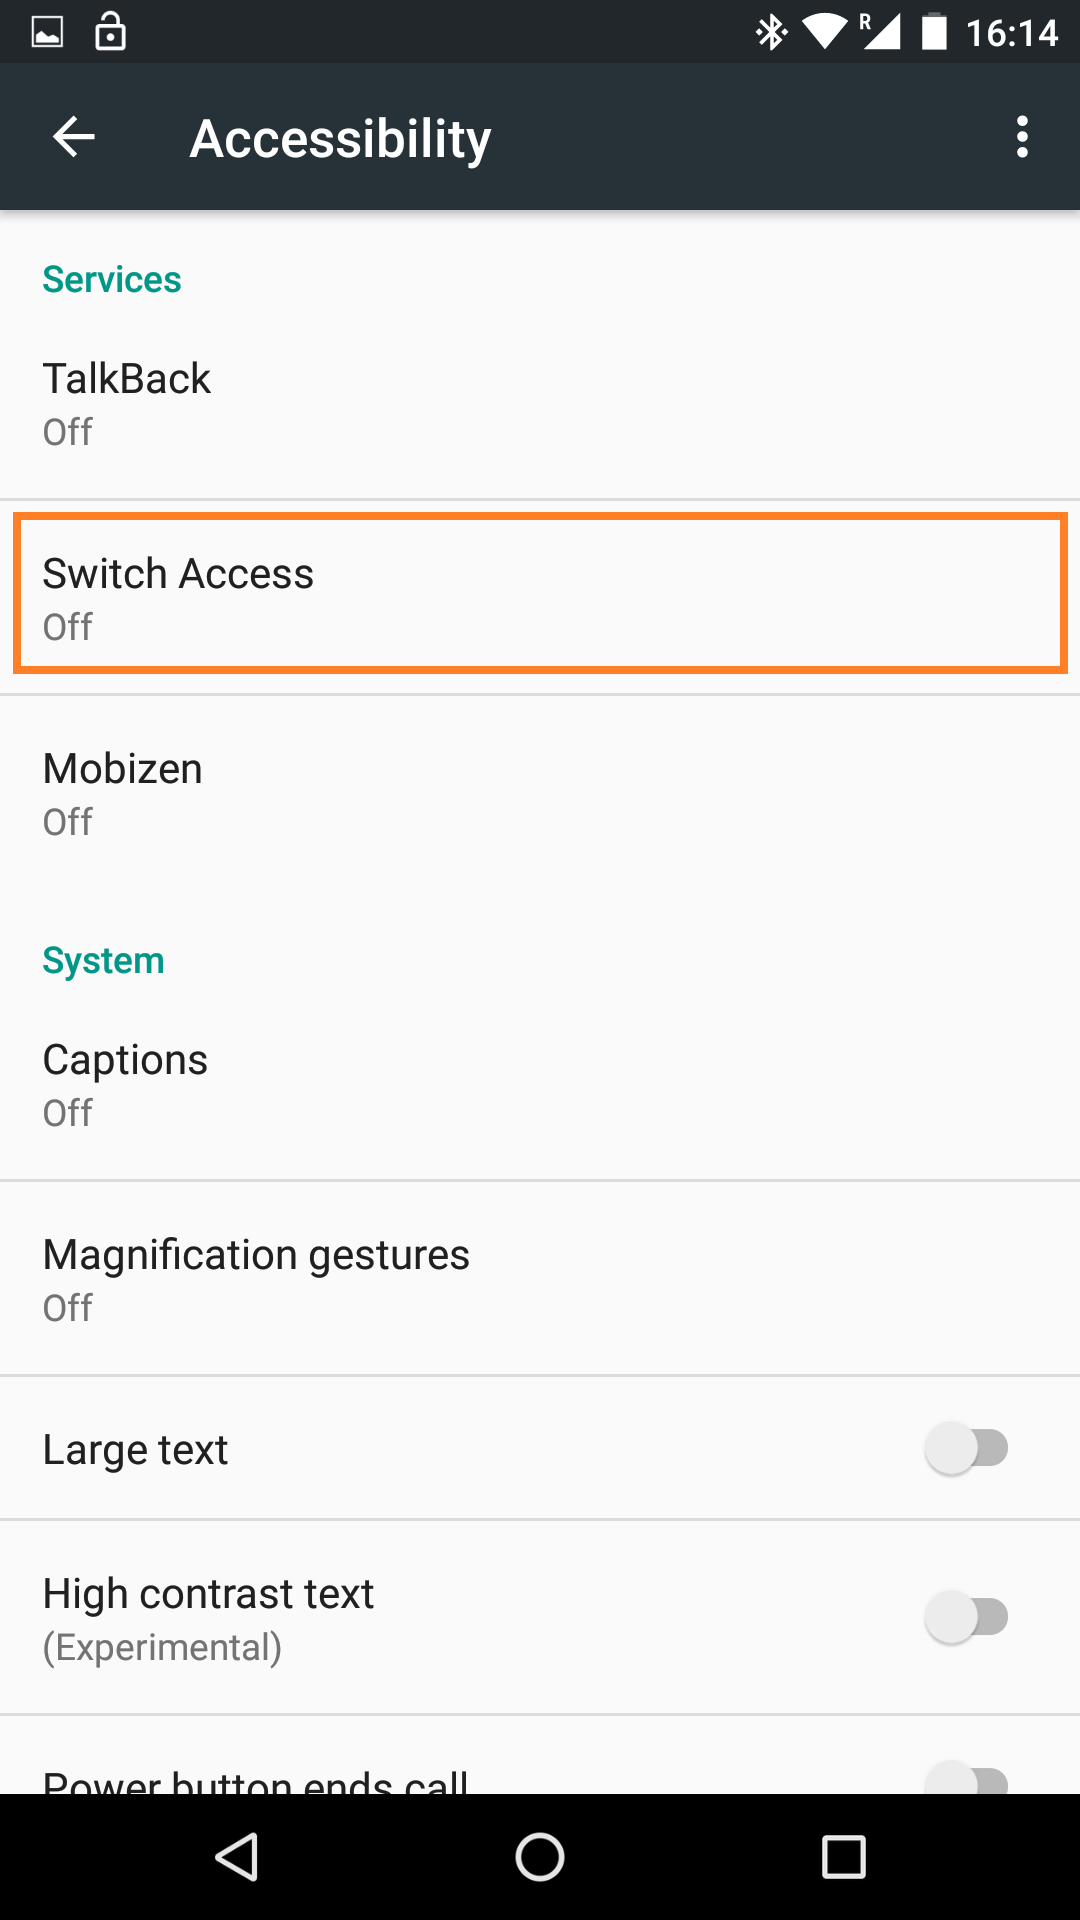
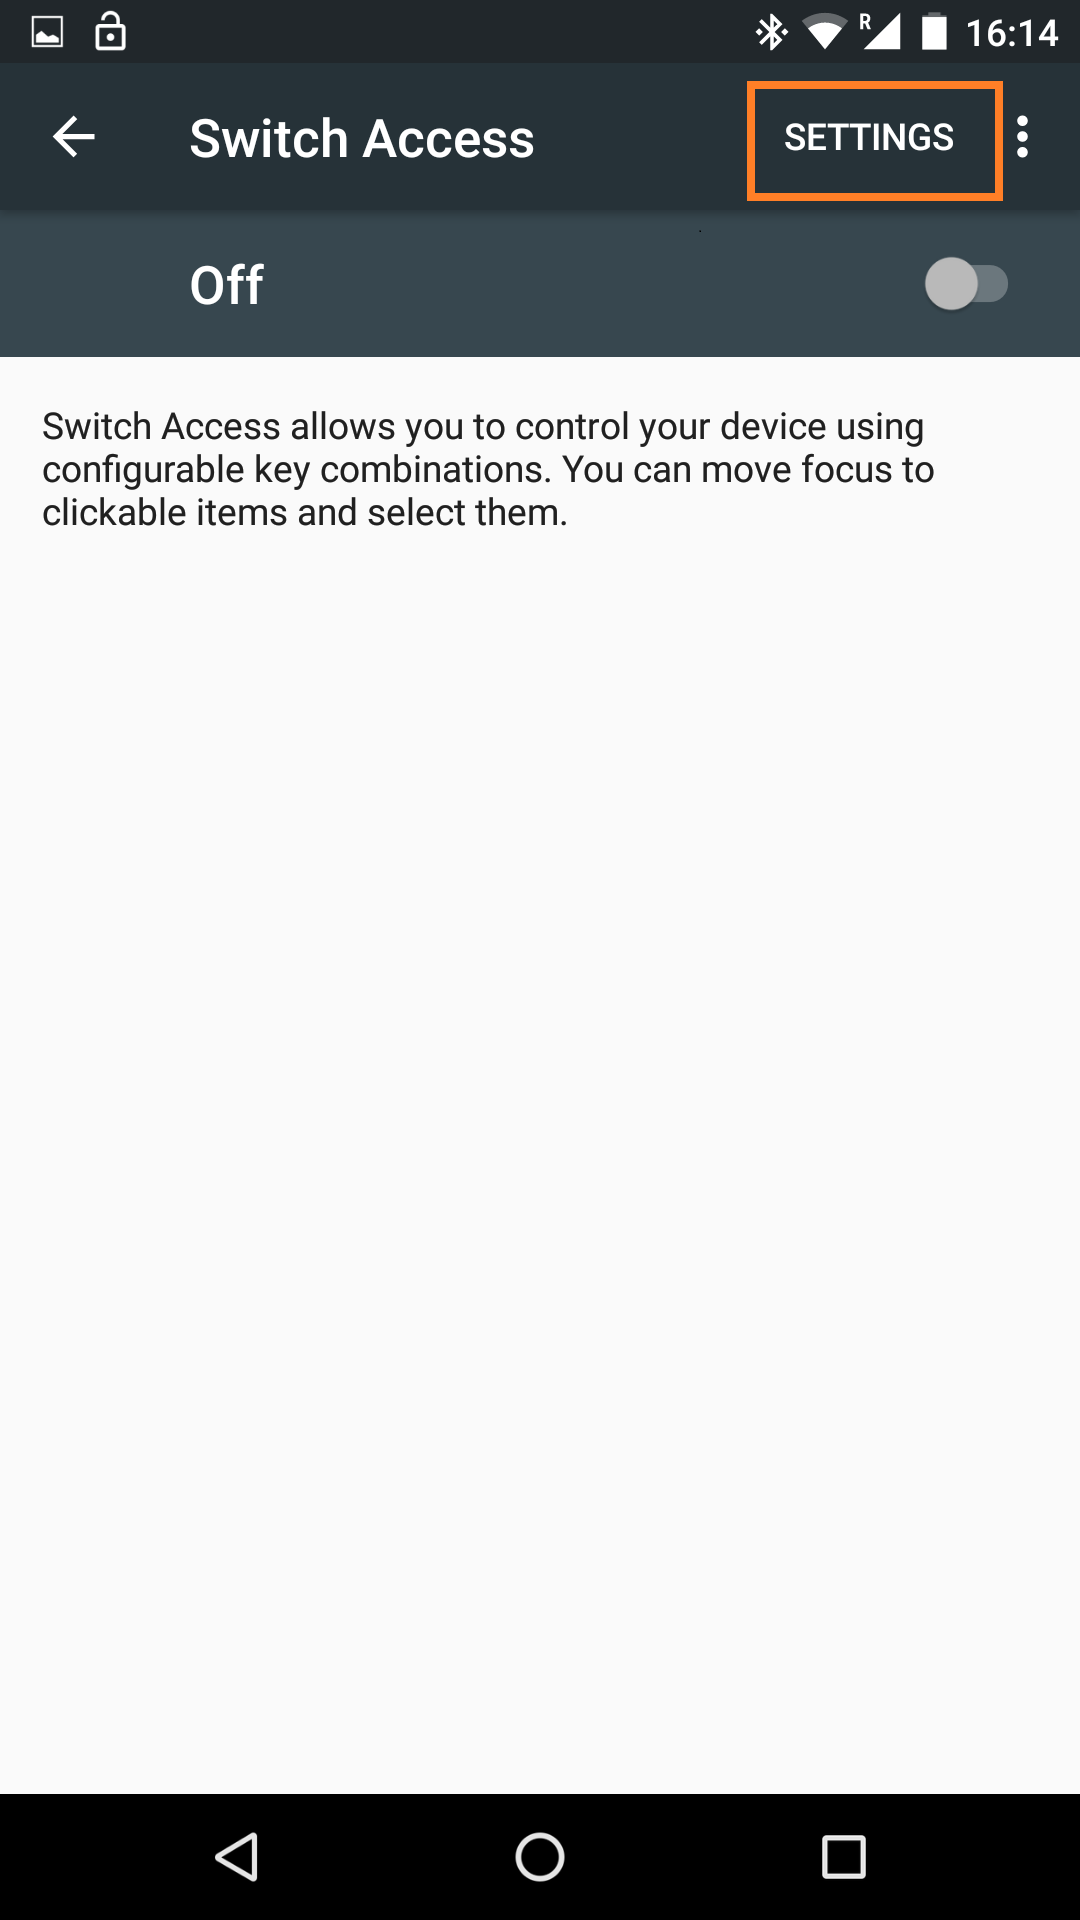
1. Go to Settings > Accessibility, then select Switch Access. Click on Settings on the top right corner to go to the Switch Access settings.
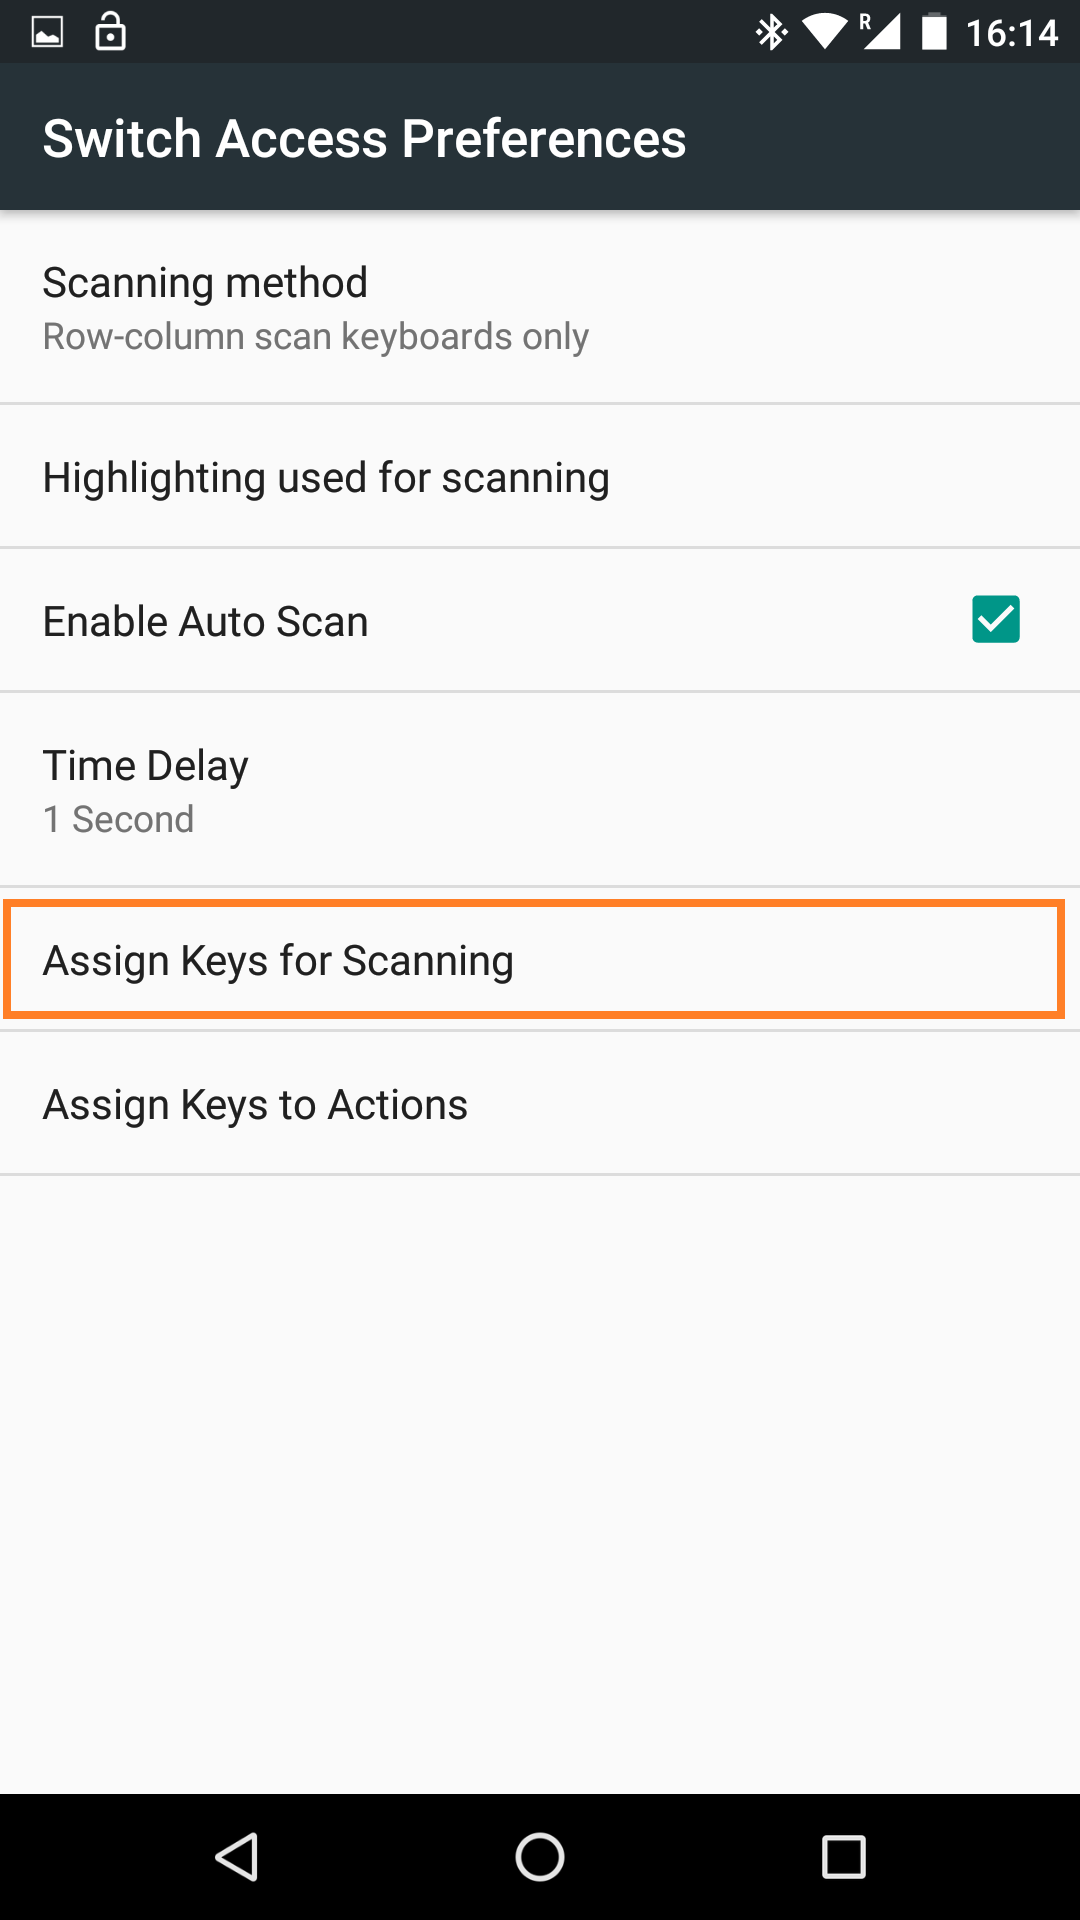
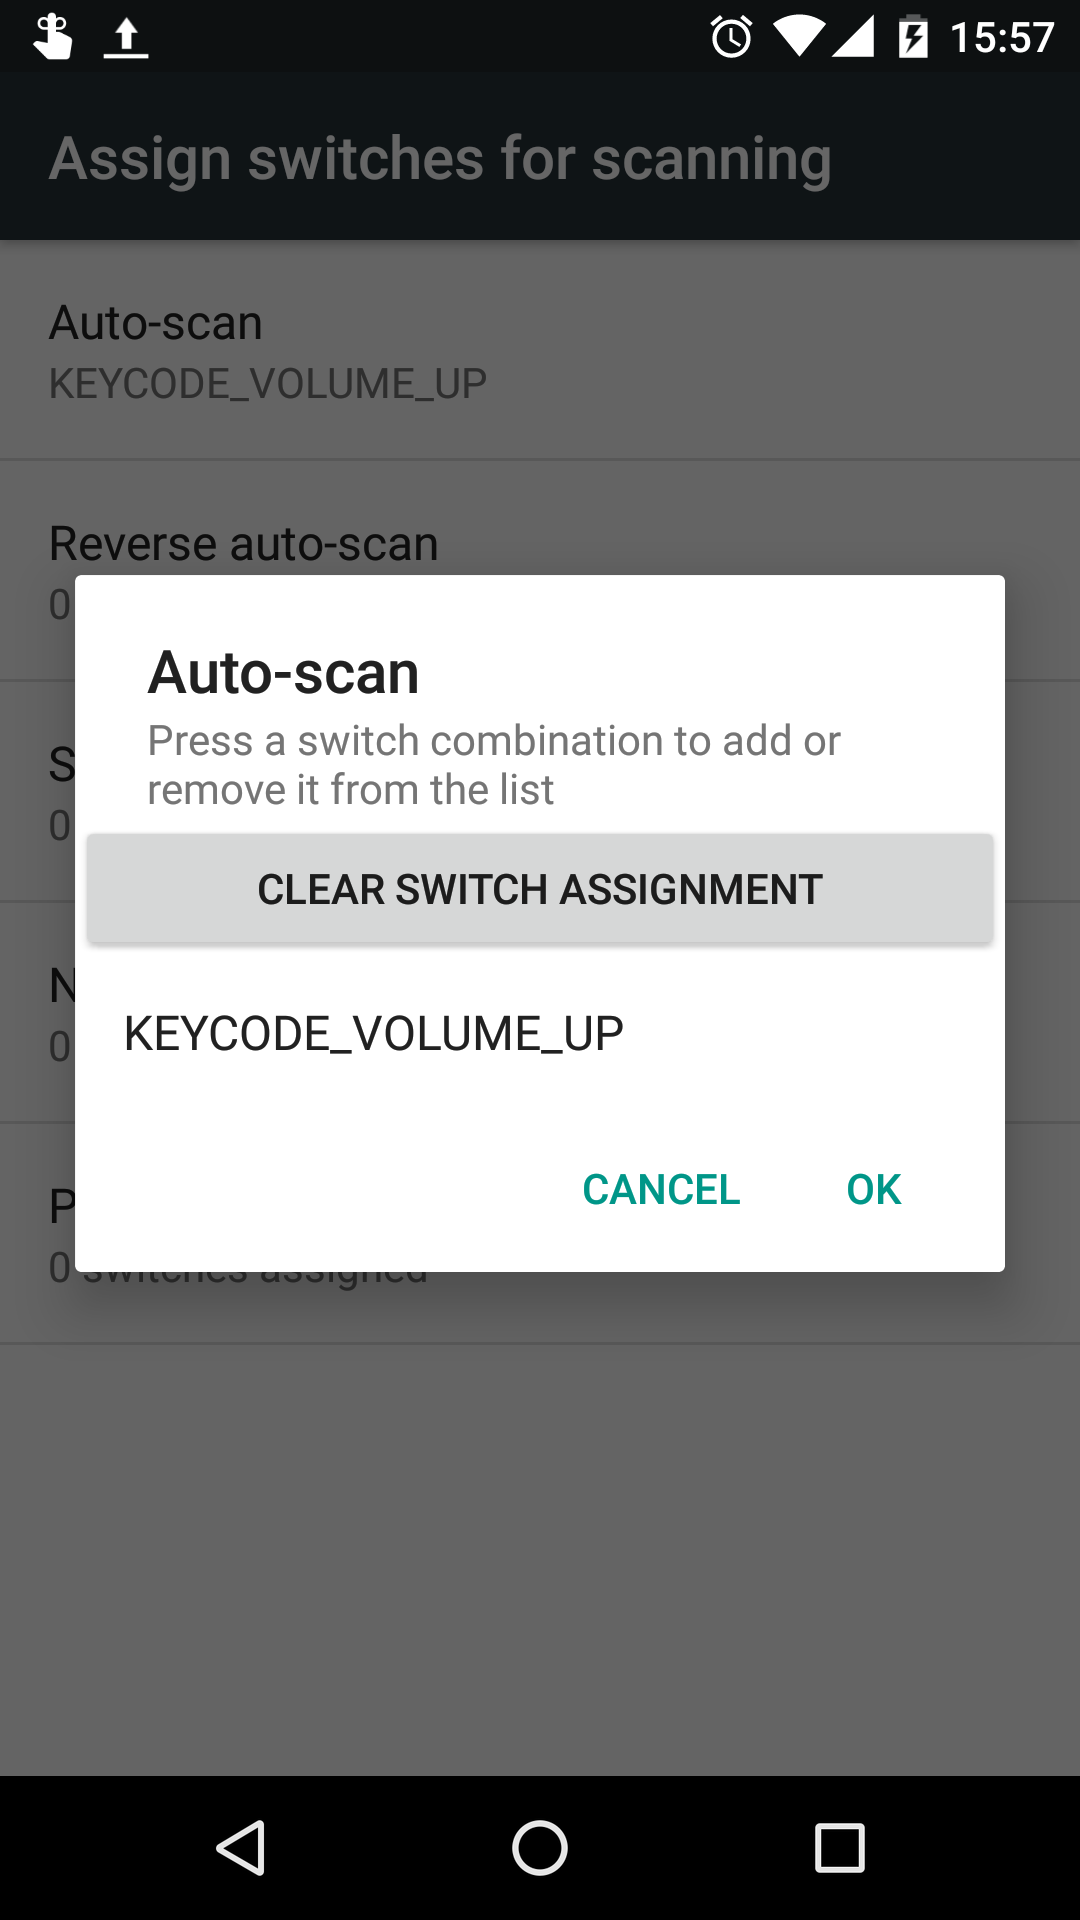
2. To use single-switch access, select Enable Auto Scan. A Time Delay option will now be available to set the scanning rate (the default is one second). Next, go to Assign Keys for Scanning and select Auto Scan. When the dialog opens, press the Volume Up key on the side of your phone. The dialog will show KEYCODE_VOLUME_UP. Touch OK to confirm and exit the dialog.

3. To return to Switch Access Preferences, press the back button.
4. Optional: If you're using TalkBack 5.1 or later, you can select Spoken feedback to turn on spoken feedback.
5. To return to the main Switch Access screen, press the back button.
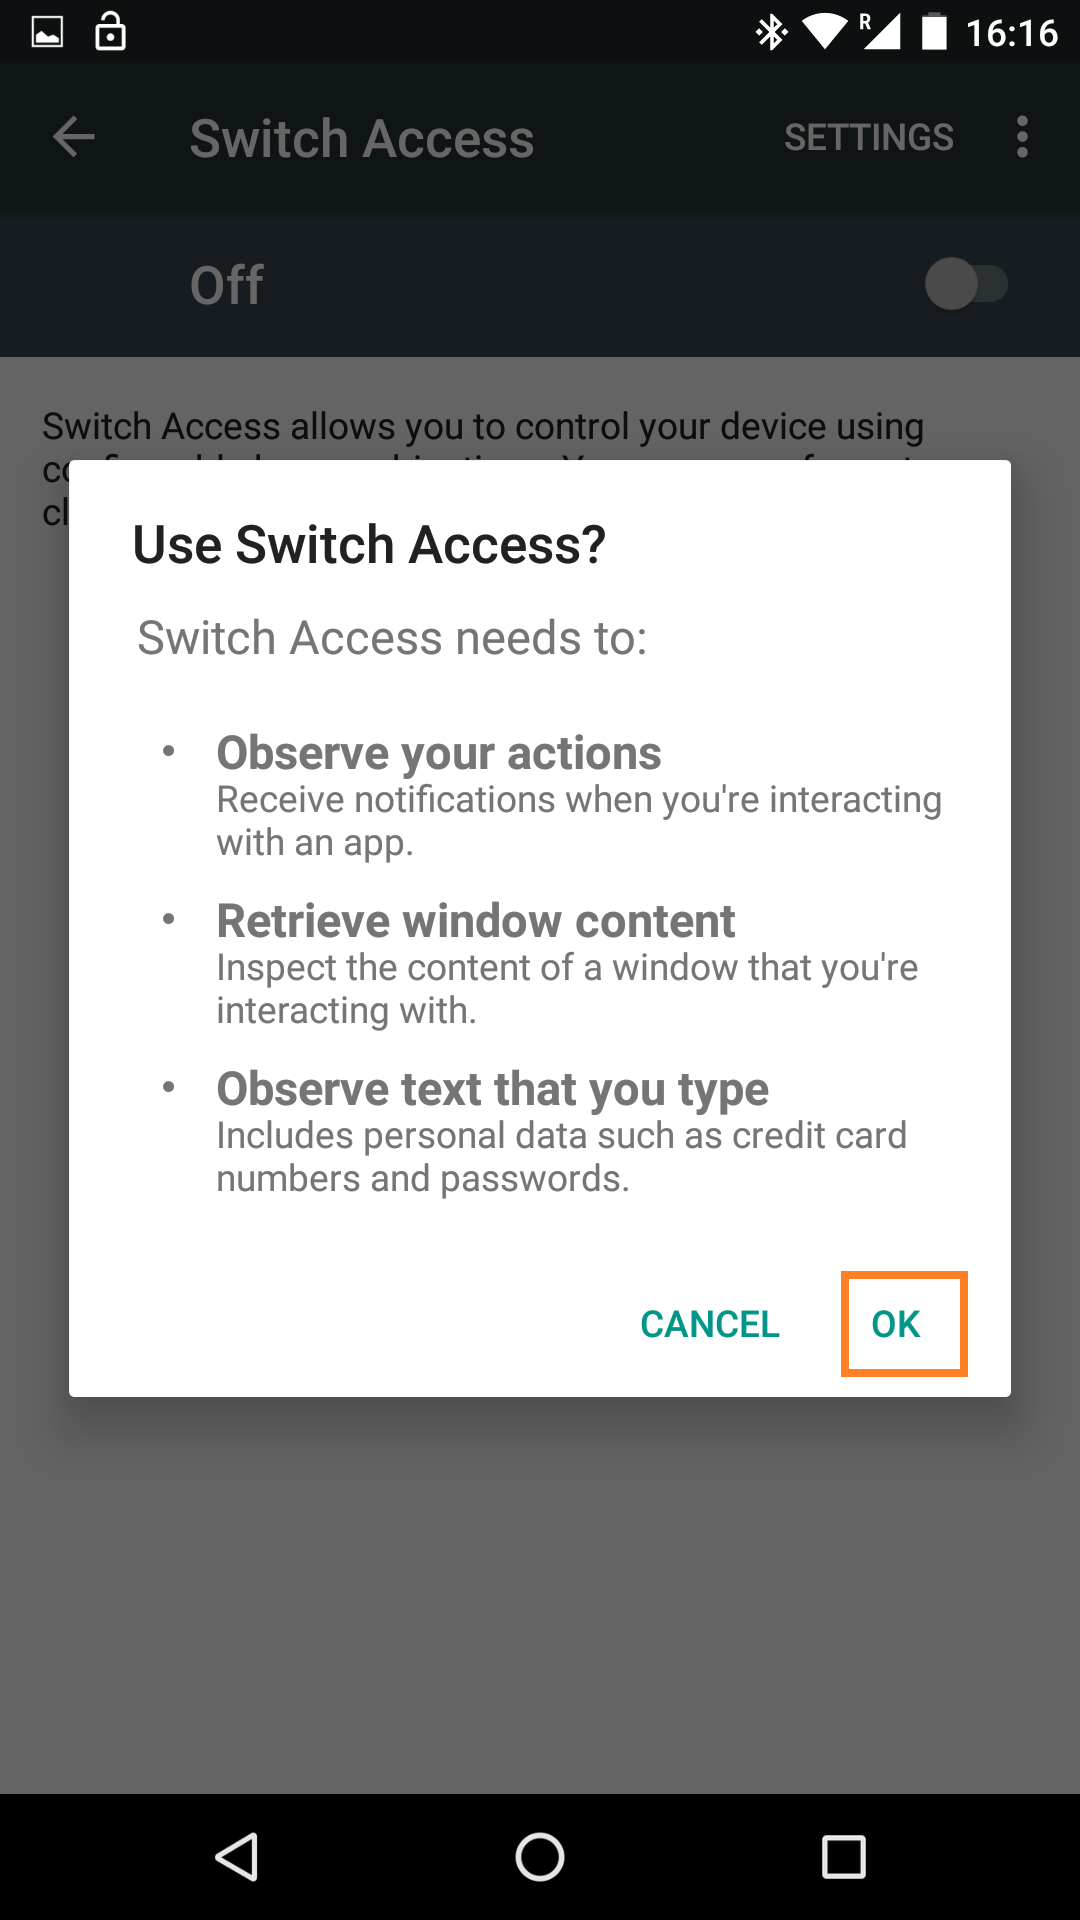
6. Enable Switch Access: At the top of the Switch Access screen, press On/Off to turn on Switch Access. At this point, you should be able to control the Android using the Switch Access through the Volume up key. When you press the Volume up key you should see a frame around the user interface. In the confirmation dialog, select OK to confirm permissions.

For more information on developing android apps visit:
Comments
1 comment
Hamad10098@gmail.com
Please sign in to leave a comment.